Tired of spending hours writing and managing custom CSS? Wish there was a faster way to get your project shipped? That’s where CSS frameworks like Tailwind CSS can make a difference.
Tailwind CSS is a utility-first CSS framework to quickly and consistently help you build applications. Let’s go over some of the reasons why this popular framework might be a good fit for your project.
- What is Tailwind CSS?
- Why Use Tailwind CSS?
- How do you install Tailwind CSS?
What is Tailwind CSS?
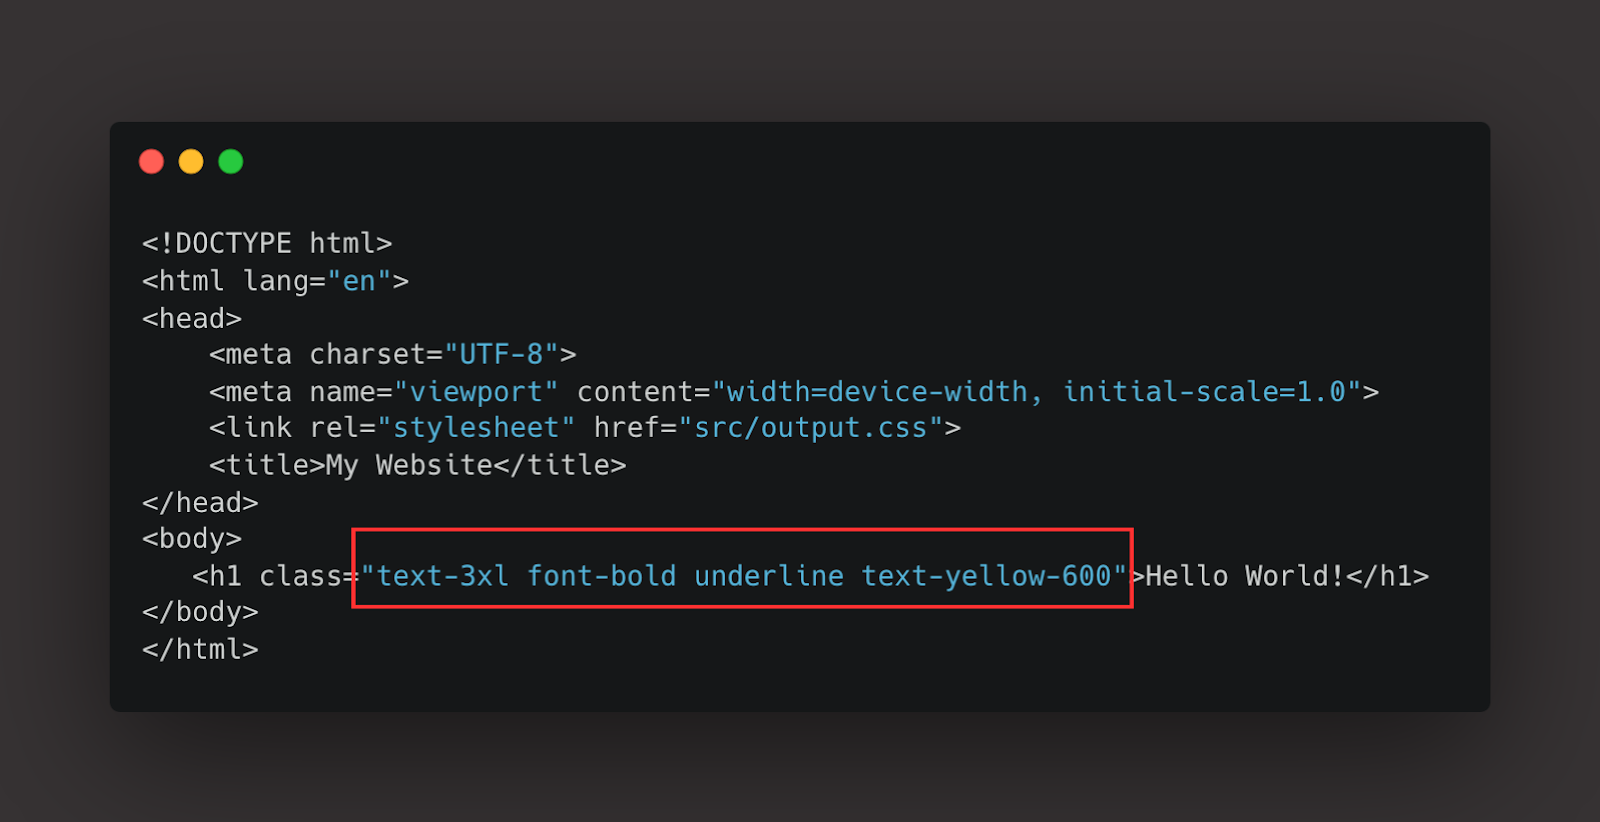
Tailwind CSS is a utility-first CSS framework. What does that mean? Utility classes are dedicated classes that can be added to html elements. Each utility class does something specific such as changing background colors, adjusting margins, increasing padding, and so on. For example, in Tailwind I can use “text-3xl” to change the font size or “underline” to add an underline to my <h1>. It’s that simple!
Alternatively, Bootstrap uses pre-designed components that help speed up development time and make it easy to use for beginners. It’s a great option if you’re looking to build fast without spending hours on styling.
For example, in Bootstrap, I can create a button just by starting with the “btn” class and then styling with the class btn-primary to make it blue. In the example below, I also used ms-5 to add a margin to the left side of the button and mt-2 to add a margin to the top of the button. For a closer look at what’s possible, you can read through the Bootstrap documentation for a more in depth explanation.
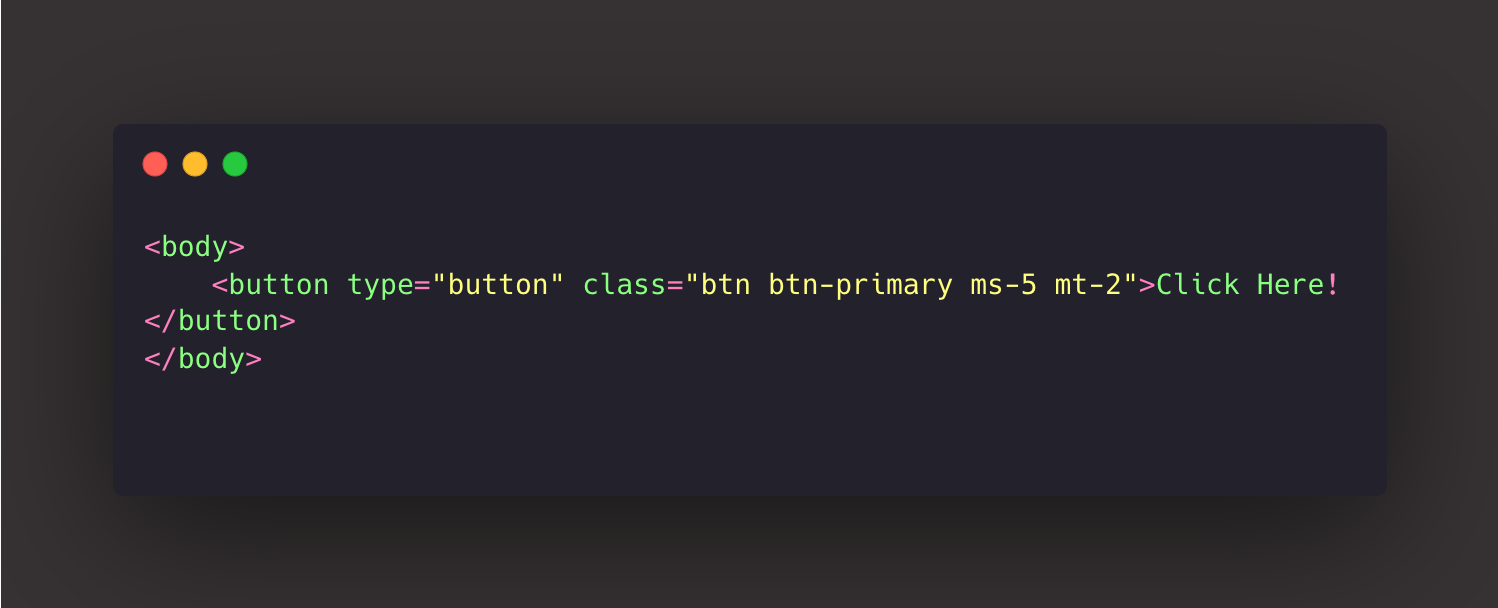

As you can see, Bootstrap’s component-based approach is different from Tailwind’s utility-first approach. Tailwind doesn’t come out of the box with components like buttons and navbars, instead you’re responsible for developing that yourself with Tailwind’s library of utility classes.
Tailwind comes with an extensive library of utility classes that allow developers to get up and running with their CSS quickly. Familiarizing yourself with the utility classes can be a learning curve but the documentation will be your best friend as you start building with this framework.
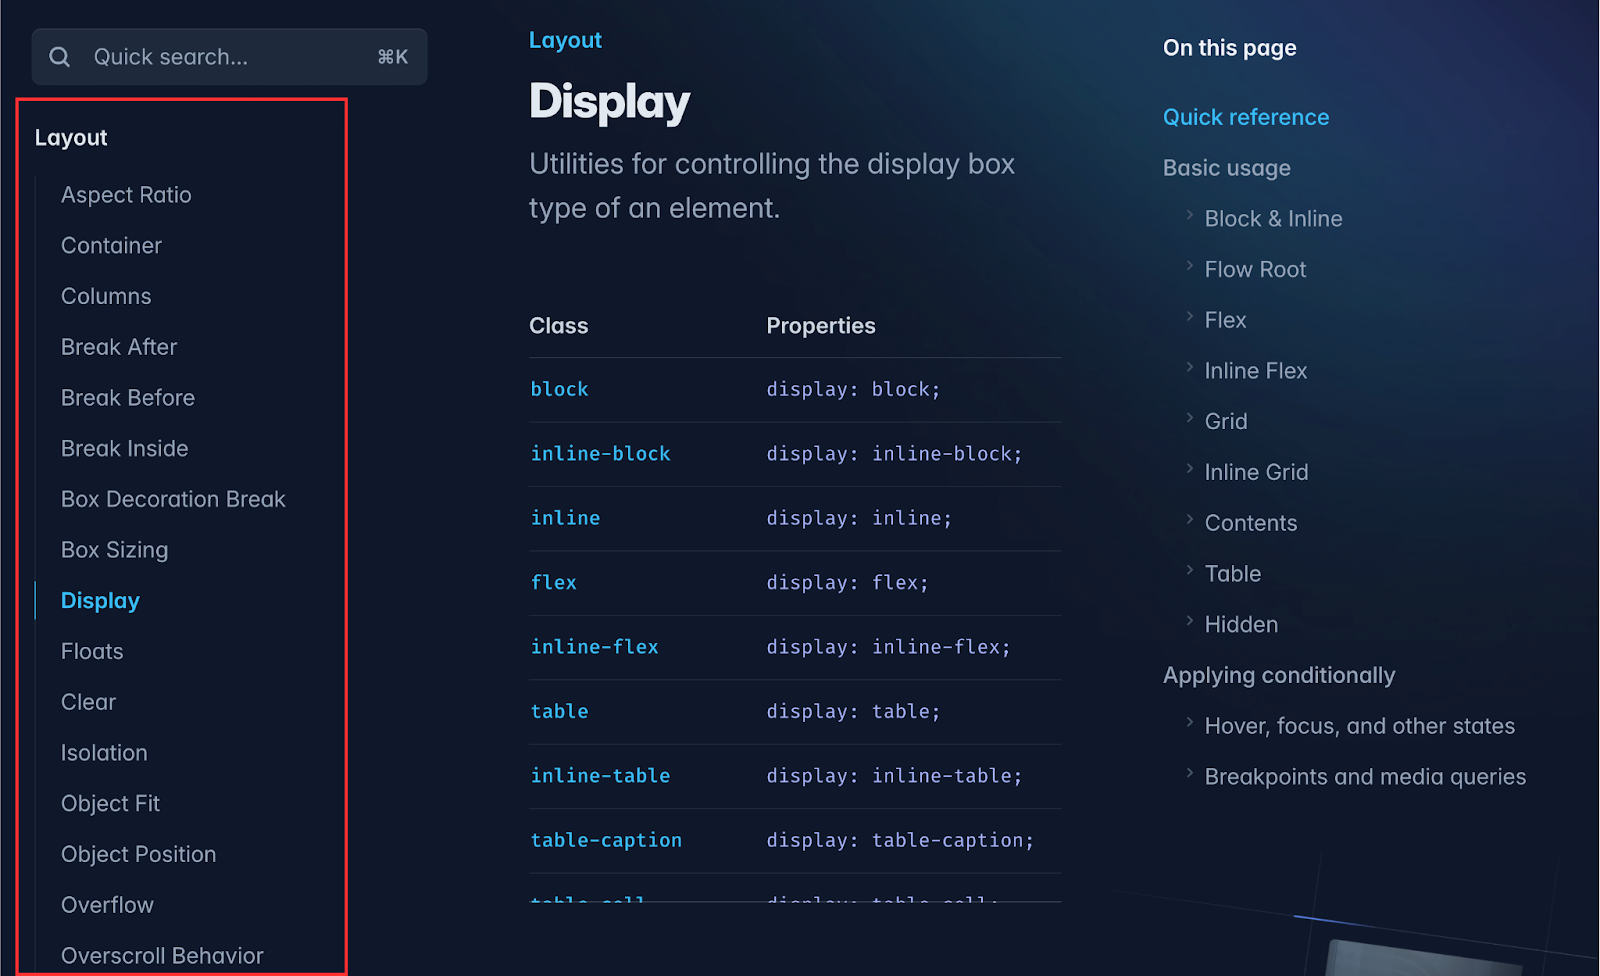
If the official documentation is overwhelming, try searching for Tailwind cheat sheets. Flowbite’s Tailwind CSS Cheat Sheet and Nerdcave’s Tailwind Cheat Sheet are two that I’ve been playing around with recently. I like how these one-page resources are less cluttered than the official docs and focus solely on classes. These aren’t the only cheat sheets so definitely do your own research and find what’s best for you.
Why Use Tailwind CSS?
Frameworks like Tailwind come with many benefits such as:
Naming Structure Already Done
Tailwind comes out of the box with a vast library of utility classes that already have predefined names. That means worrying about a naming structure is taken off your plate and frees you up to focus on other areas of your application.
Elevate Your Experience with Visual Studio Code
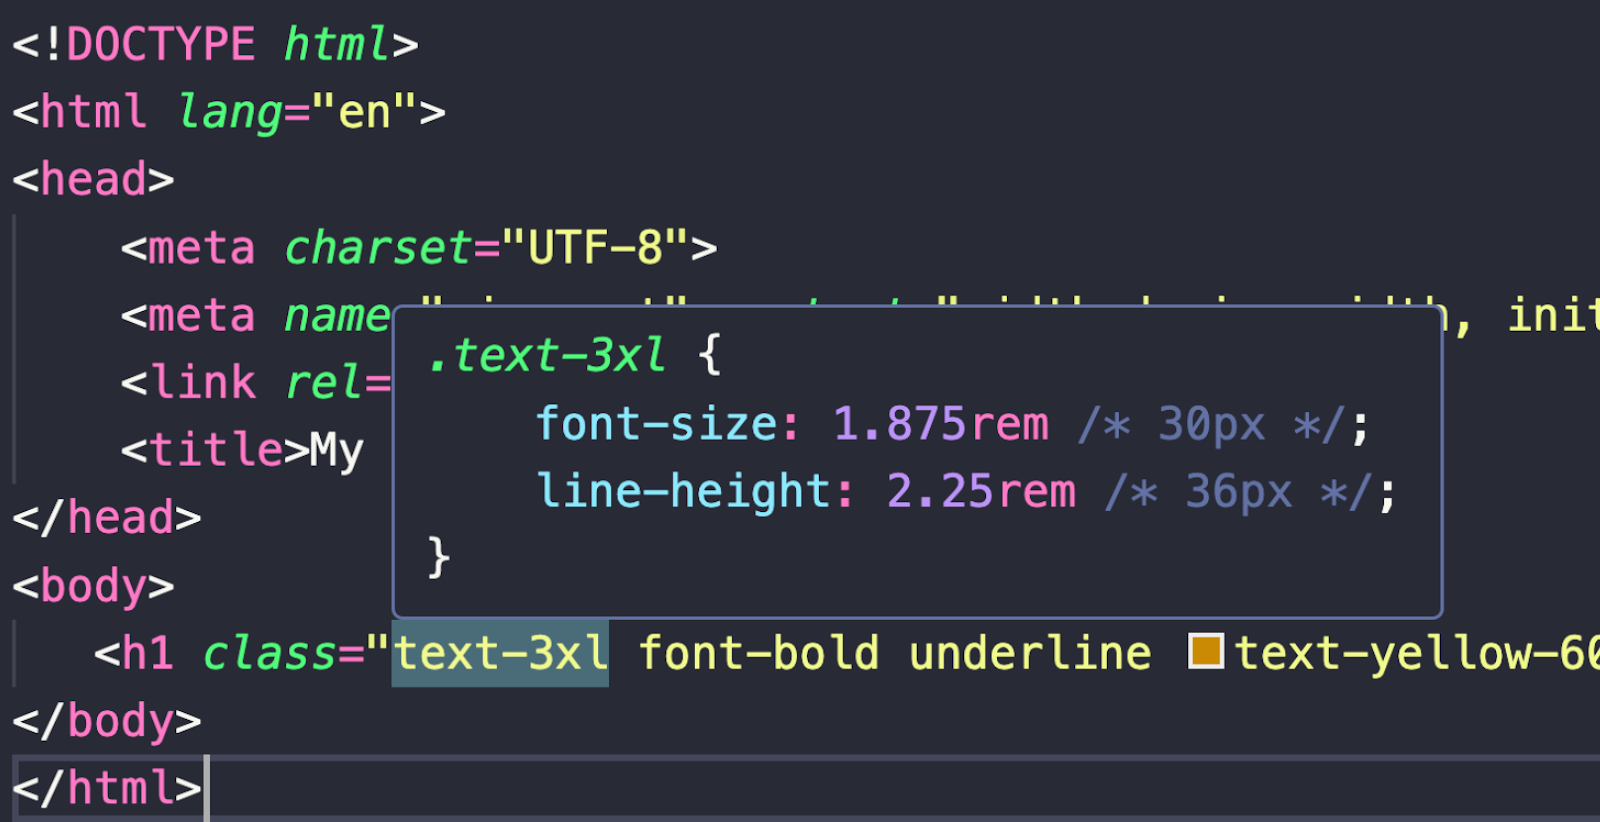
If you use Visual Studio Code, there’s an extension called Tailwind CSS IntelliSense that comes with features such as autocomplete and linting. It also comes with a hover preview that shows you the CSS behind the Tailwind class name. For example, looking back at the first example, if I wanted to know the complete CSS behind text-3xl, I could hover over the class name and the Tailwind CSS IntelliSense would show me.
File size
Tailwind will get rid of unused CSS when building for production and leave only the CSS you’re actually going to use in your project. The Tailwind documentation states that “most Tailwind projects ship less than 10kb of CSS to the client”. The Optimizing for Production page recommends minifying CSS with a tool like ccsnano, and compressing with Brotli for the smallest possible production.
How to Install Tailwind CSS
Now that you know what Tailwind is and why it’s used, let’s take a look at how to install Tailwind CSS. We’ll cover how to install Tailwind with the Tailwind CLI. The Tailwind CLI offers a quick and easy way to start using Tailwind CSS. This is ideal for small projects or if you want to quickly test something without a full project setup. The Framework-specific guides give you step-by-step instructions on how to implement Tailwind with a number of environments such as Next.js, SvelteKit, Remix, and more.
Install with Tailwind CLI
For this Tailwind tutorial, we’ll be using the official documentation as a guide. The goal of this beginner friendly Tailwind CSS tutorial is to hopefully give some added context around each step.
- Open your terminal and navigate to your project. I’ve started a project called “blog” and I’m creating a fresh index.html file.
- After that, I’ll type “code .” to open Visual Studio Code, my preferred editor, from terminal.

I want to create a very simple test file so I’m going to just add an <h1> for now, but you can add anything you’d like to your test file. When I personalize tutorials, I find that I learn faster and retain information better, as it makes the concepts more relatable and easier to understand.
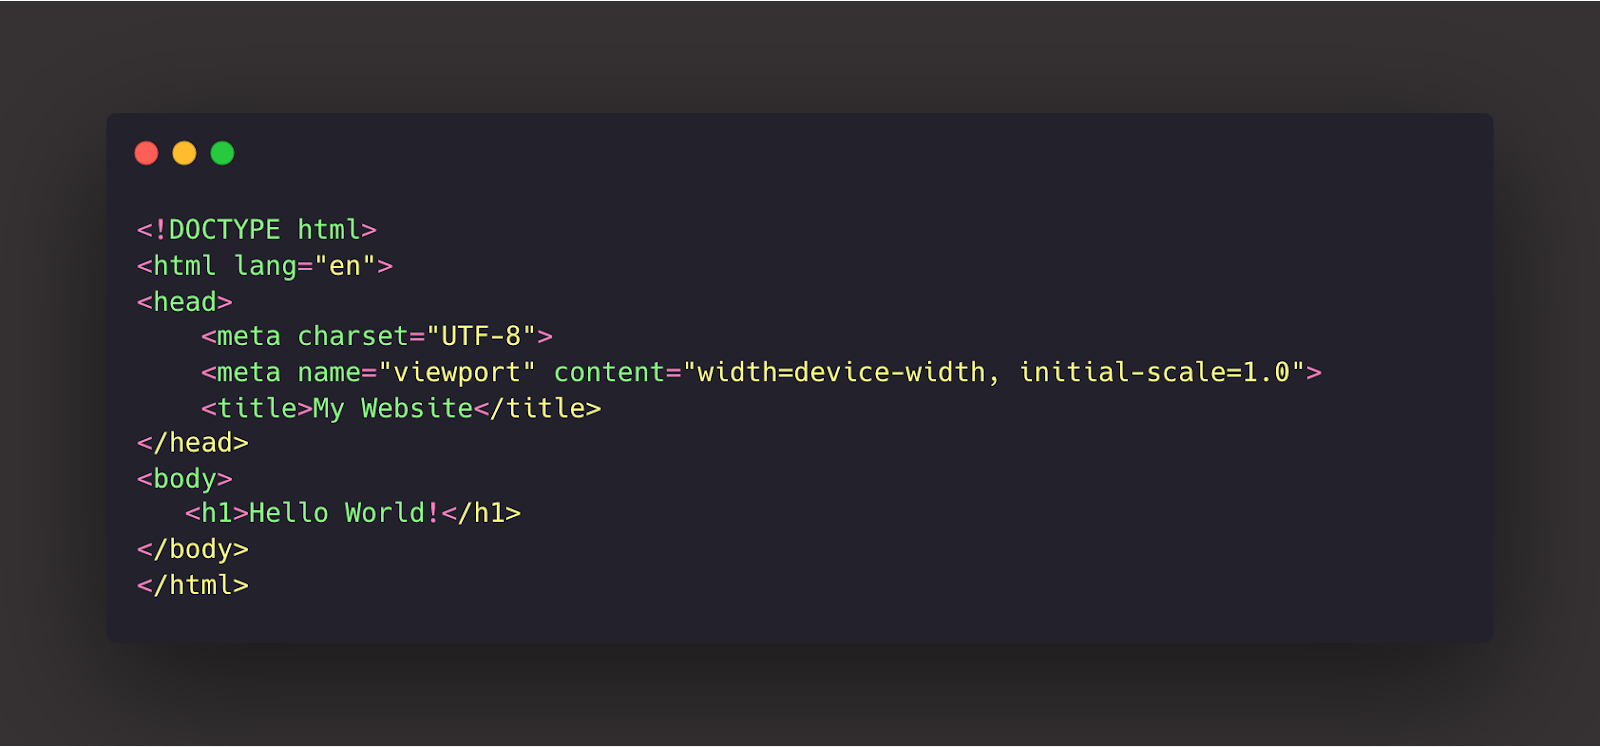
- Now that I have my html file set up, let’s install Tailwind via npm and create a tailwind.config.js. For this, I’m going to move back to my terminal and enter the following.
- npm install -D tailwindcss
- npx tailwindcss init
You should see something similar to this when you run npm install -D tailwindcss.

You should see something similar to this when you run npx tailwindcss init.

- Now that you have the tailwind.config.js file, the documentation says we need to add paths to our template files. This means we need to tell Tailwind where to look for our utility classes in your project. If we look at the example from the official documentation, this is telling Tailwind to look in the “src” folder for any files with .html or .js extensions.
Let’s break this down:
- ./src/ tells tailwind where to look
- **/* will match all your files in the src folder
- {html,js} limits the search to .html or .js files only
/** @type {import('tailwindcss').Config} */
module.exports = {
	content: ["./src/**/*.{html,js}"],
    theme: {
    	extend: {},
	},
    plugins: [],
}
This is how the folder structure would look like if you follow the above example.

- Next, we need to add the directives for Tailwind’s layers into our main CSS file. The documentation says to add it to an “input.css” file, but you can name it whatever you’d like. These directives allow Tailwind to handle generating CSS based on what’s in our .html and .js files. This is also where you would include any custom CSS.

- Next, we need to run the CLI tool so it can scan our files for classes and build our CSS. Run the following in your terminal.
- npx tailwindcss -i ./src/input.css -o ./src/output.css --watch
If you’ve been following along, you’ll notice there’s a warning message. This is expected because we haven’t added any Tailwind classes yet. We’ll do that in the next step.

- We’re finally ready to start adding Tailwind utility classes to our project. Go into your .html file and start playing around. I recommend pulling up the documentation or using one of the cheat sheets mentioned above as your starting add the classes.

I’m going to use the Live Server extension to check my progress.

I took screenshots of the before (top) and after (bottom) <h1>. Looks good on my end!
Wrapping Up
Tailwind gives you the power to customize designs quickly and easily to make your designs stand out. If you’re just starting your CSS journey, it’s recommended to learn the fundamentals before diving into a framework like Tailwind. In this Mastering CSS Fundamentals blog, Matt Lawrence and Mike Karan cover the fundamentals needed before moving to a framework.
Looking to break into web development? Already here? The HTML All The Things podcast covers a variety of topics to help keep you up to date with web development. Here’s a couple of my favorites around CSS:

