Blogging platforms like WordPress come with categories and tags that you can assign to blog posts right out of the box. This same functionality is available in Webflow, but it is not immediately obvious how to get it working. Unless you're using a template, Webflow websites require that we set up this functionality ourselves via the reference and multi-reference CMS fields. When working with Webflow it's important to remember that unlike WordPress, Webflow is not a blogging platform first. Webflow is a no-code website creation tool that can be used to create static sites, ecommerce stores, and blogs - therefore we need to utilize the power of the Webflow CMS to build out own blogging functionality.
Guide Summary
In this guide we will learn how to:
- Use a reference field to create blog categories
- Use a multi-reference field to create blog tags
This guide does not require any custom code.
How to create blog categories in Webflow
This guide assumes you already have a CMS collection for your blog posts.
Blog categories are a taxonomy that define the broad grouping that our blog post fall under. For example, a tech blog may have a category for their how-to guides and another category for their news posts. Using the steps below, we'll be allowing each of our blog posts to have a single category assigned to them.
Step 1: Create a category CMS collection
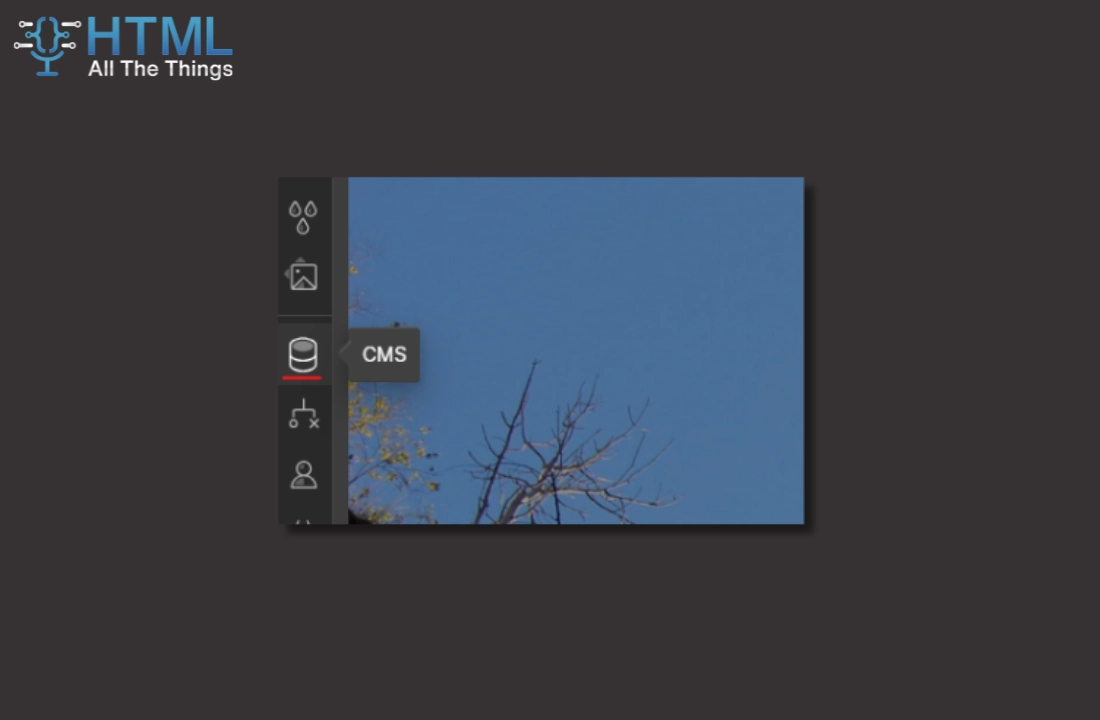
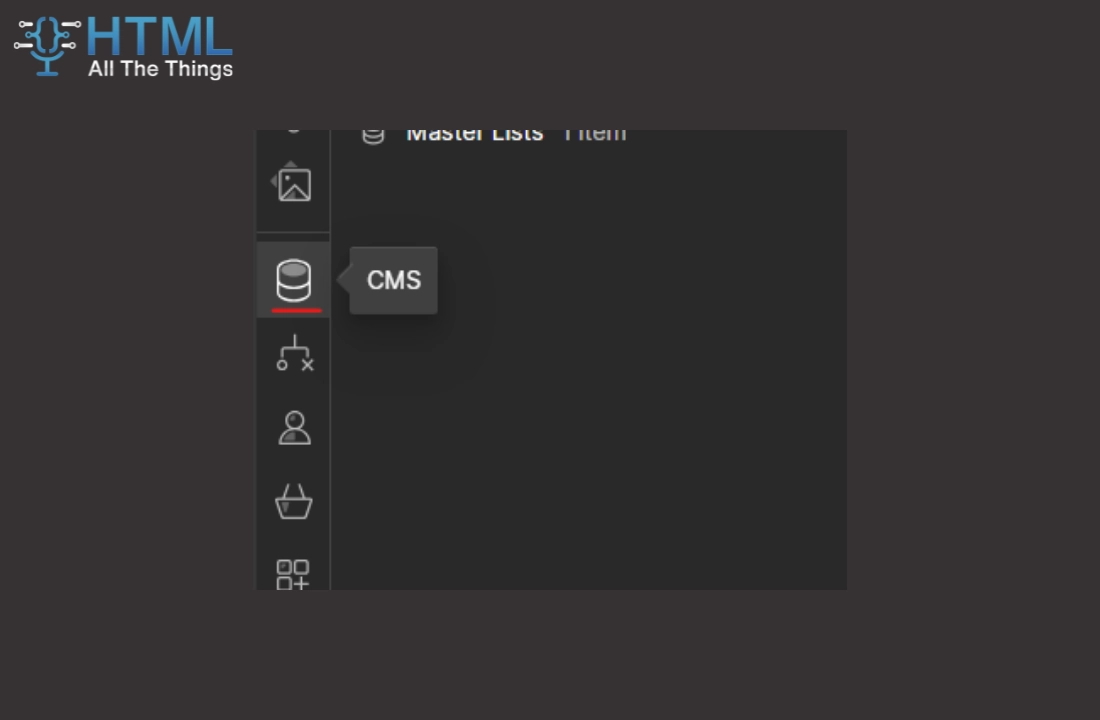
- Open the CMS menu in the Webflow Designer
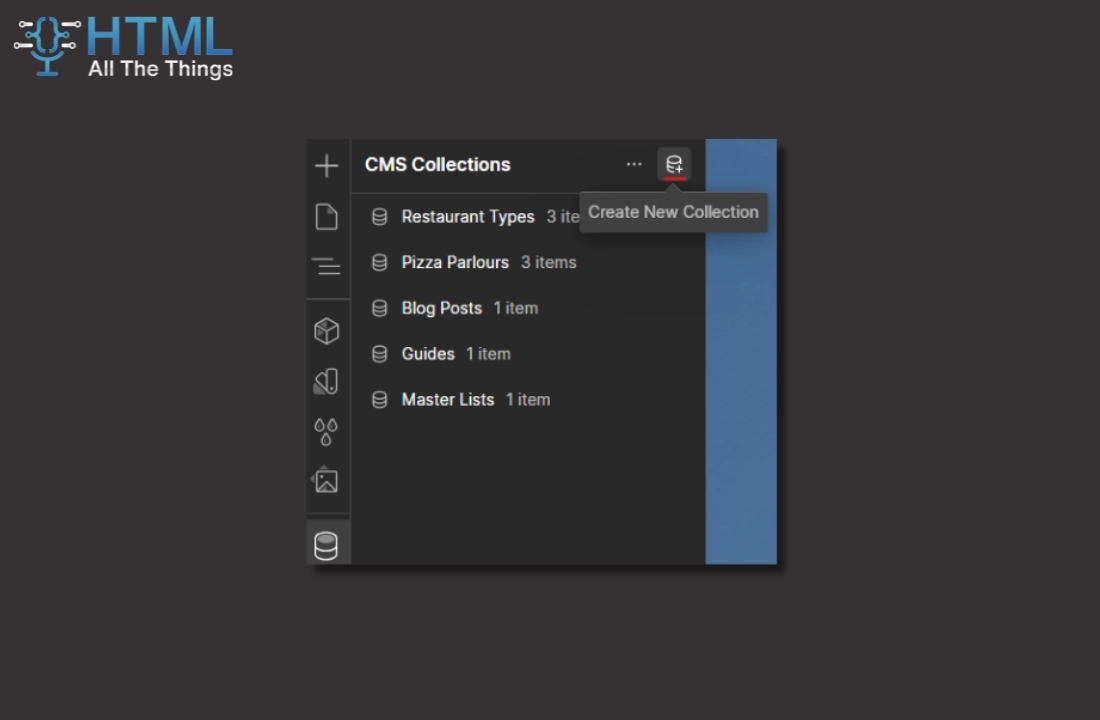
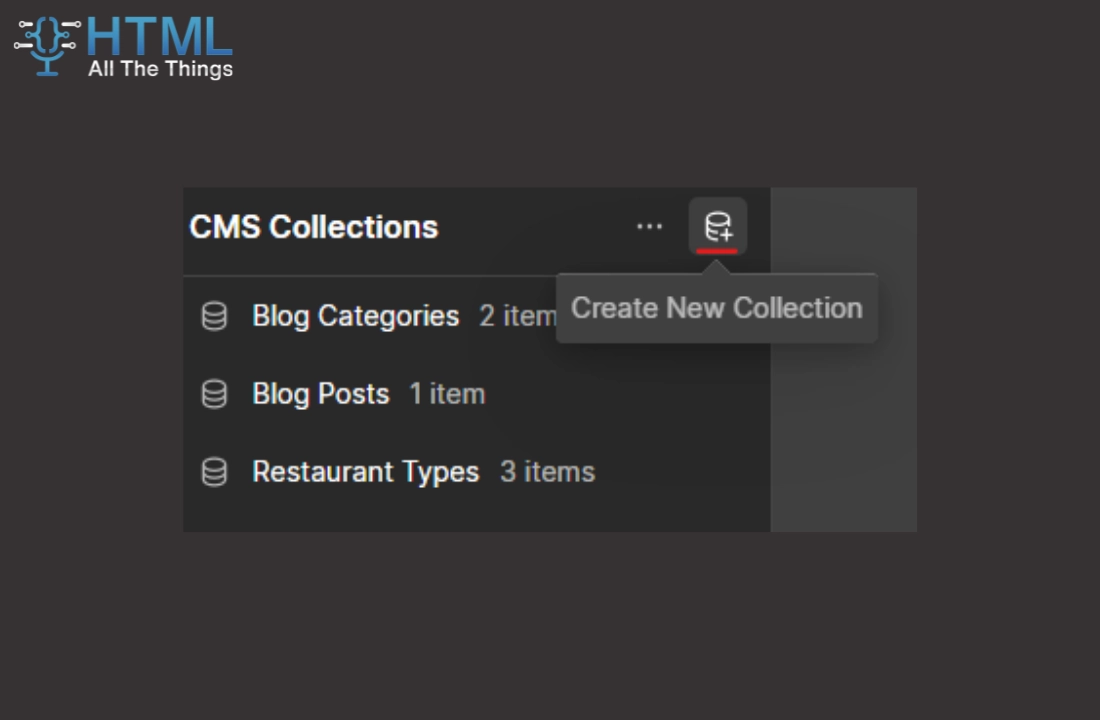
- Click on the "Create New Collection" button
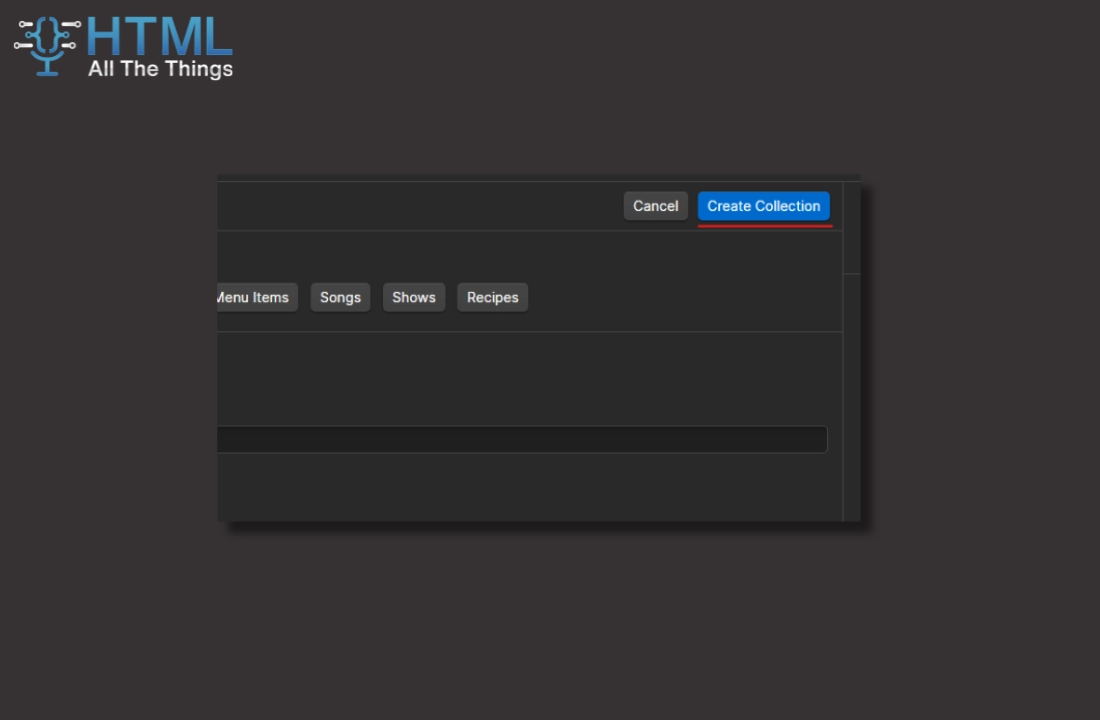
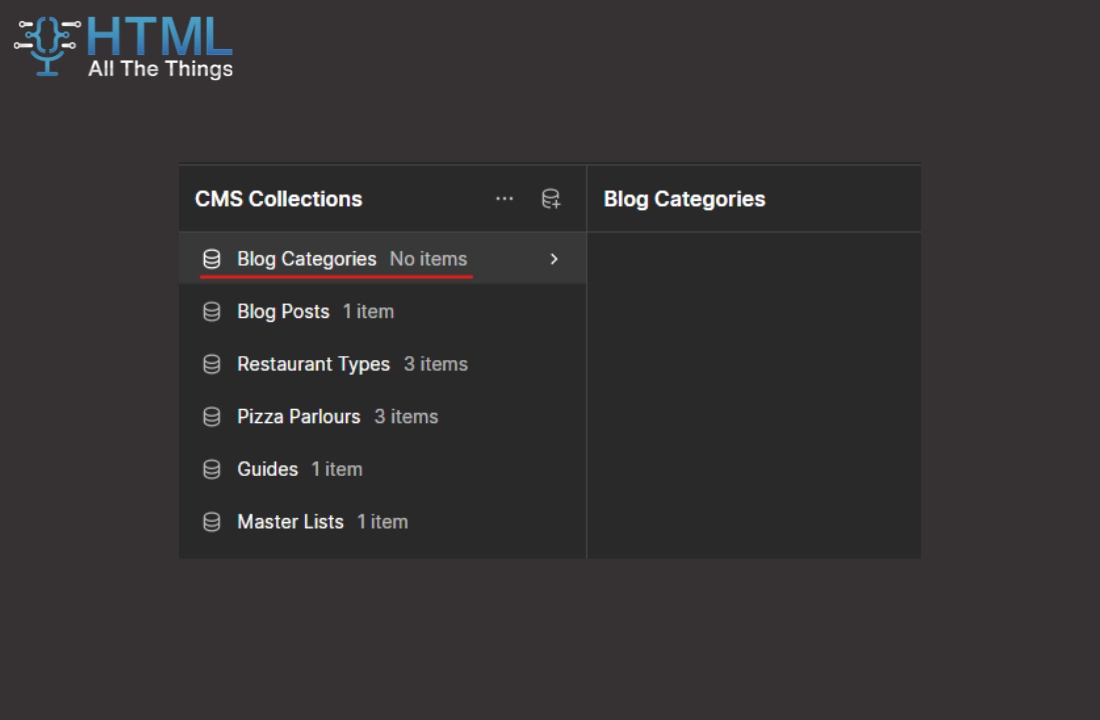
- Type in a name for the category collection
- We'll name ours "Blog Categories"
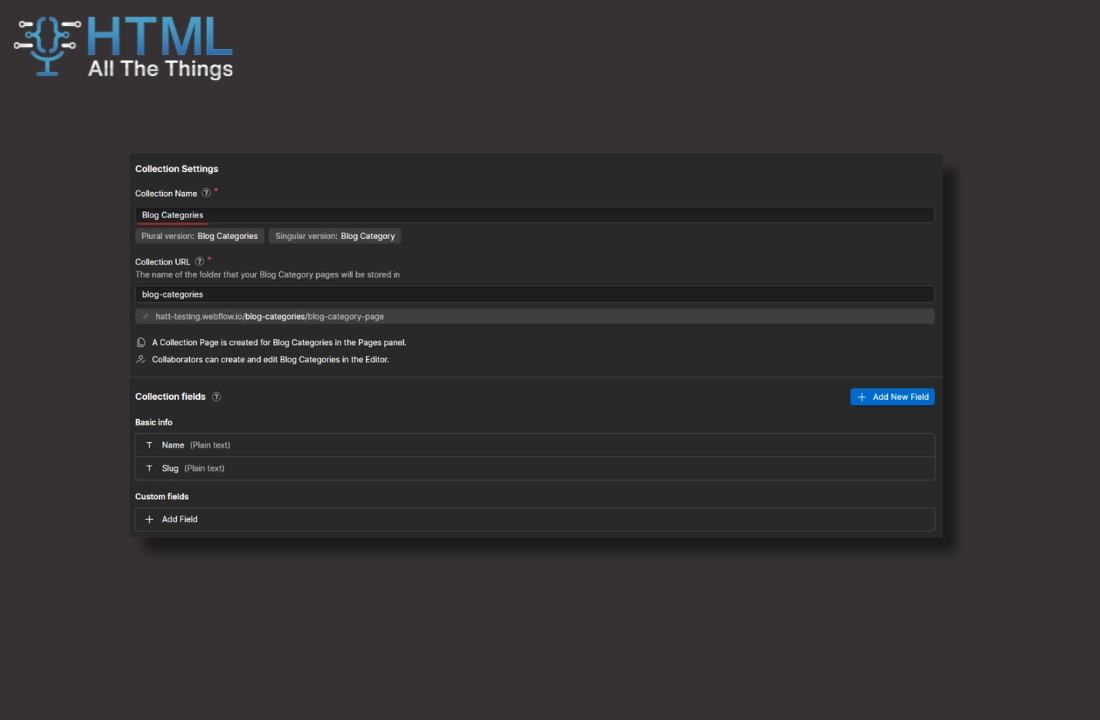
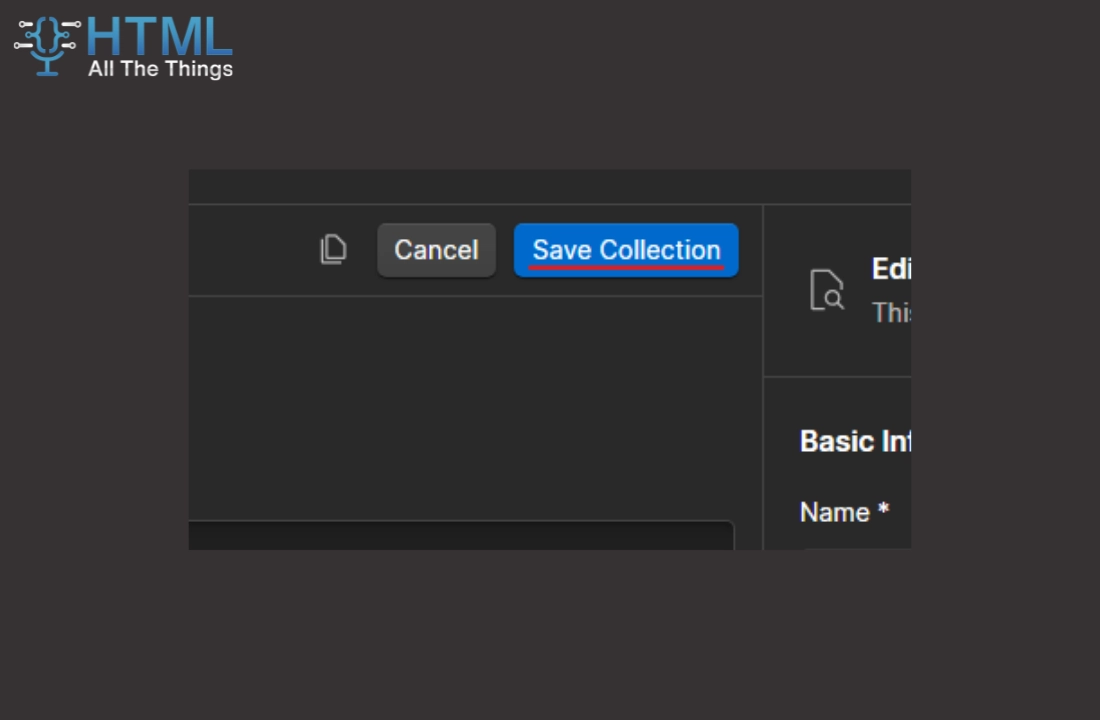
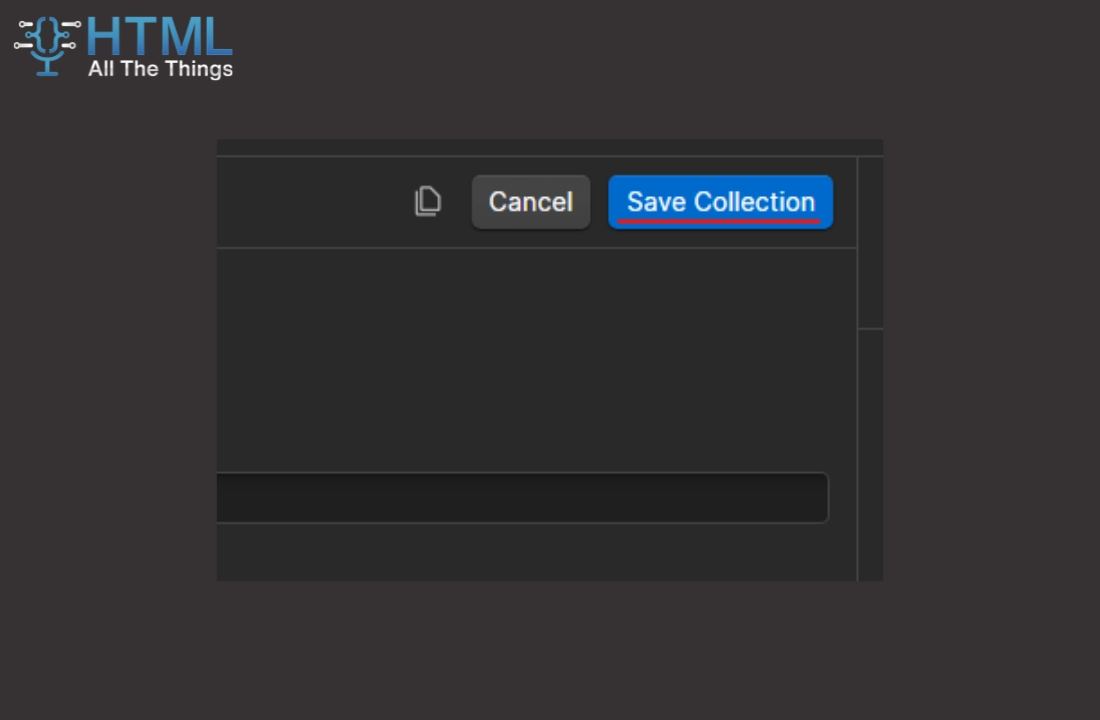
- Save the collection by clicking "Create Collection"
Step 2: Create category fields
By default, we're provided with a name field when we created the collection. Some websites will only need their categories to have a name and nothing else, if that's you, you can skip this step. Alternatively, categories need additional information other than just a name. For example, you may want a color selector so that content editors can control the color associated with each category. In this guide we'll assume we need this sort of color control.
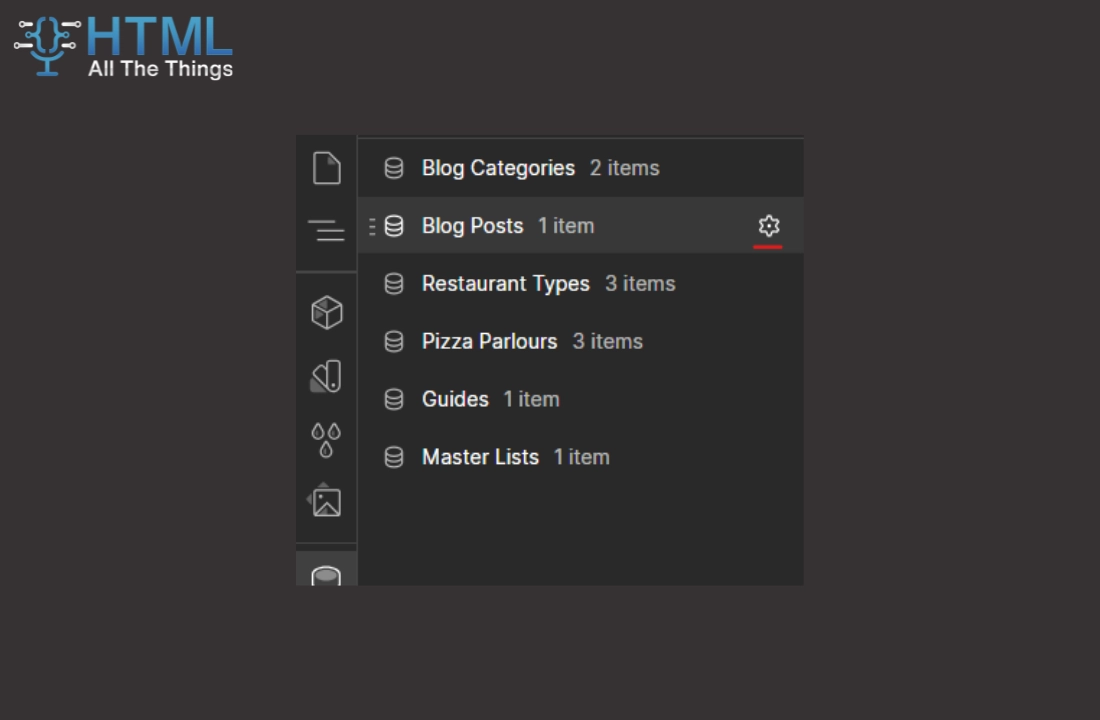
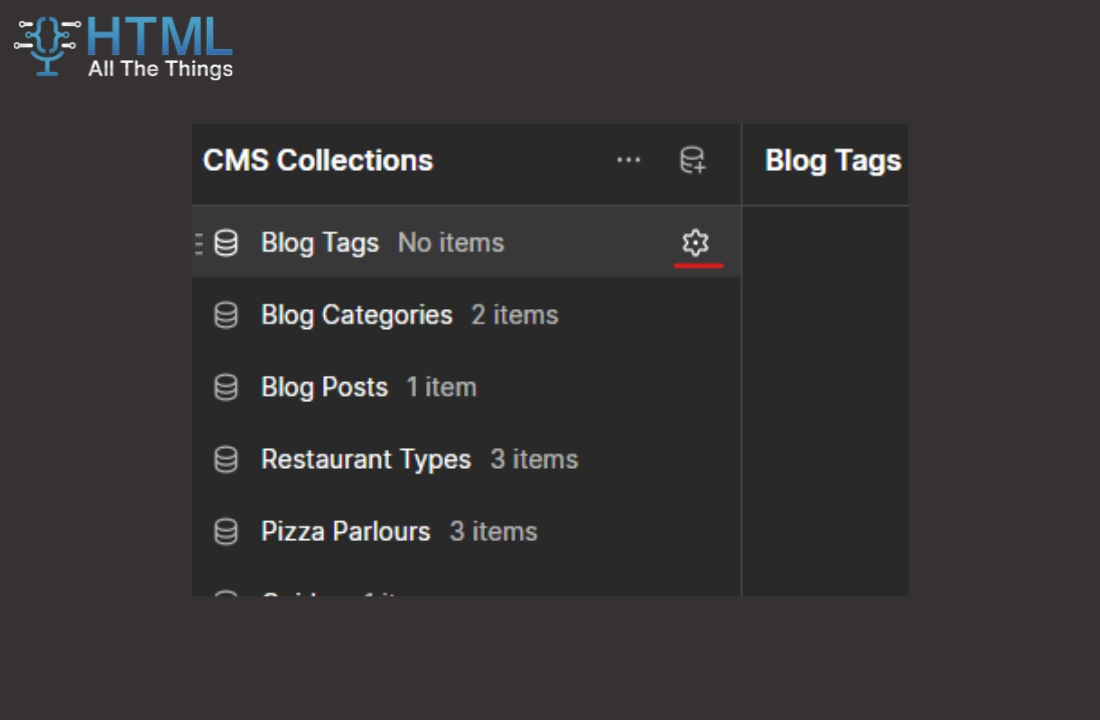
- Hover over the "Blog Categories" collection and click on the cog icon
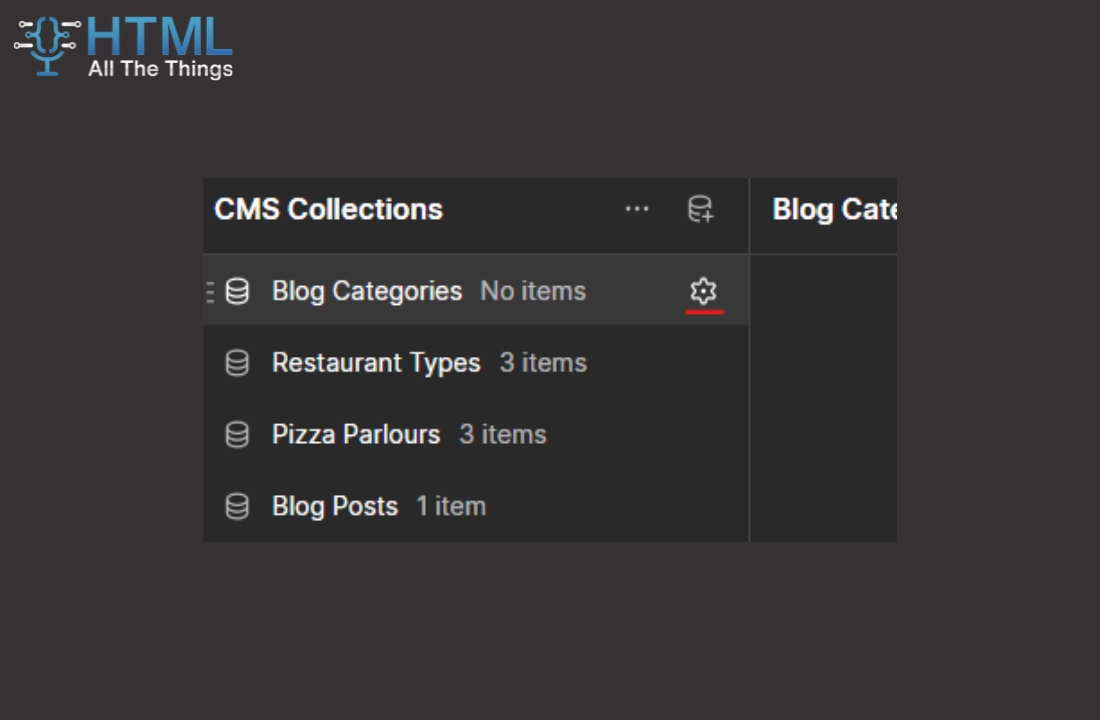
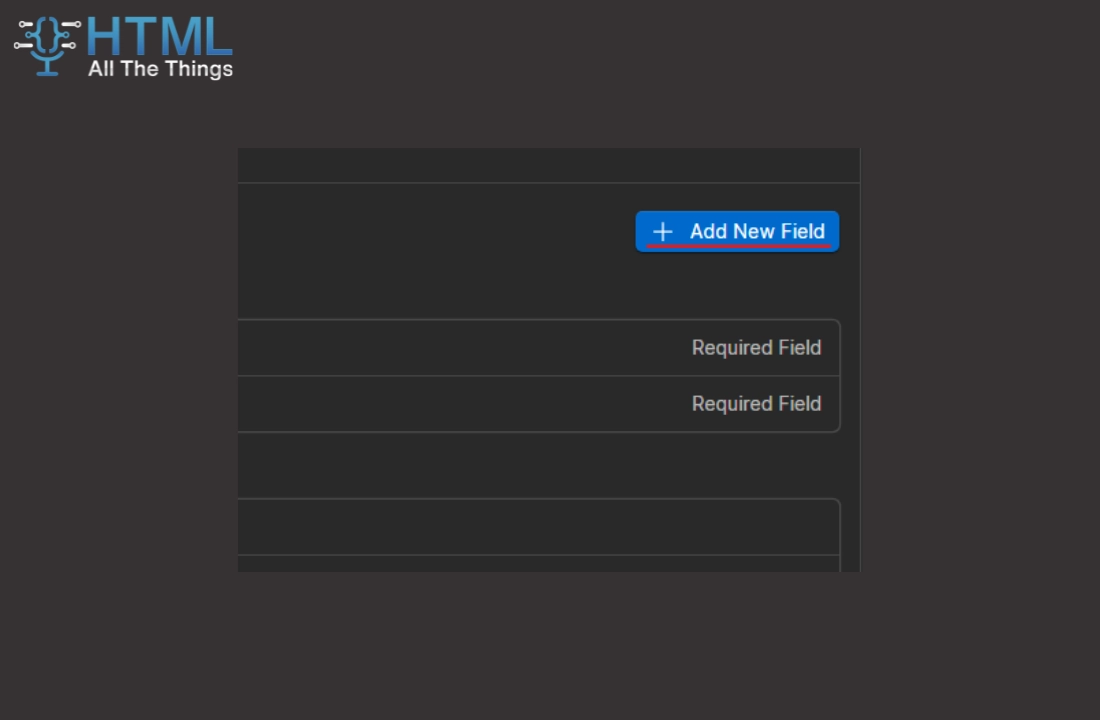
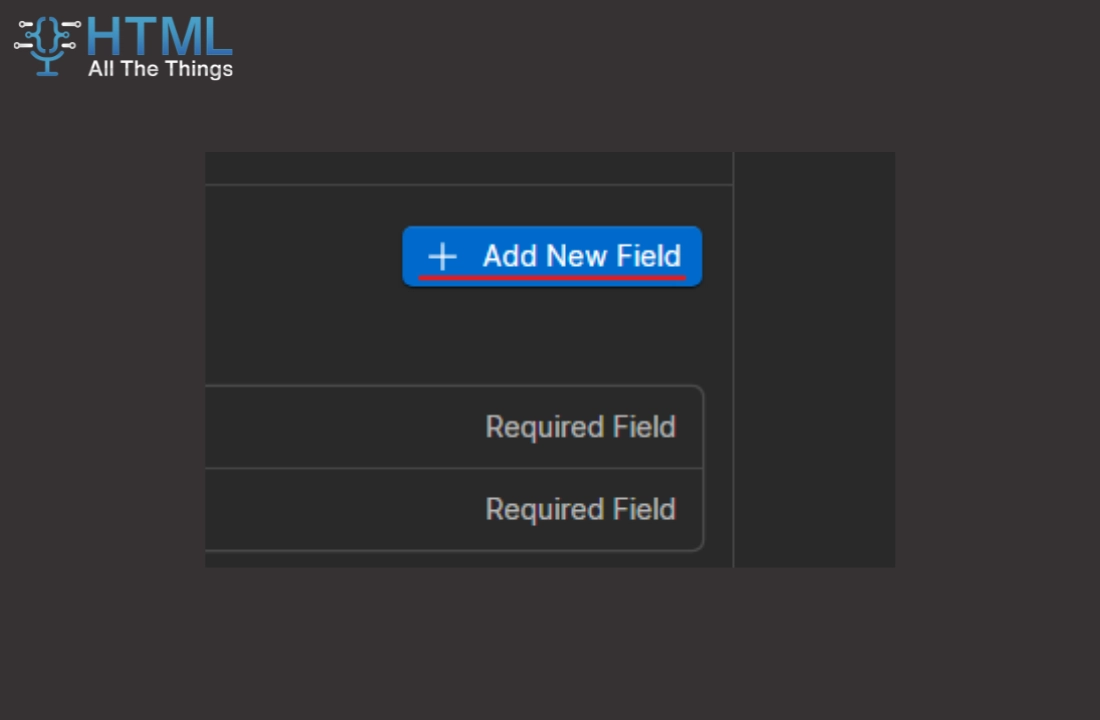
- Click on "+ Add New Field"

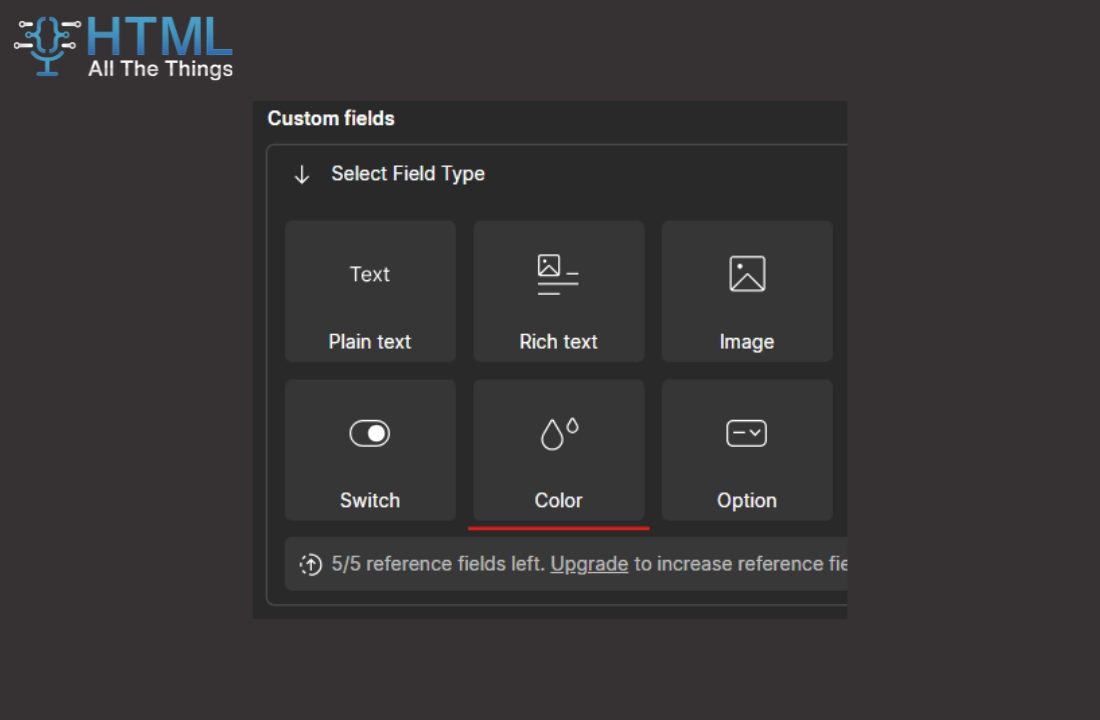
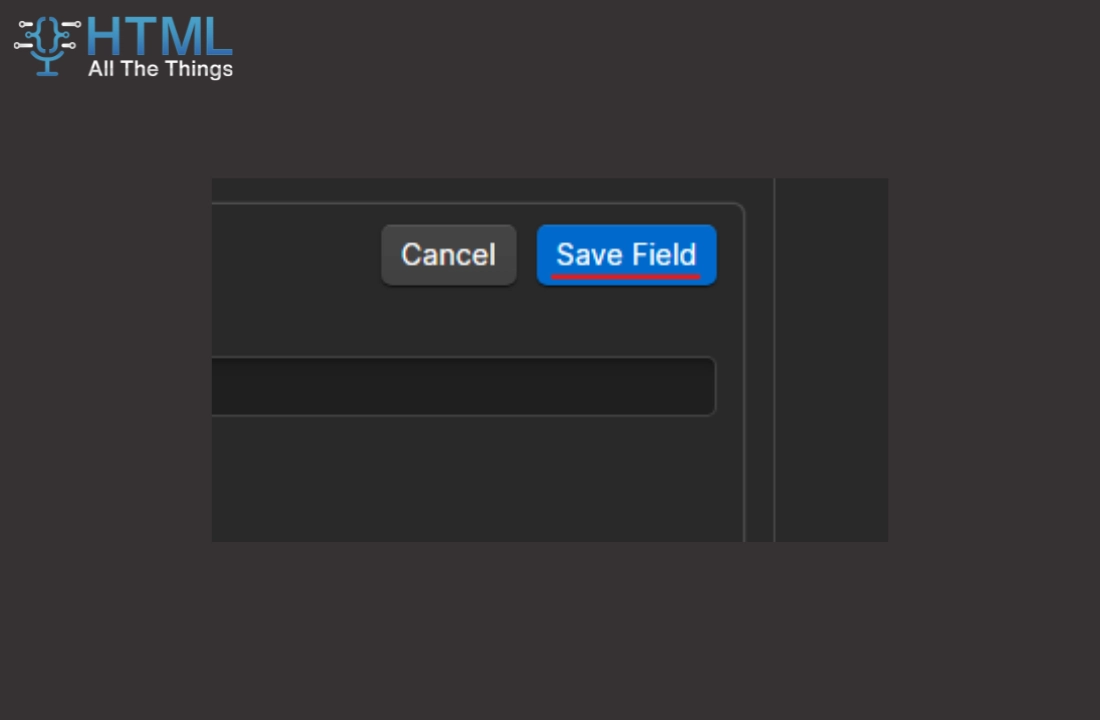
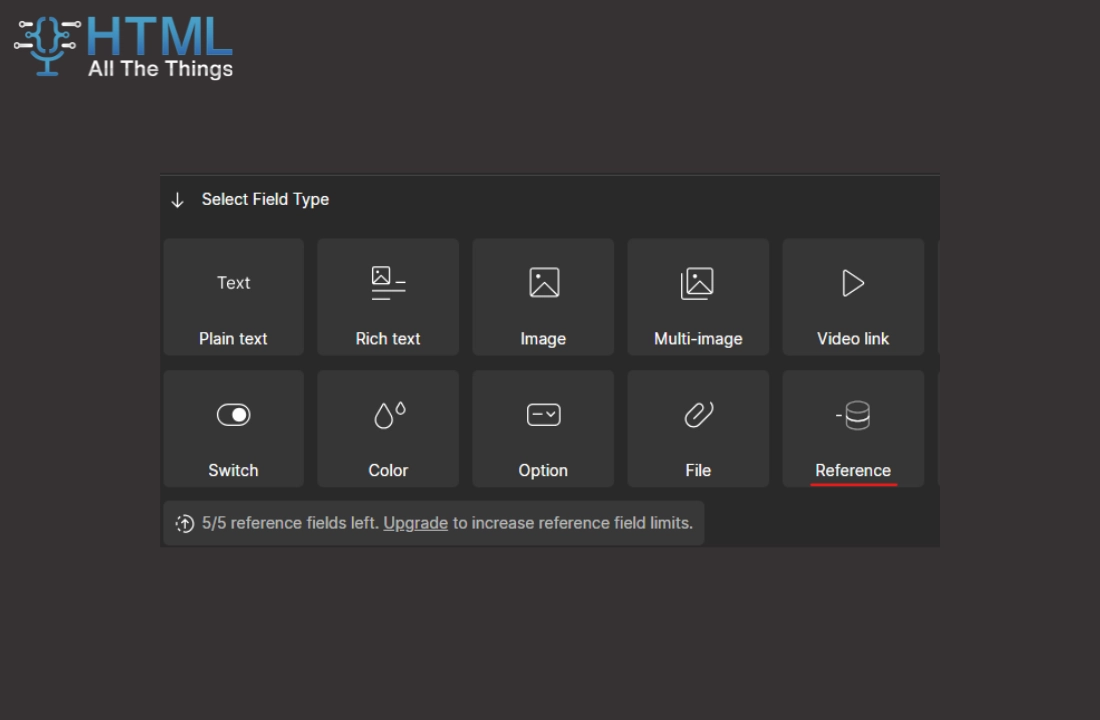
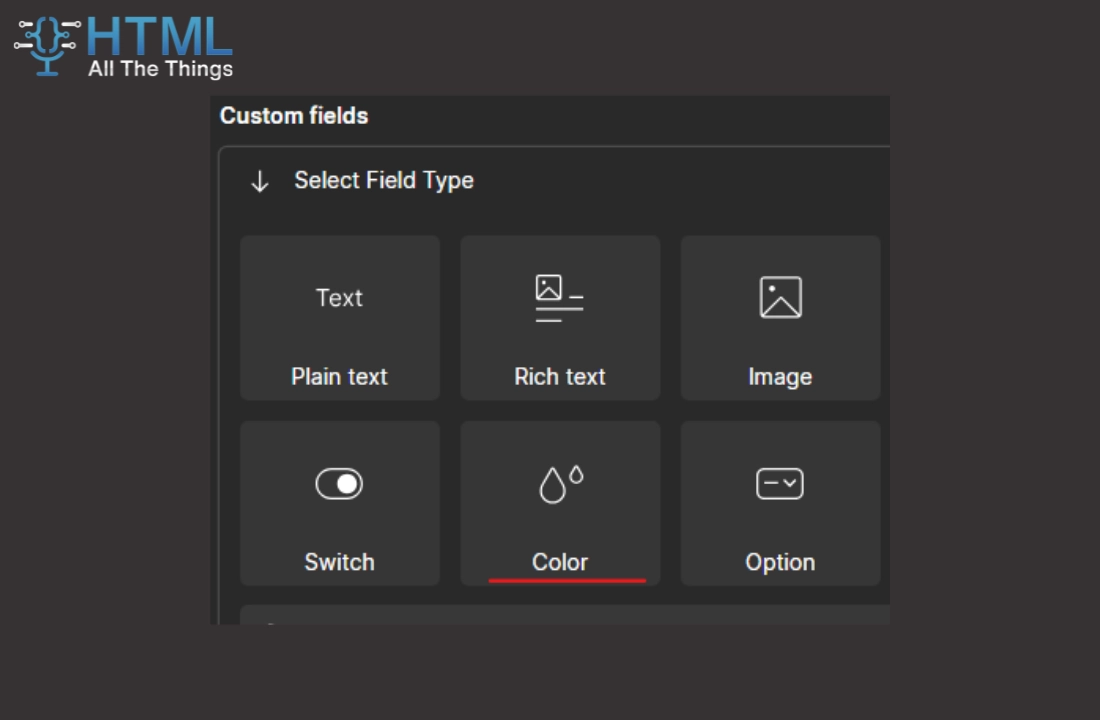
- Select the Color field and give it a name
- We'll call ours "Category Color"
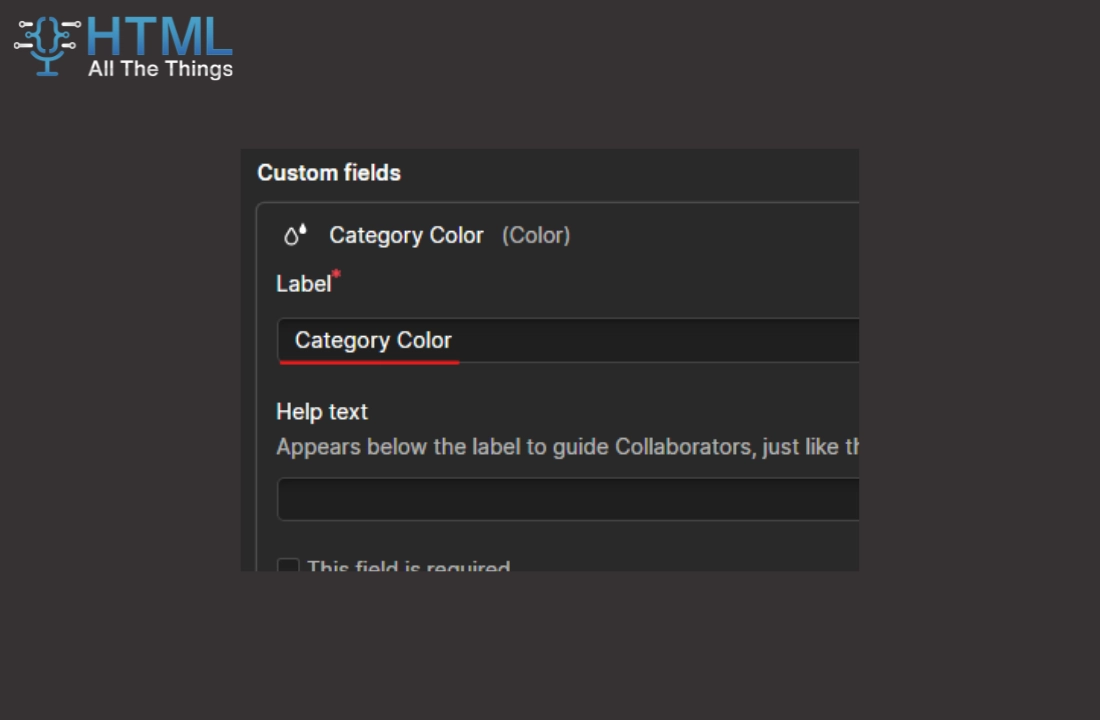
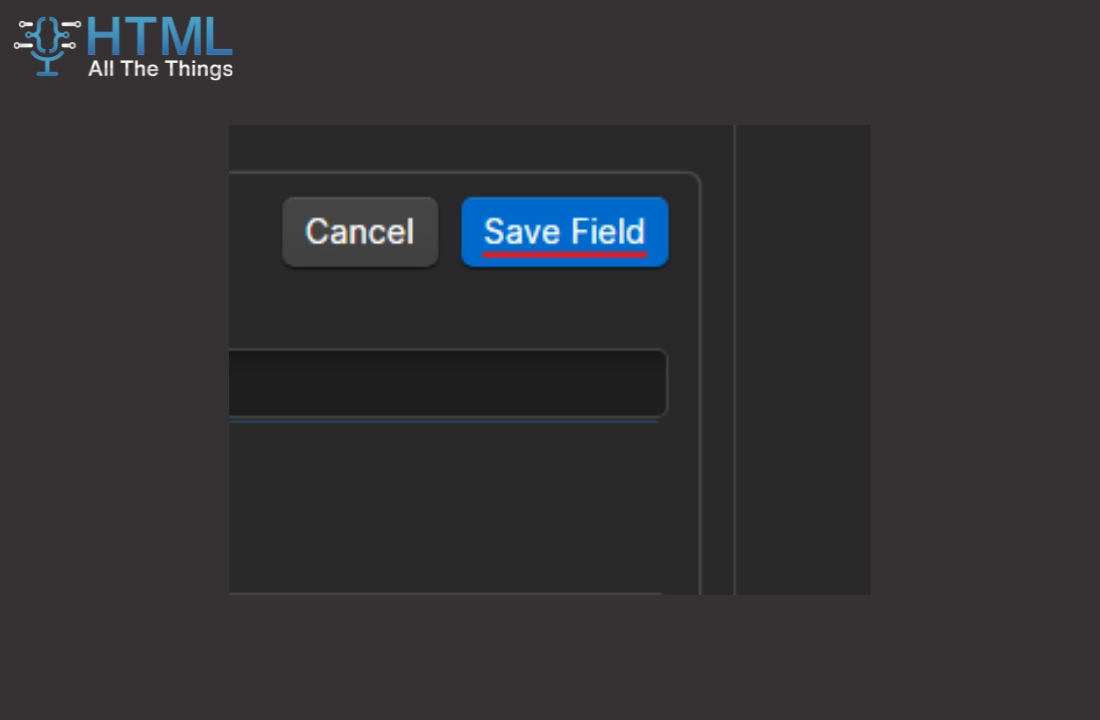
- Save the field and the collection
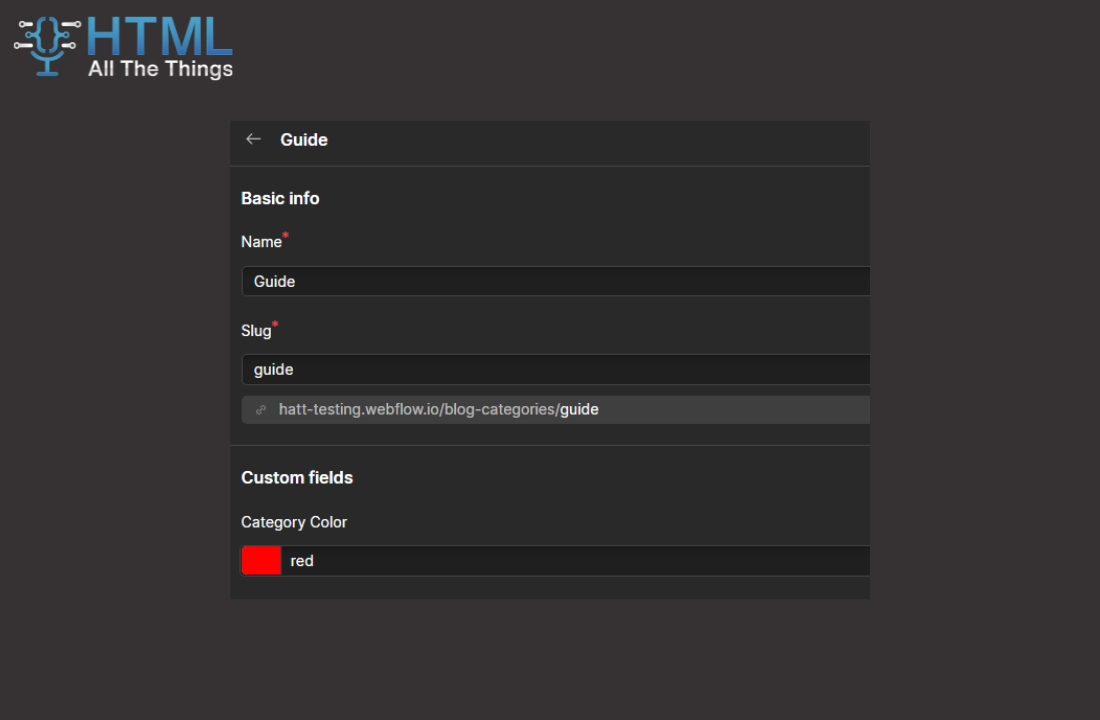
Step 3: Create categories
- Click on the "Blog Categories" collection
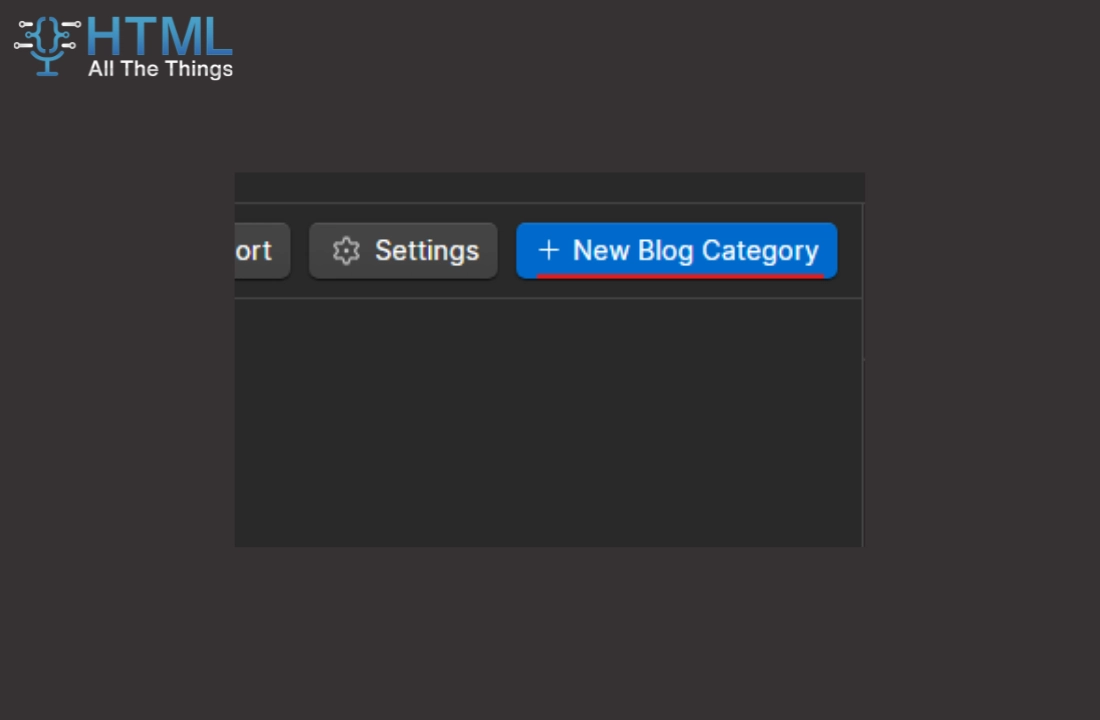
- Click on the "+ New Blog Category" button
- Fill in a name and color for our category
- In this guide we'll add the "Guide" category in red and "News" category in green

- Save and publish your categories once you're done editing
- Note: You may need to publish your entire site before being able to publish single collection items

Step 4: Make a reference field in your blog post CMS collection
In this step we're going to add a reference field that will allow our blog posts to reference our categories collection. As a reference field you can reference a single category per blog post.
- Hover over the CMS collection you're using for your blog posts and click the cog icon
- In our case it's the "Blog Posts" collection
- Click on "+ Add New Field"
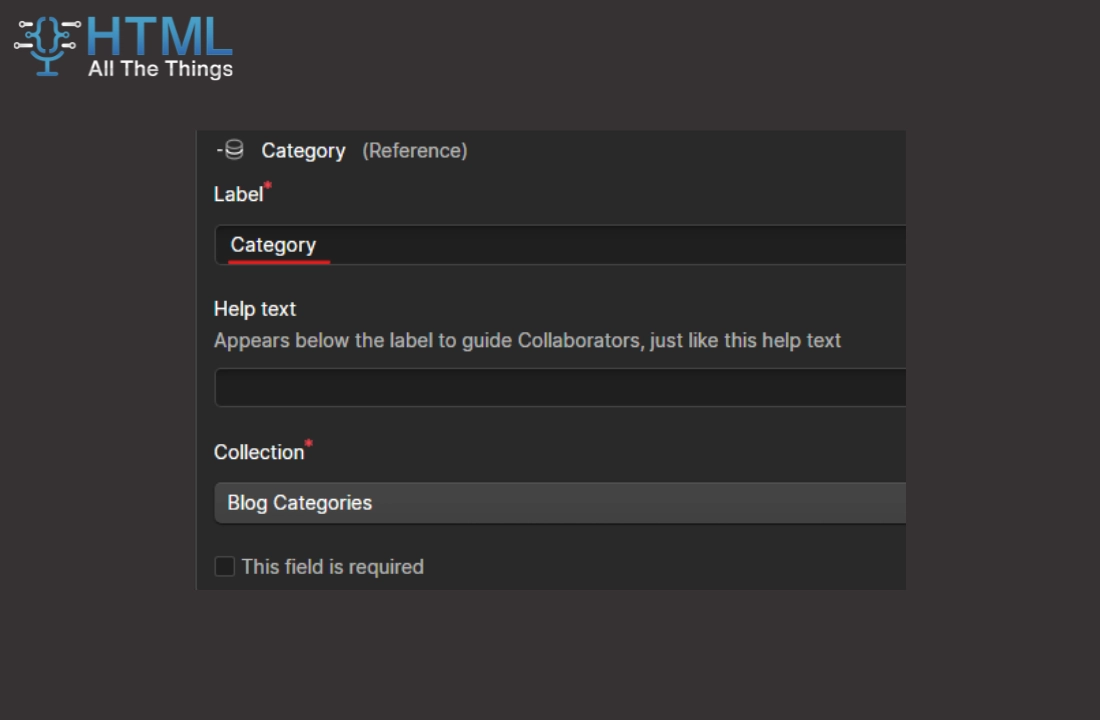
- Select the Reference field and select your categories collection in the dropdown list
- In this guide, this is "Blog Categories"
- Give your reference field a recognizable name - we'll use "Category"
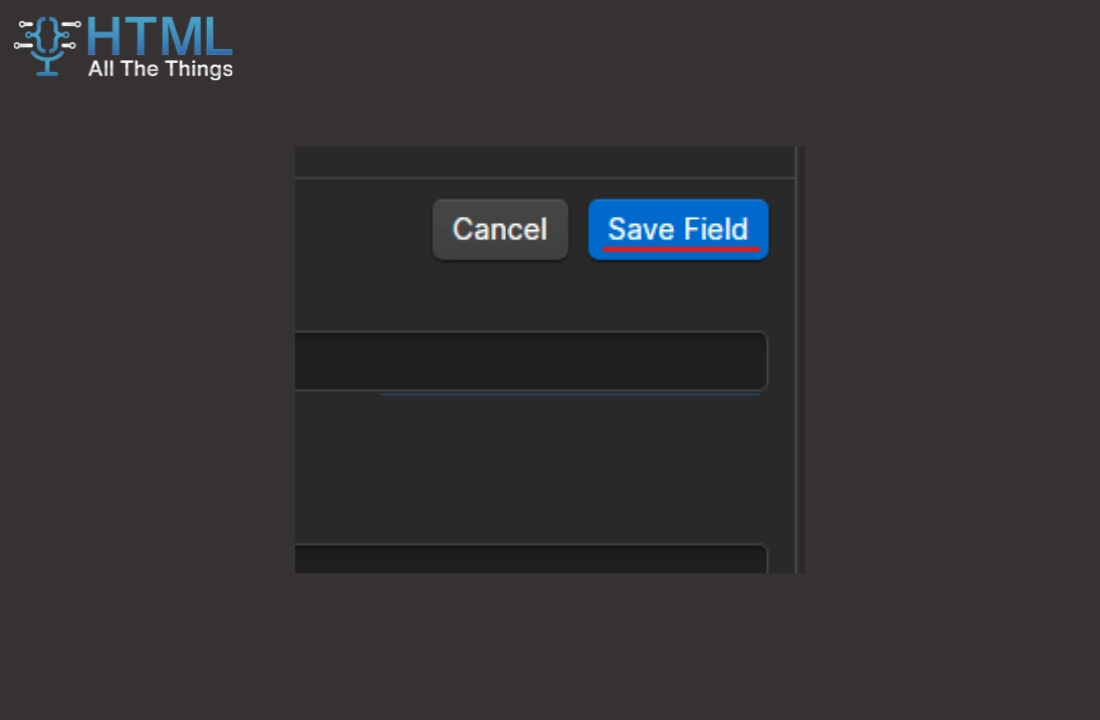
- Save the field and the collection

Step 5: Attach a category to your blog post
- Edit an existing, or create a new blog post
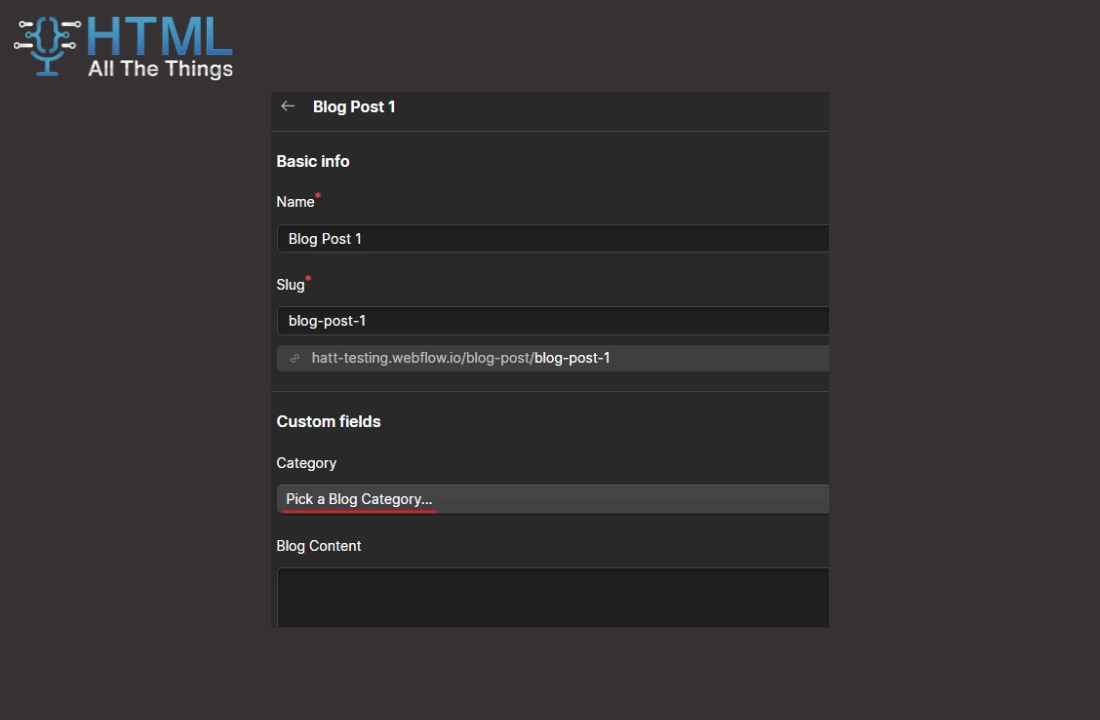
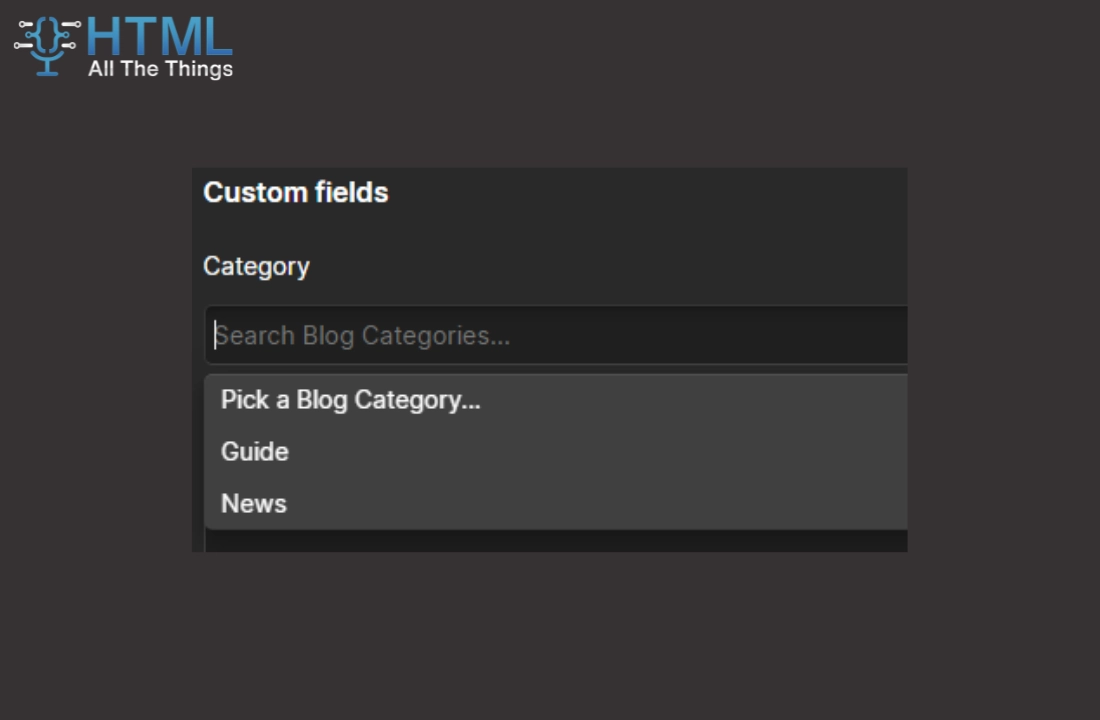
- You should see your reference field, where you can now select from any of the categories you've made
How to create blog tags in Webflow
This guide assumes you already have a CMS collection for your blog posts.
Step 1: Create a tags CMS collection
- Open the CMS menu in the Webflow Designer
- Click on the "Create New Collection" button
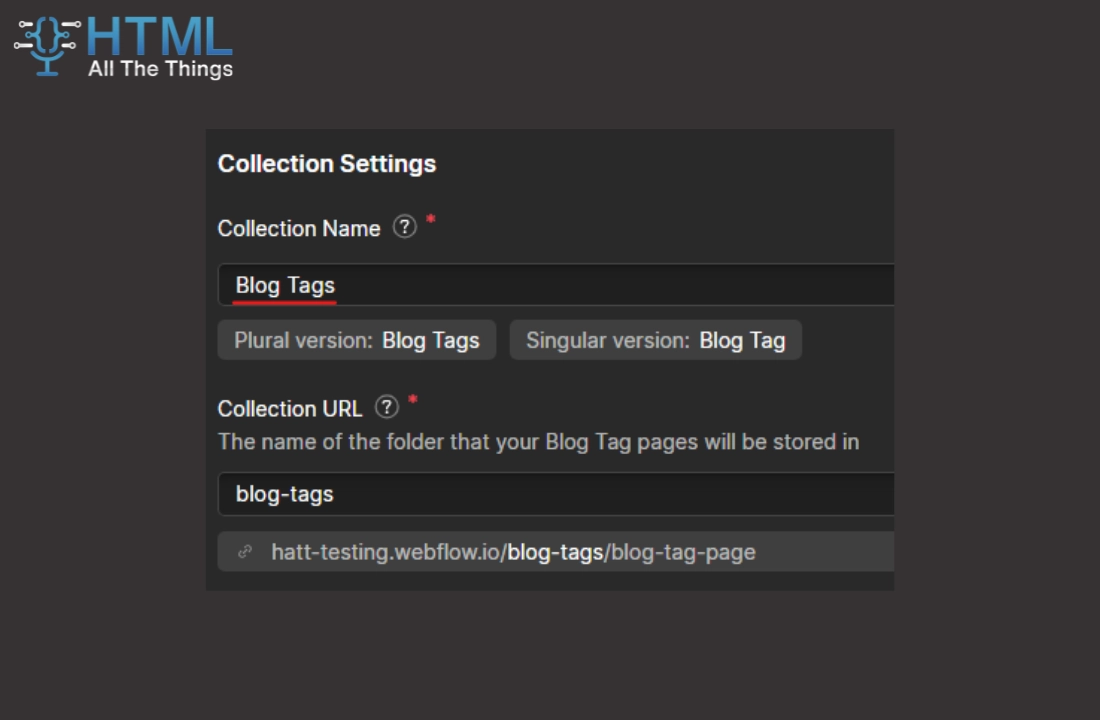
- Type in a name for the tags collection
- We'll name ours "Blog Tags"
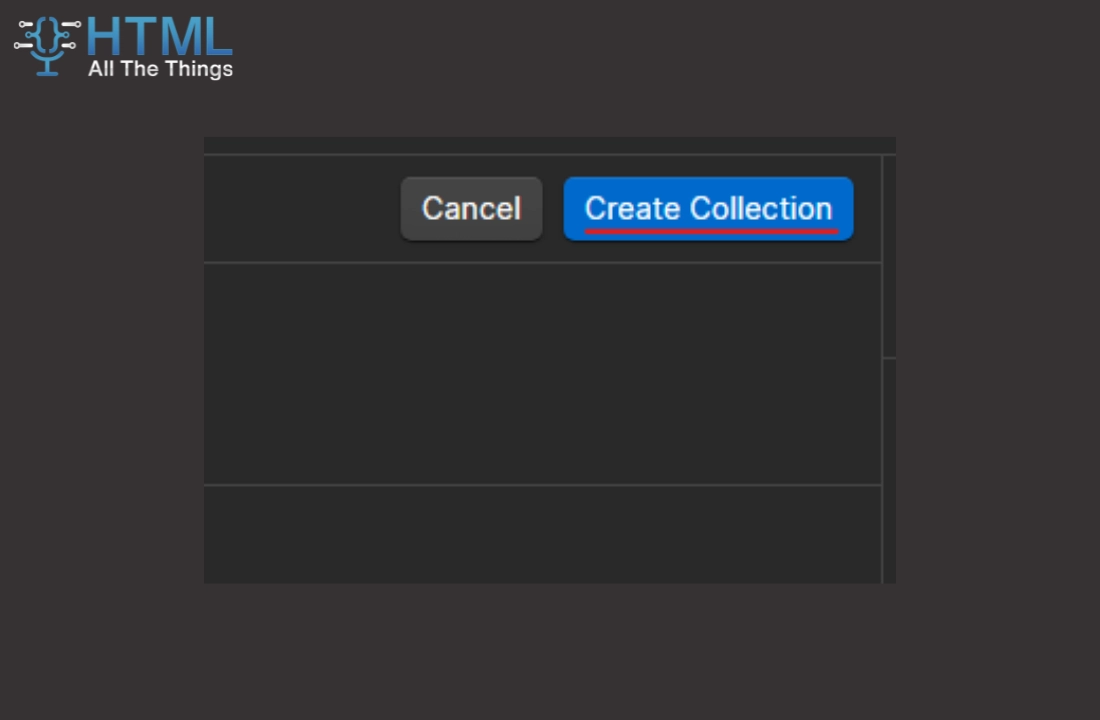
- Save the collection by clicking on "Create Collection"
Step 2: Create tag fields
By default, we're provided with a name field when we created the collection. Typically tags only need a name so you'll likely not have to add any additional fields - if this applies to you, you can skip this step. However, you can attach other fields to tags, much like categories. In this guide, we'll add a color control field so that site editors can control the affiliated color with each tag.
- Hover over the "Blog Tags" collection and click on the cog icon
- Click on "Add New Field"
- Select the Color field and give it a name
- We'll call our "Tag Color"

- Save the field and the collection
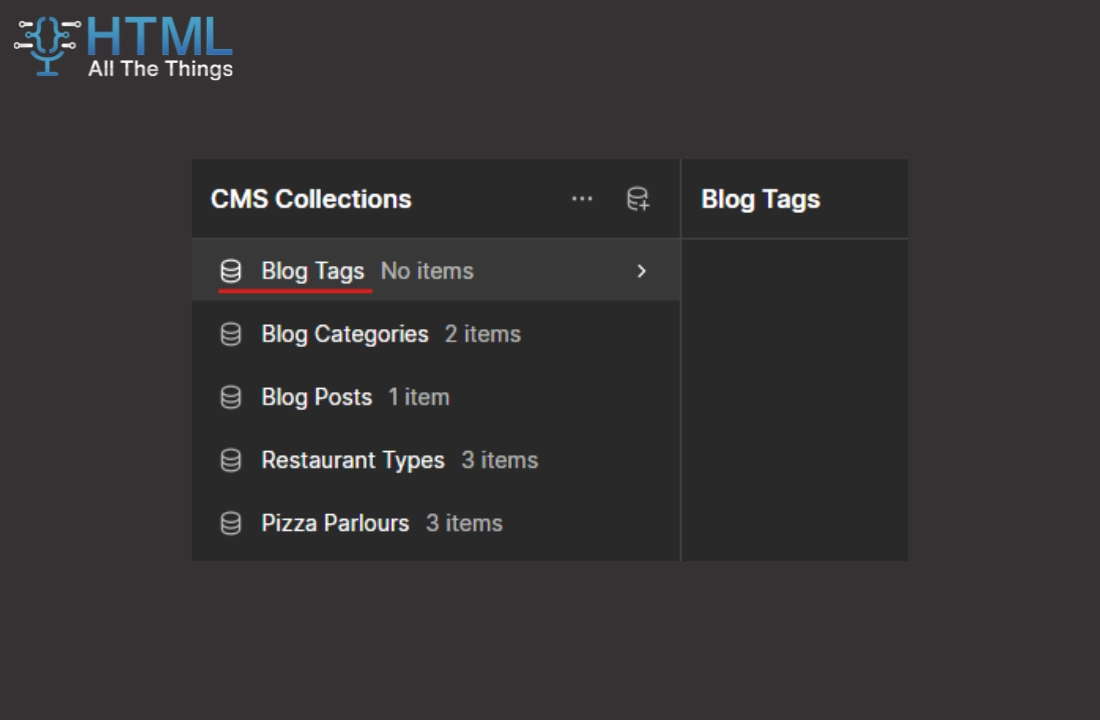
Step 3: Create tags
- Click on the "Blog Tags" collection
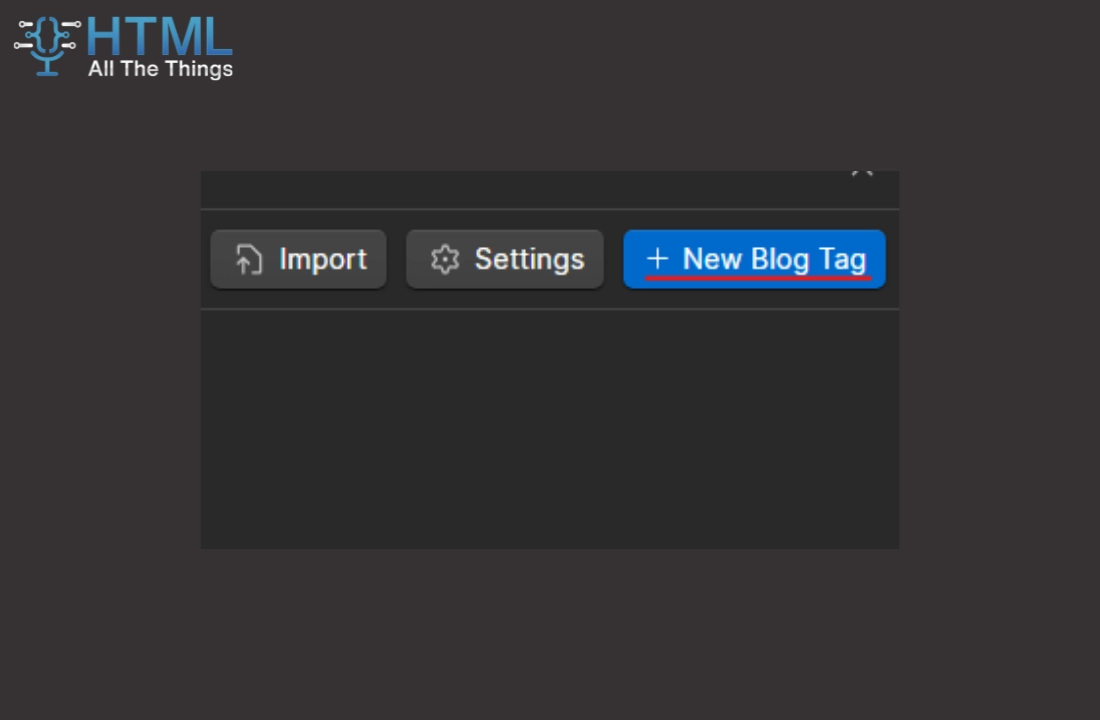
- Click on the "+ New Blog Tag" button
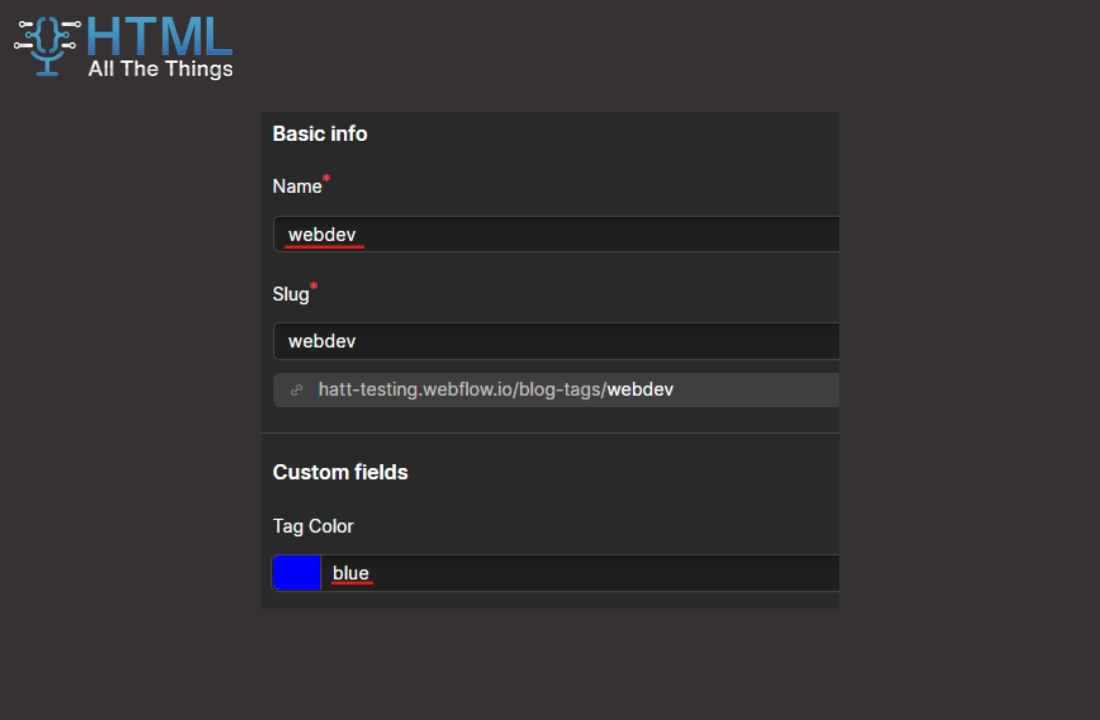
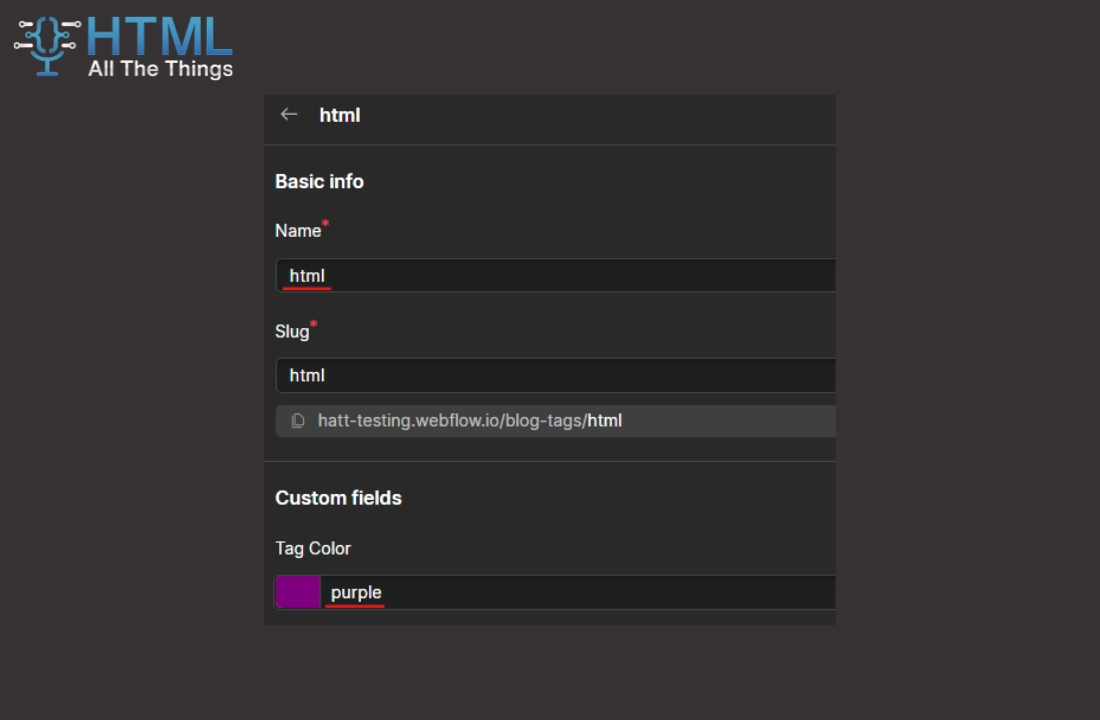
- Fill in a name and color for our tag
- In this guide we'll add the "webdev" tag in blue and "html" tag in purple
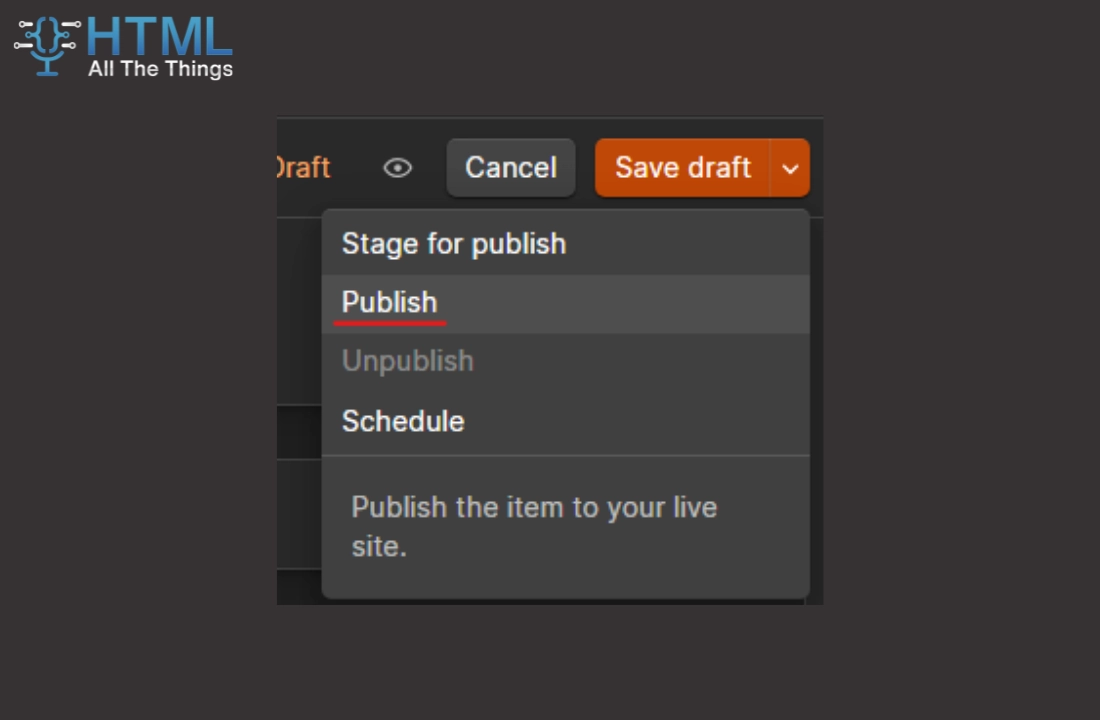
- Save and publish your tags once you're done editing
- Note: You may need to publish your entire site before you'll be able to publish your tags
Step 4: Make a multi-reference field in your blog post CMS collection
In this step we're going to add a multi-reference field that will allow our blog posts to reference our tags collection. As a multi-reference field, we'll be able to reference multiple tags at once.
- Hover over the CMS collection you're using for your blog posts and click the cog icon
- In our case it's the "Blog Posts" collection
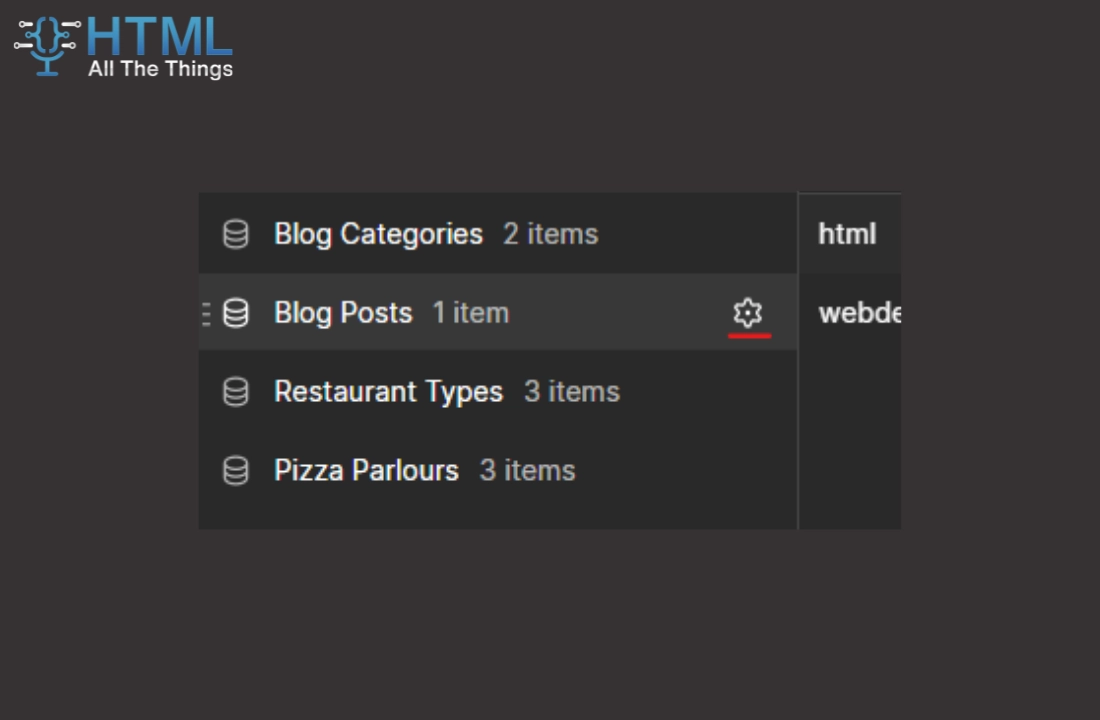
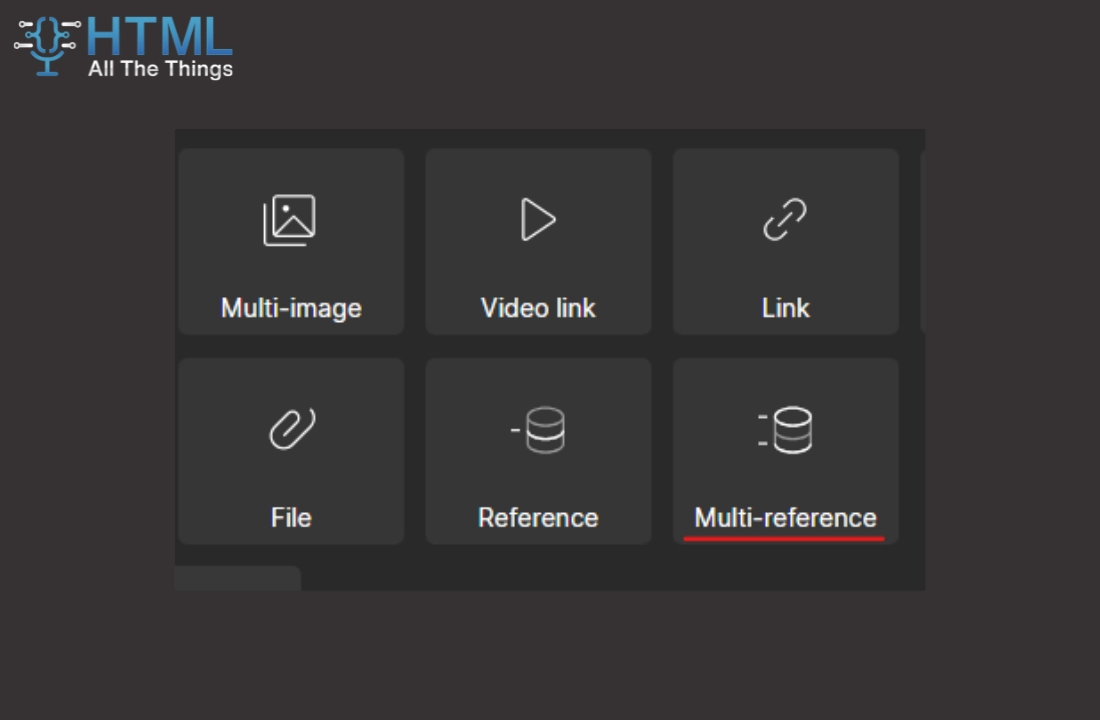
- Click on "Add New Field"
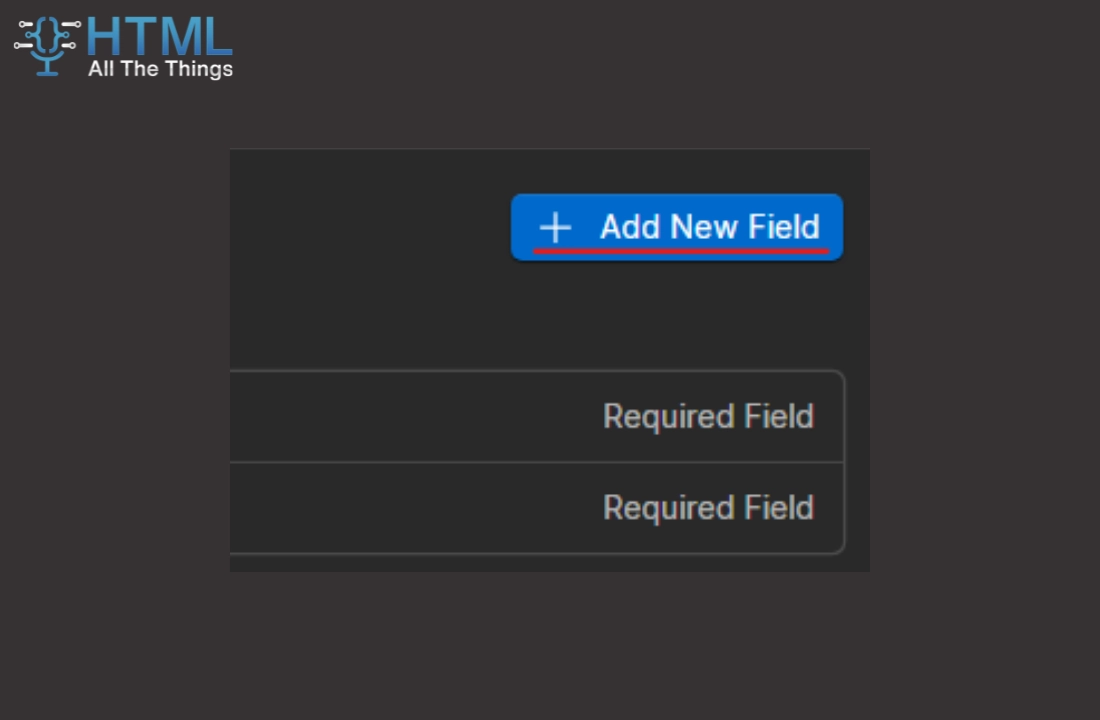
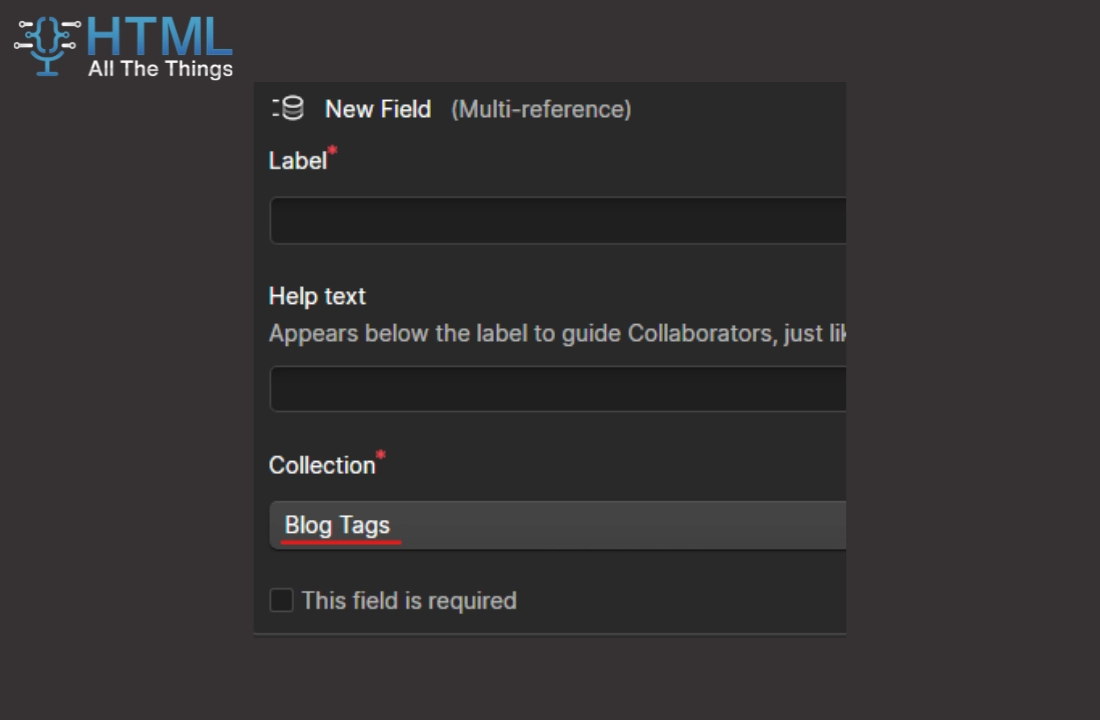
- Select the Multi-Reference field and select your tags collection in the dropdown list
- In this guide, this is "Blog Tags"
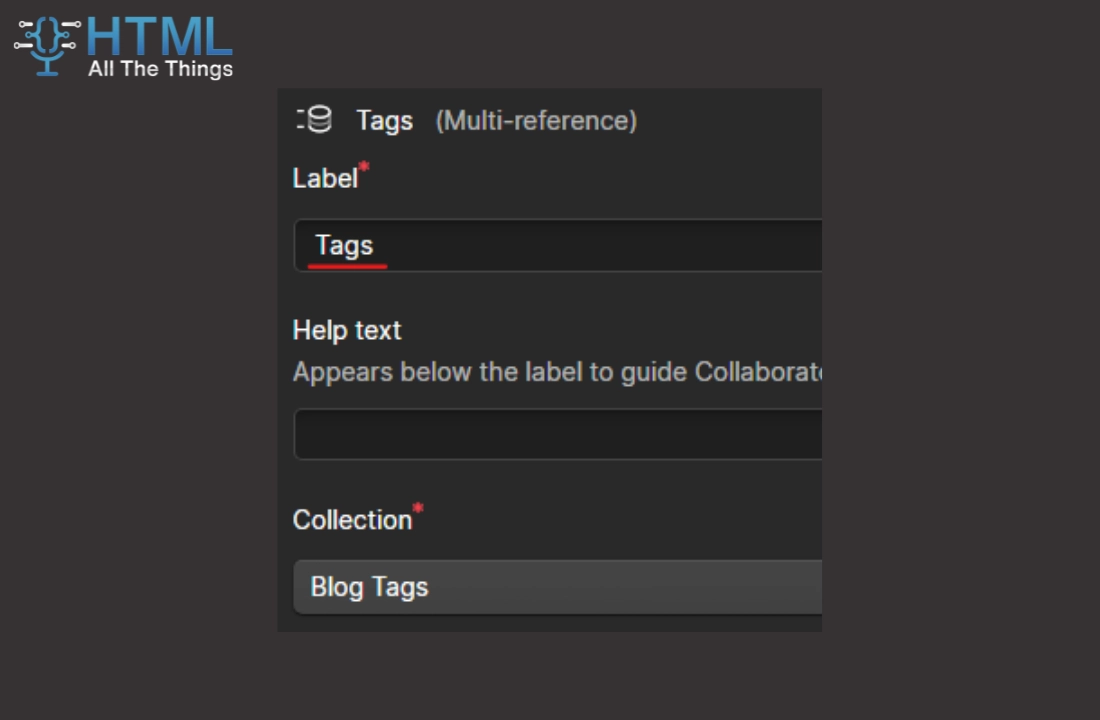
- Give your multi-reference field a recognizable name - we'll use "Tags"
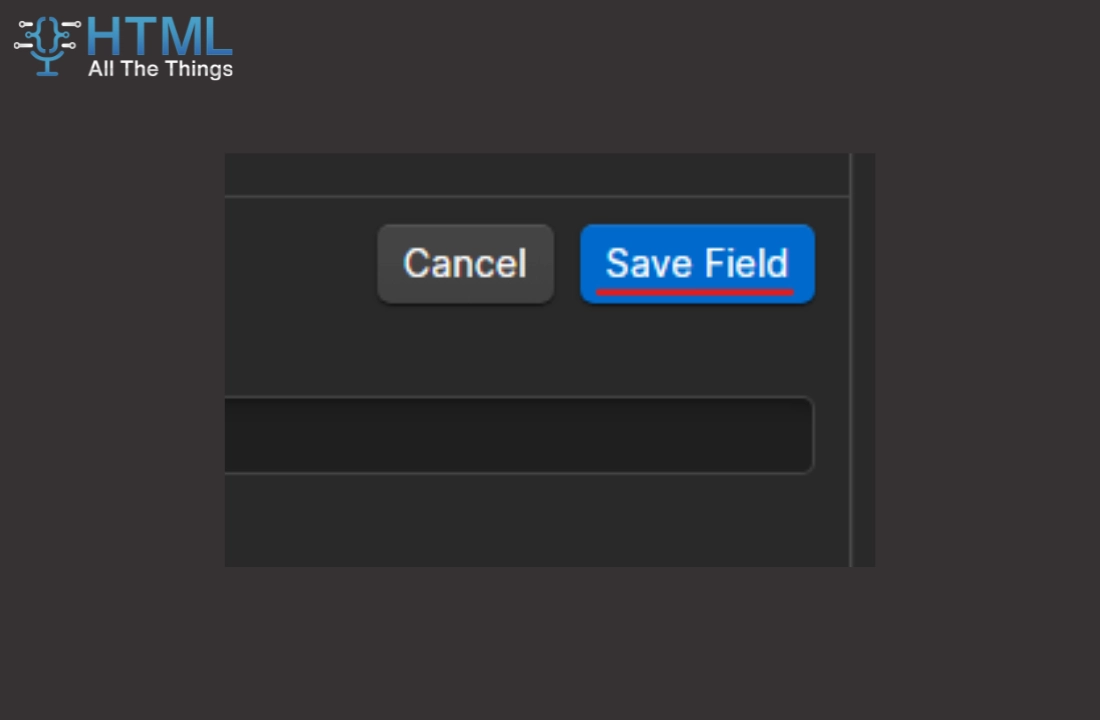
- Save the field and the collection
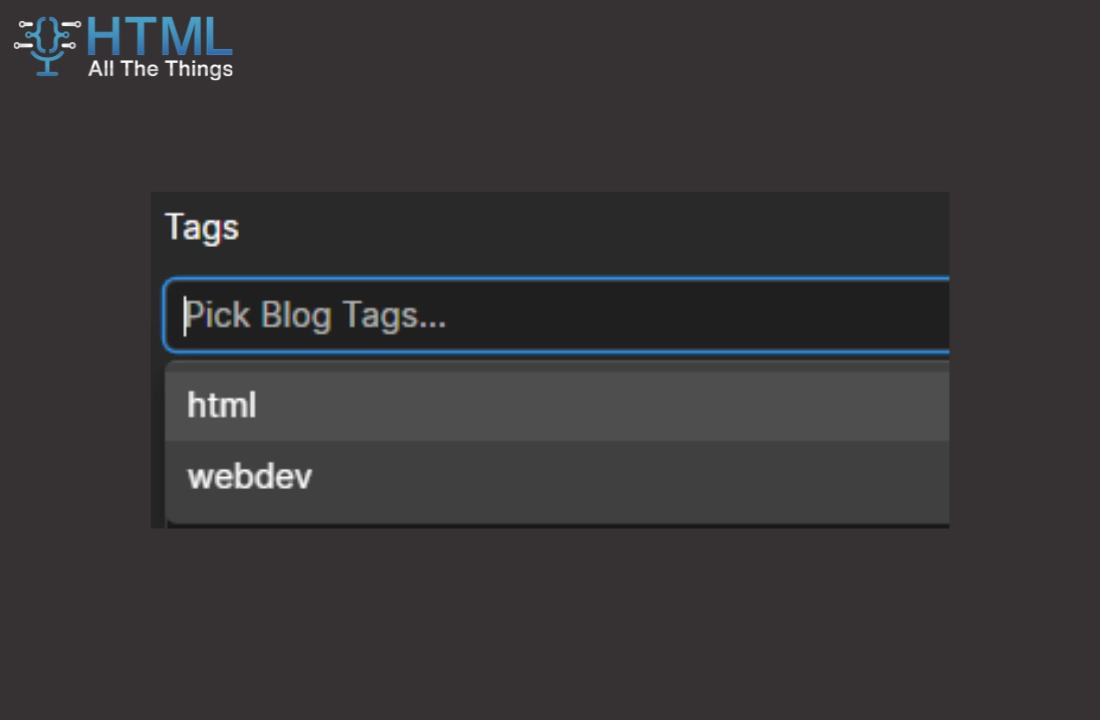
Step 5: Attach tags to your blog post
- Edit an existing, or create a new blog post

- You should see your multi-reference field, where you can now select from any of the tags that you made
- Note that you can select multiple tags if you wish