
Skip the code, keep the creativity! Webflow gives users the ability to build stunning, responsive, and SEO-friendly websites without having to learn how to code first. Marketers, designers, and developers collaborate using a browser based visual editor. This is perfect for agencies, freelancers, and companies looking for a way to launch modern websites quickly.
In this Webflow guide we’ll cover the following.
- Quick overview
- Getting familiar with how to use Webflow
- Webflow CMS
- Webflow Collections
- Webflow Collection Items
- Spin up a landing page
Quick overview
Webflow is a no-code/low-code website builder that gives you the power to create responsive websites without needing to write code. Webflow’s key features include the visual editor (the Designer), Content Management System (CMS), and Collections.
Getting familiar with how to use Webflow
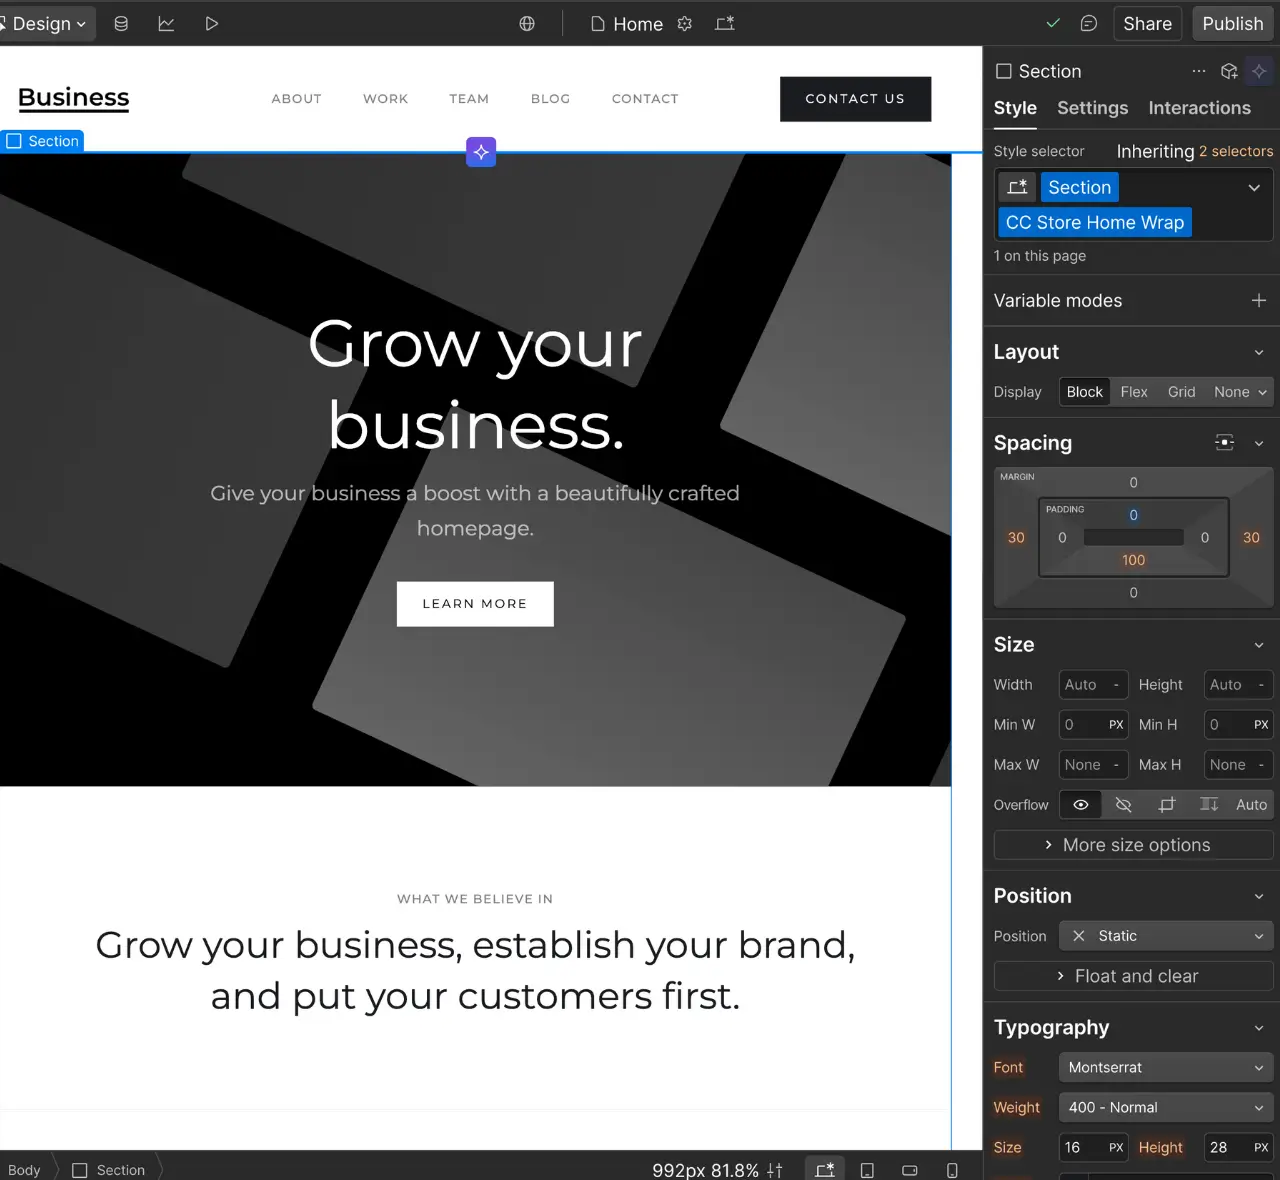
One of the reasons I like using Webflow is because of its sleek visual editor that makes it enjoyable to work in. The section on the right gives you all the styling options you need to design a custom website. From personal experience, I found it a little difficult to navigate at first because I was coming from working in Visual Studio Code and building my own websites. After spending some time with it, I felt more comfortable and found what I was looking for quickly.
Pro Tip: If you press CMD + E on mac or CTRL + E on Windows, a search bar pops up and you can easily search for things within Webflow. This was a nice touch since I’m used to using Spotlight for mac and searching that way.
Webflow CSS – CSS Preview, custom CSS, site audits, Webflow help
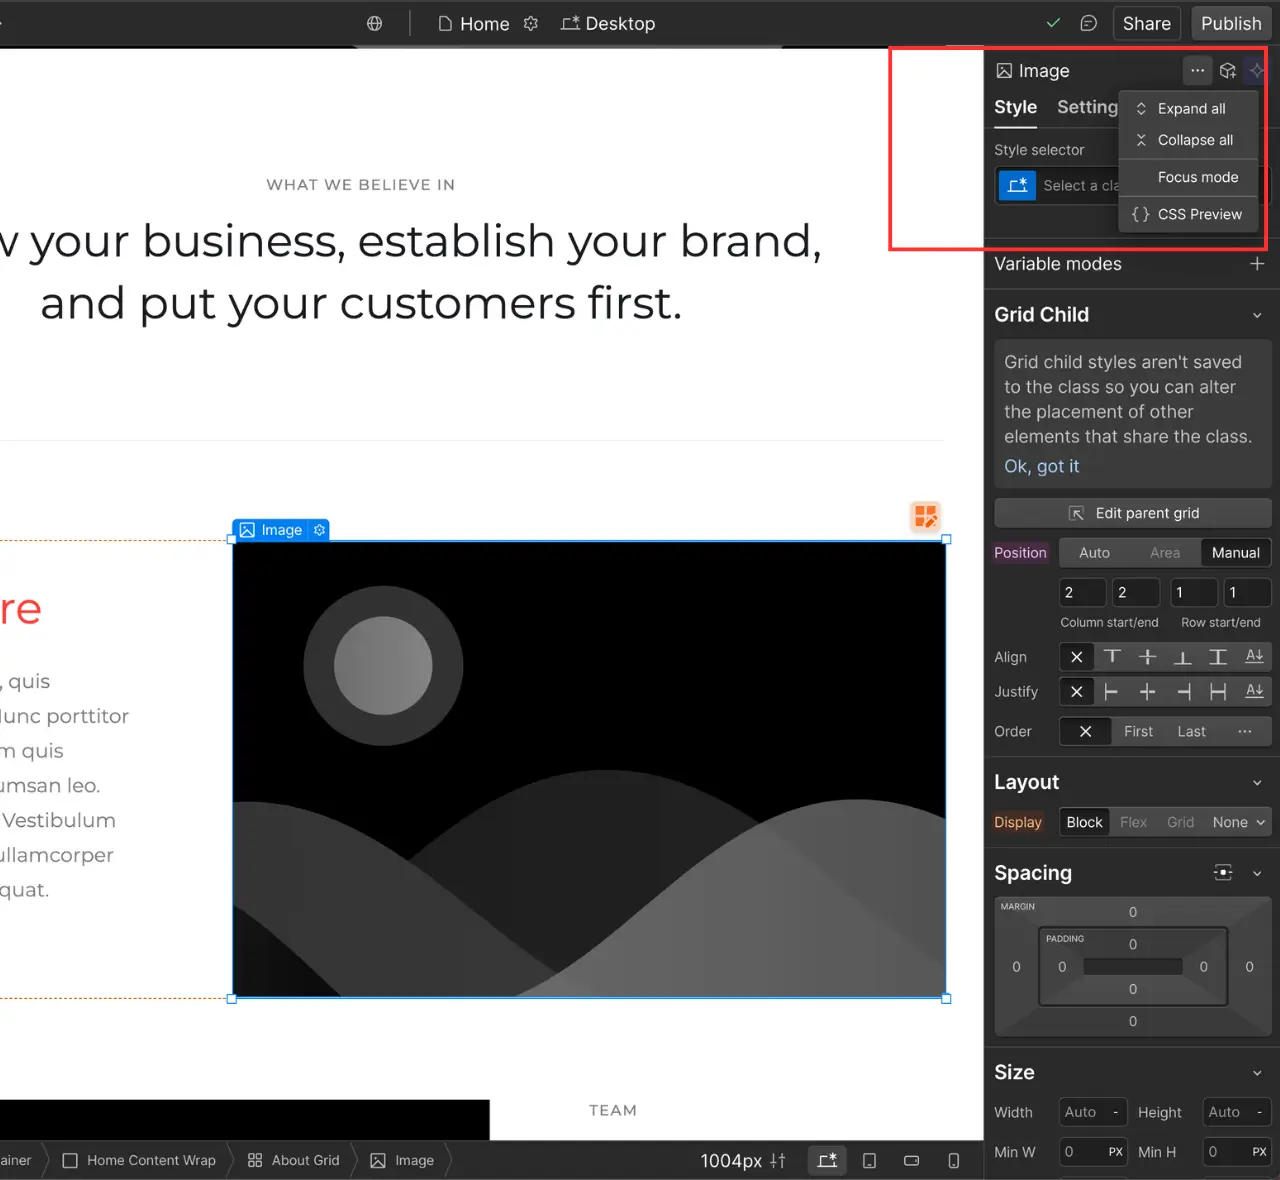
Webflow comes with a CSS Preview window that allows you to see styles for the areas you click on. Click the three dots above the Interactions tab to find the CSS Preview window.
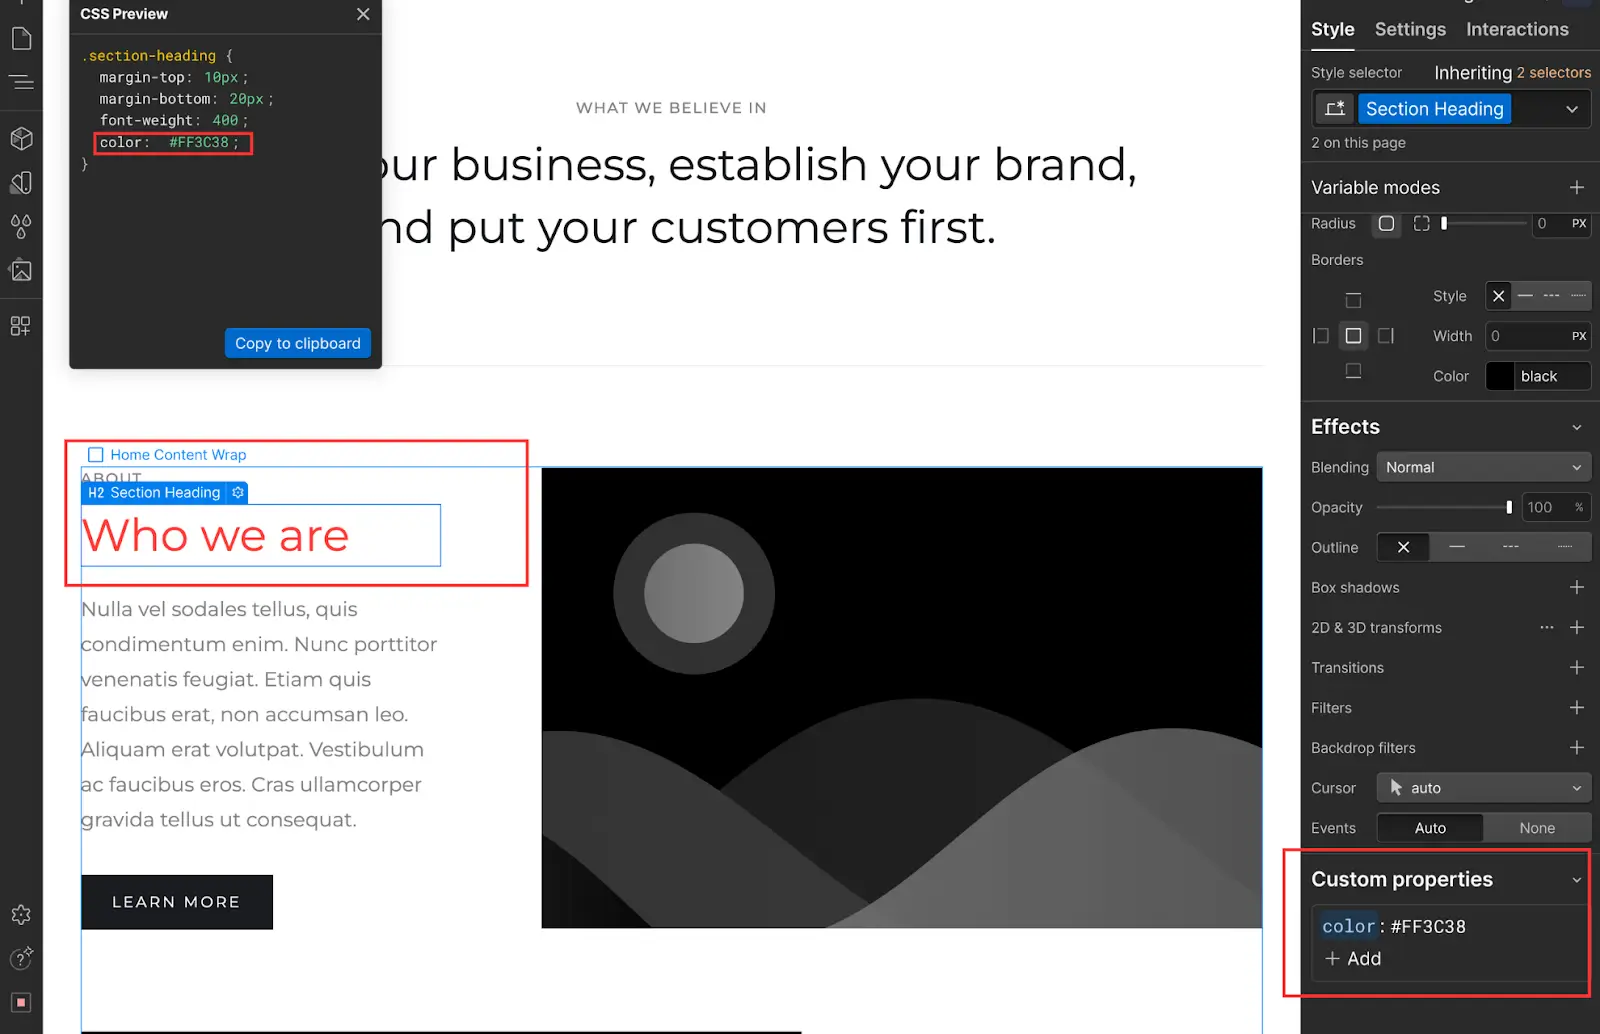
Wish you could have more control over your CSS? No problem! You can add your own styling by using the custom properties section at the bottom of the Style section.
While Webflow doesn’t require any previous knowledge of HTML, CSS, or JavaScript, from my experience it did help reduce the learning curve. If you’re a total beginner, I think it’s worth taking the time to learn a little HTML and CSS before jumping into creating a website with Webflow. There’s plenty of free resources but if you want official Webflow tutorials, you can check out their courses page where they have courses to help you get started.
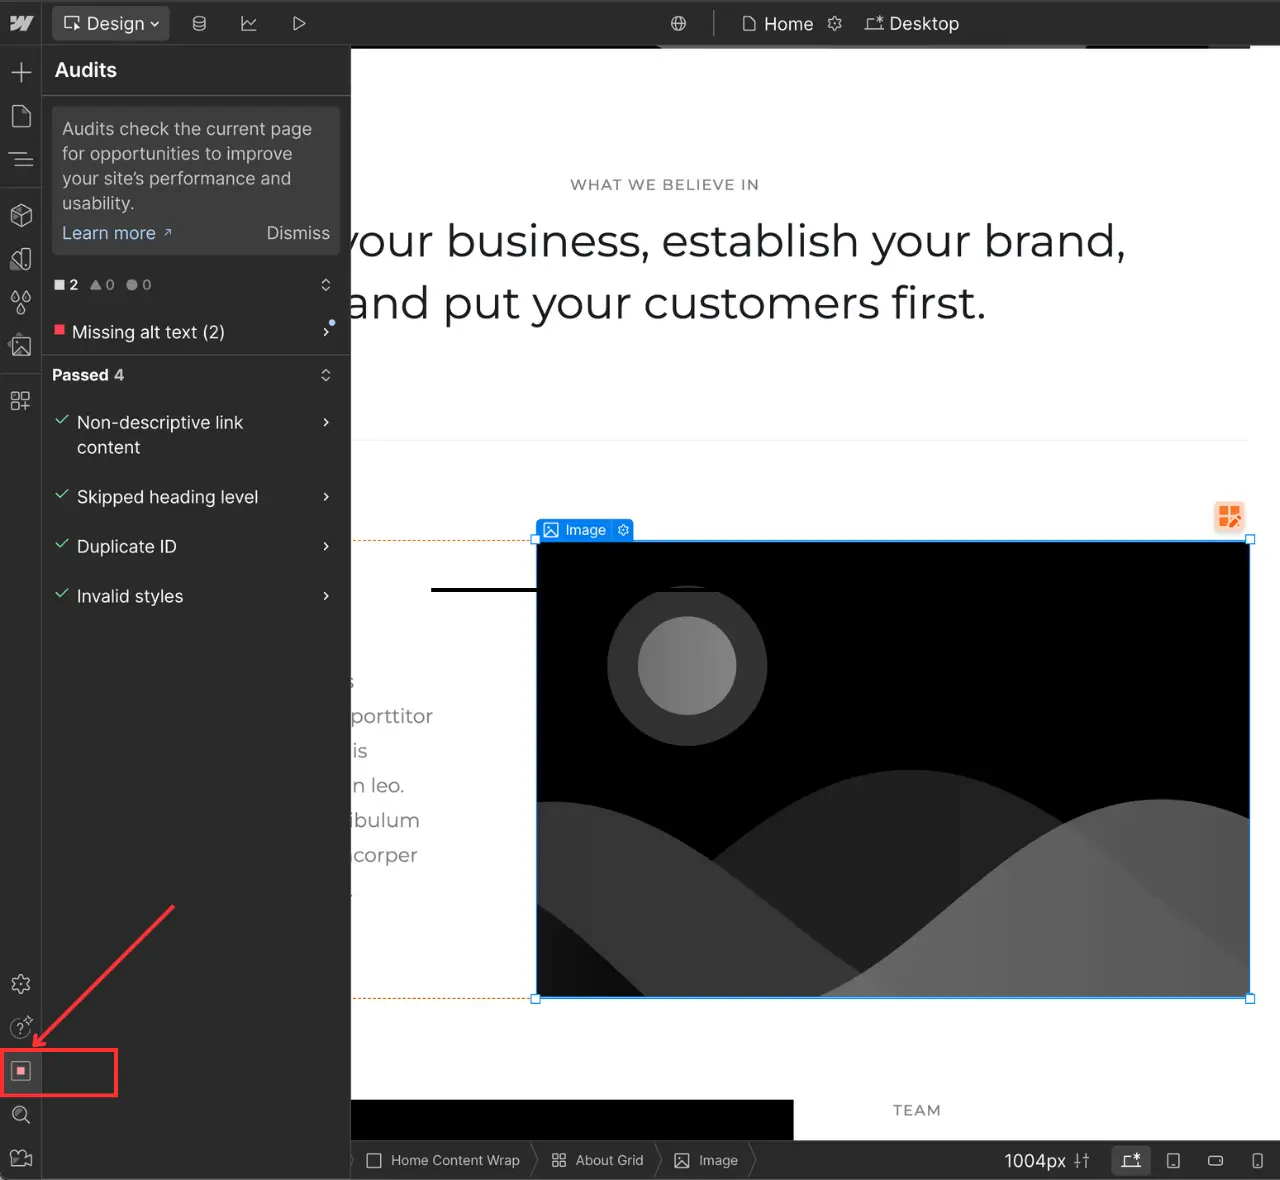
On the left side of the editor, you have options to add elements, manage your pages, add components, connect apps, and more. I found the Audits section helpful as I was building pages because it flags common accessibility issues and helps improve the user experience.
New to Webflow? Feeling a little lost? Click the video icon at the bottom of the panel for quick, easy-to-understand Webflow tutorials. It’s a great reference for new users, especially those without previous web development experience.
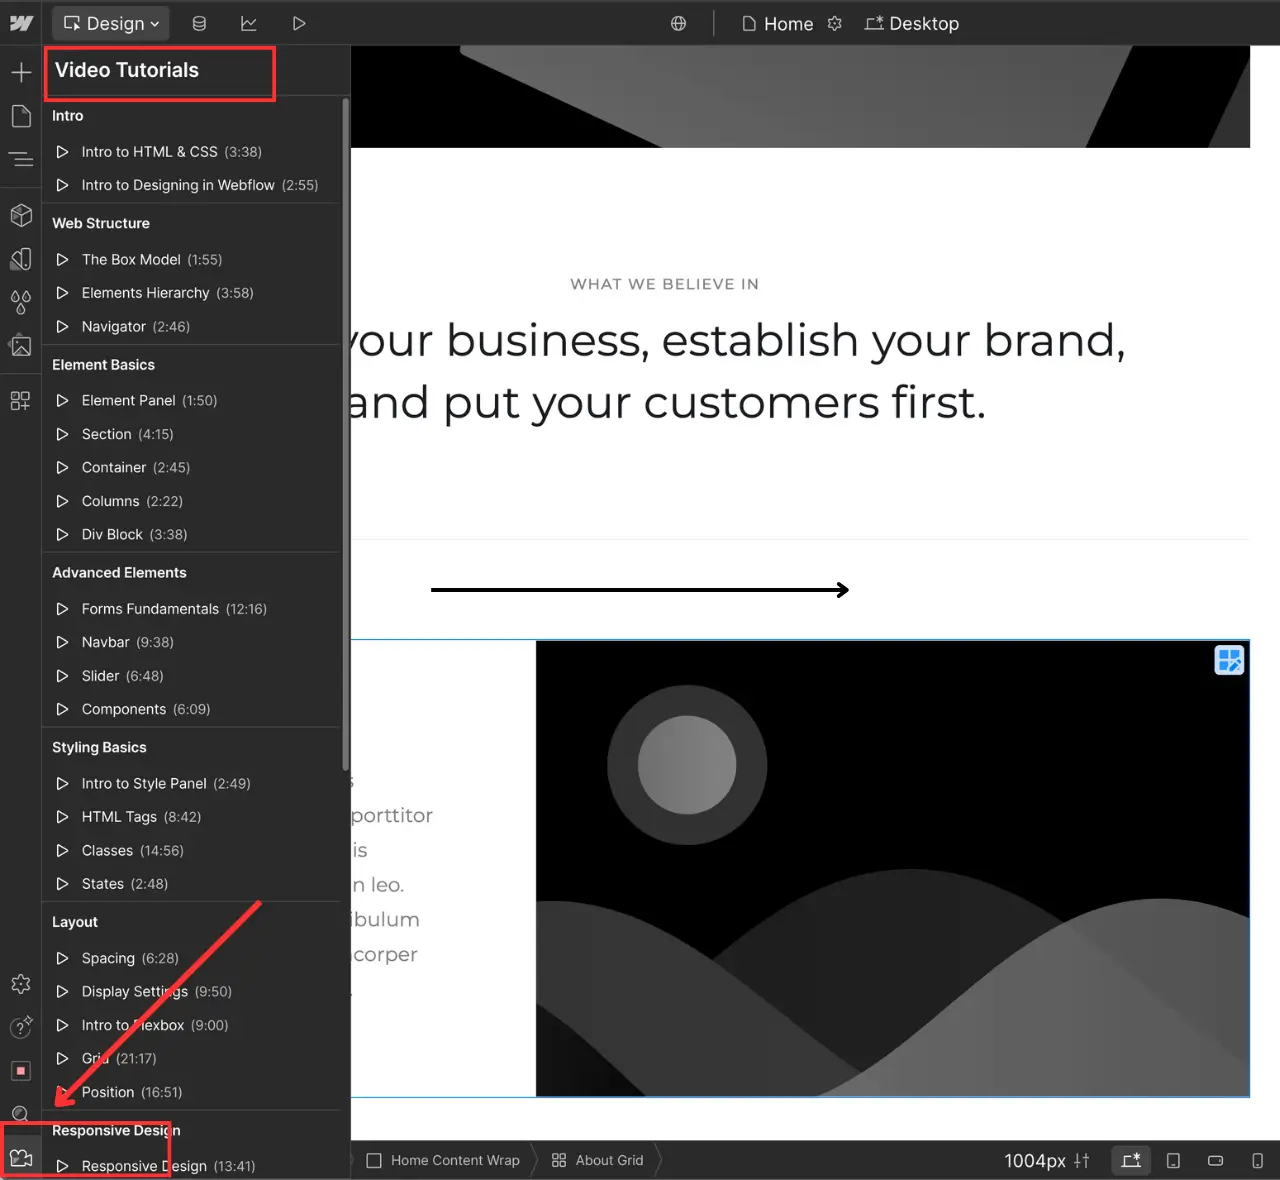
There’s a lot to unpack in these two side panels and we won’t be going over everything. For a more in depth review, I recommend Webflow University because it has a bunch of great tutorials that will guide you.
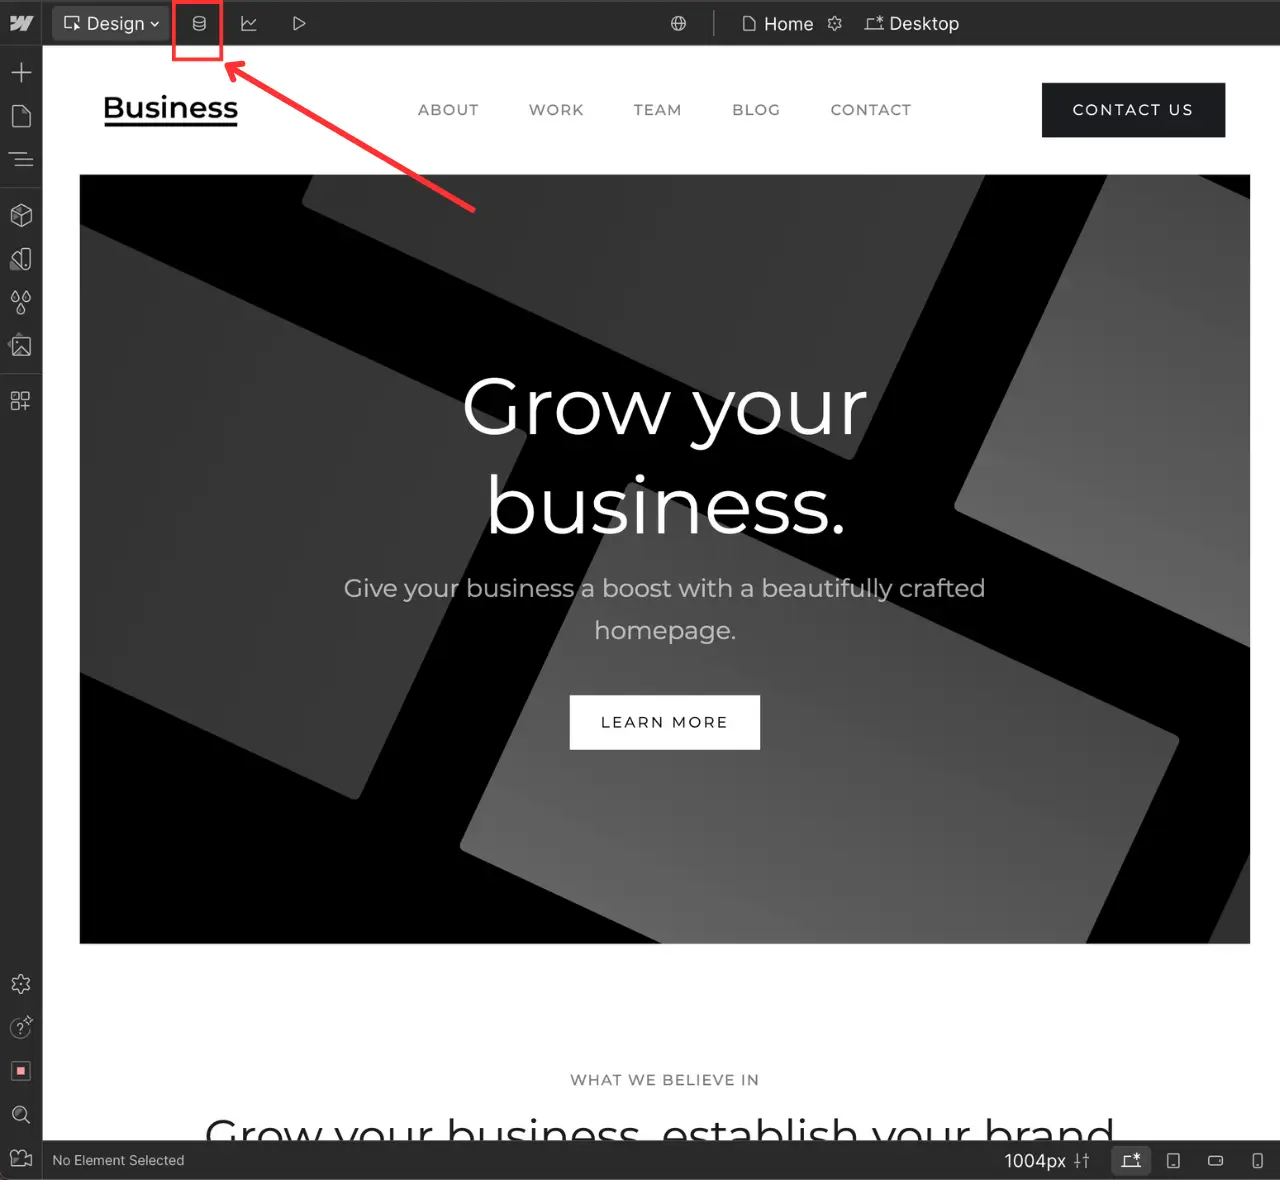
Webflow CMS
The Webflow CMS allows you to store and manage your content easily and gives you the power to create dynamic content. What’s dynamic content? Great question! It’s when you have parts of your website that are updated frequently and you need to find a way to make those updates in multiple places without having to make changes to every single section. For example, you can update your blog and testimonials content once in the CMS, and see those changes instantly reflected throughout your website.
Webflow Collections
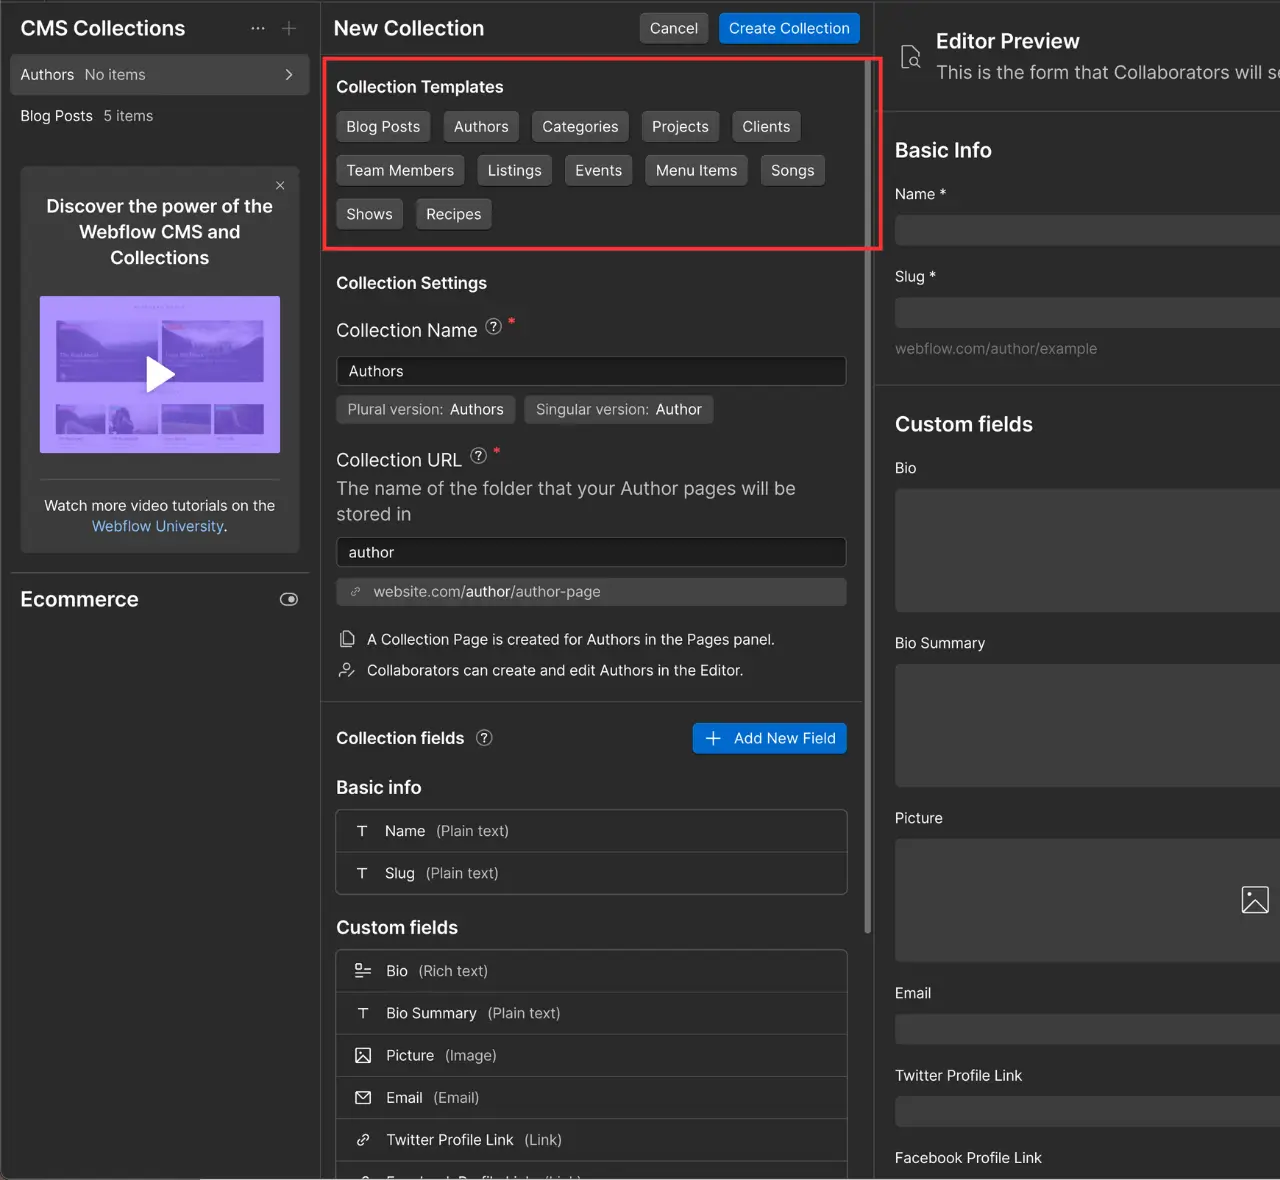
Collections are databases that group related content like blog posts, newsletters, and articles together so you can reference as needed on your website. This is where you create the framework, or structure, of the content you want to add.
Webflow gives you the option to start from a template or you can create a custom collection. You also have the option to add new fields and define the type of content you want in the collection. By defining your fields, team members can now jump in and start adding things like images, text, links, and more without having to code anything. This user friendly approach gives team members of all skill levels an easy way to use collections.
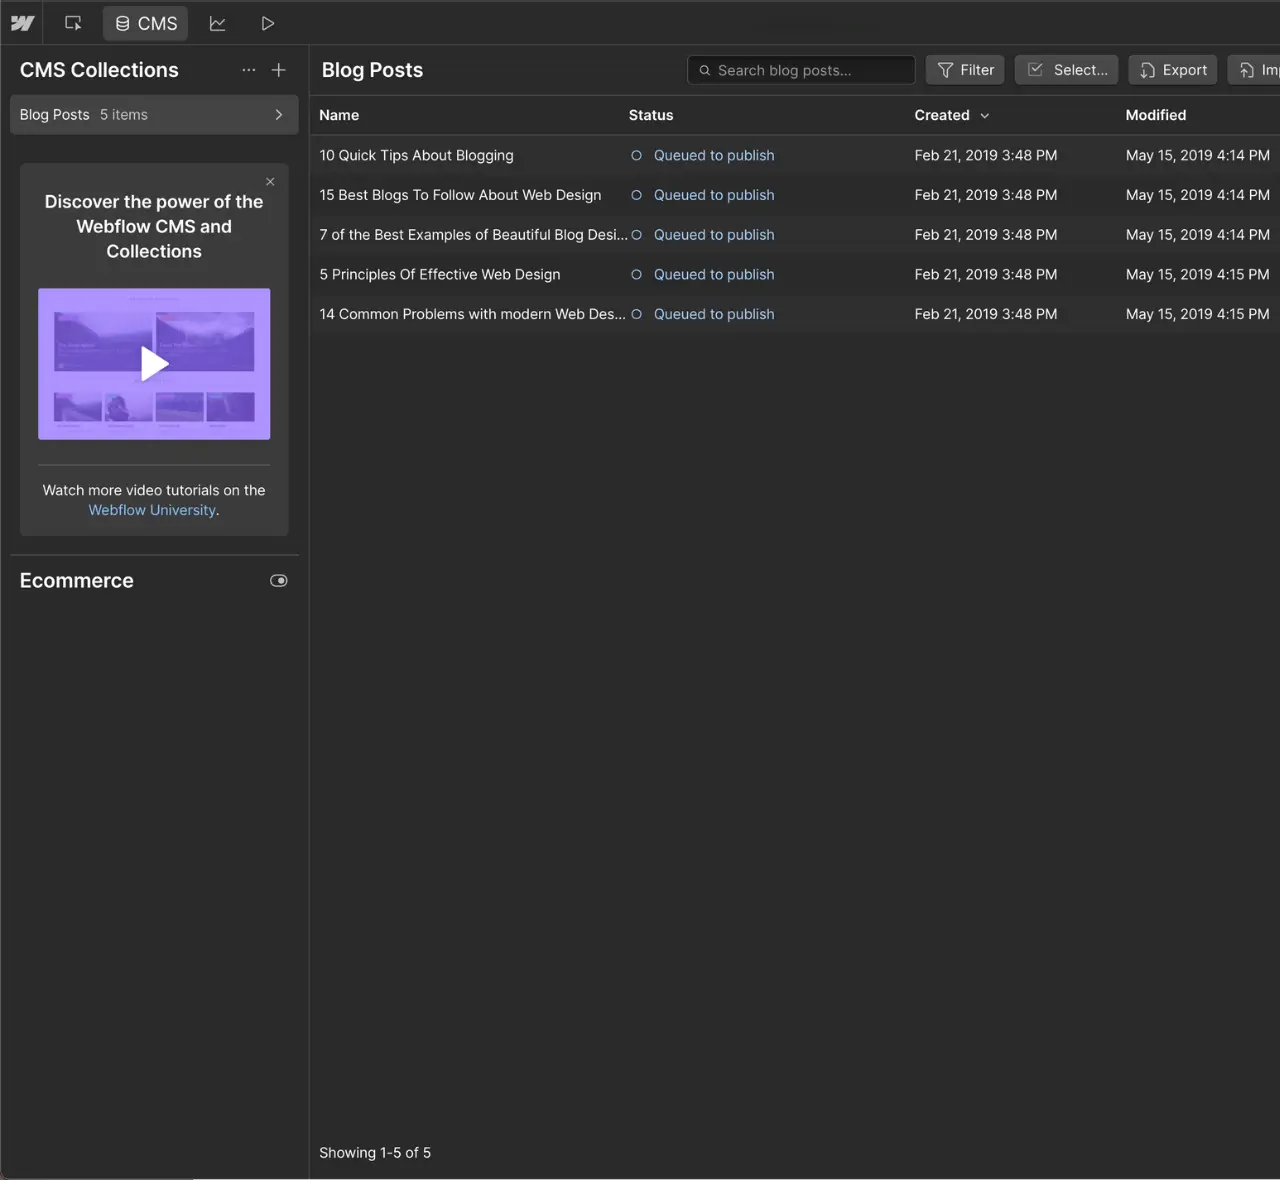
Webflow Collection Items
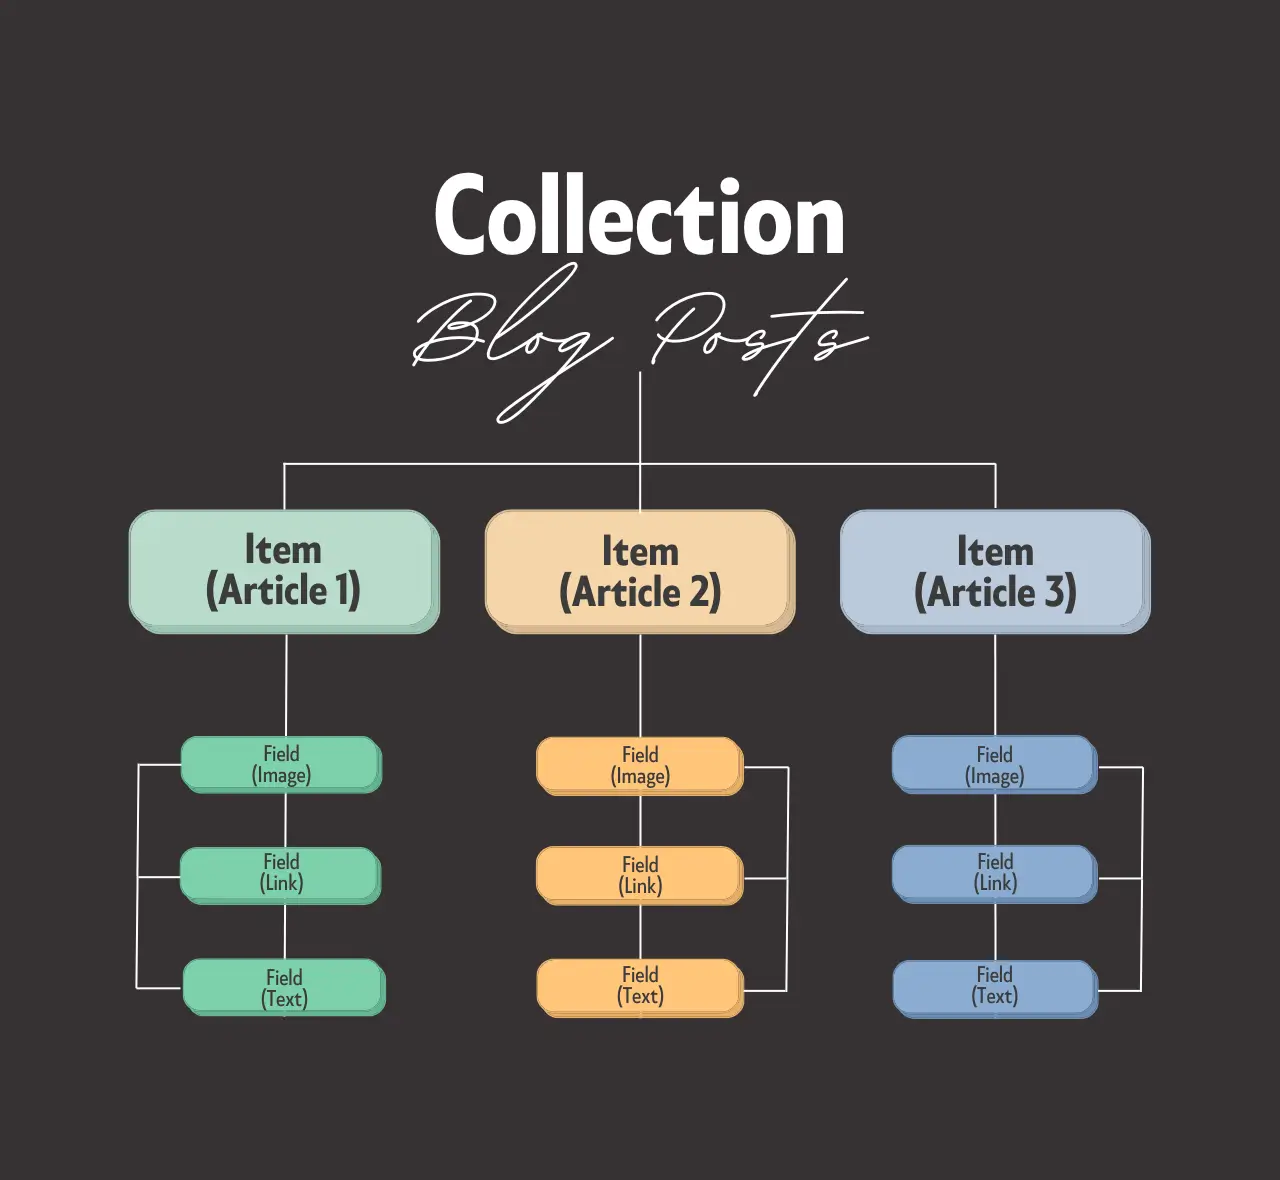
Within collections, you have individual entries called items. These items are the content that makes up a collection. For example, if you have a blog, your collection might be called “Blog Posts”, the collection items are the blogs you write (Article 1, Article 2, etc) and the fields are the sections where you add the information (images, links, text, etc).
Looking for more in depth information? The HTML All The Things blog has you covered with their How to Create Blog Categories and Tags in Webflow guide.
Spin Up A Landing Page
Landing pages have a lot of moving parts. So, we'll start with the basics, showing you how to use some of the Webflow templates to quickly create a solid foundation.
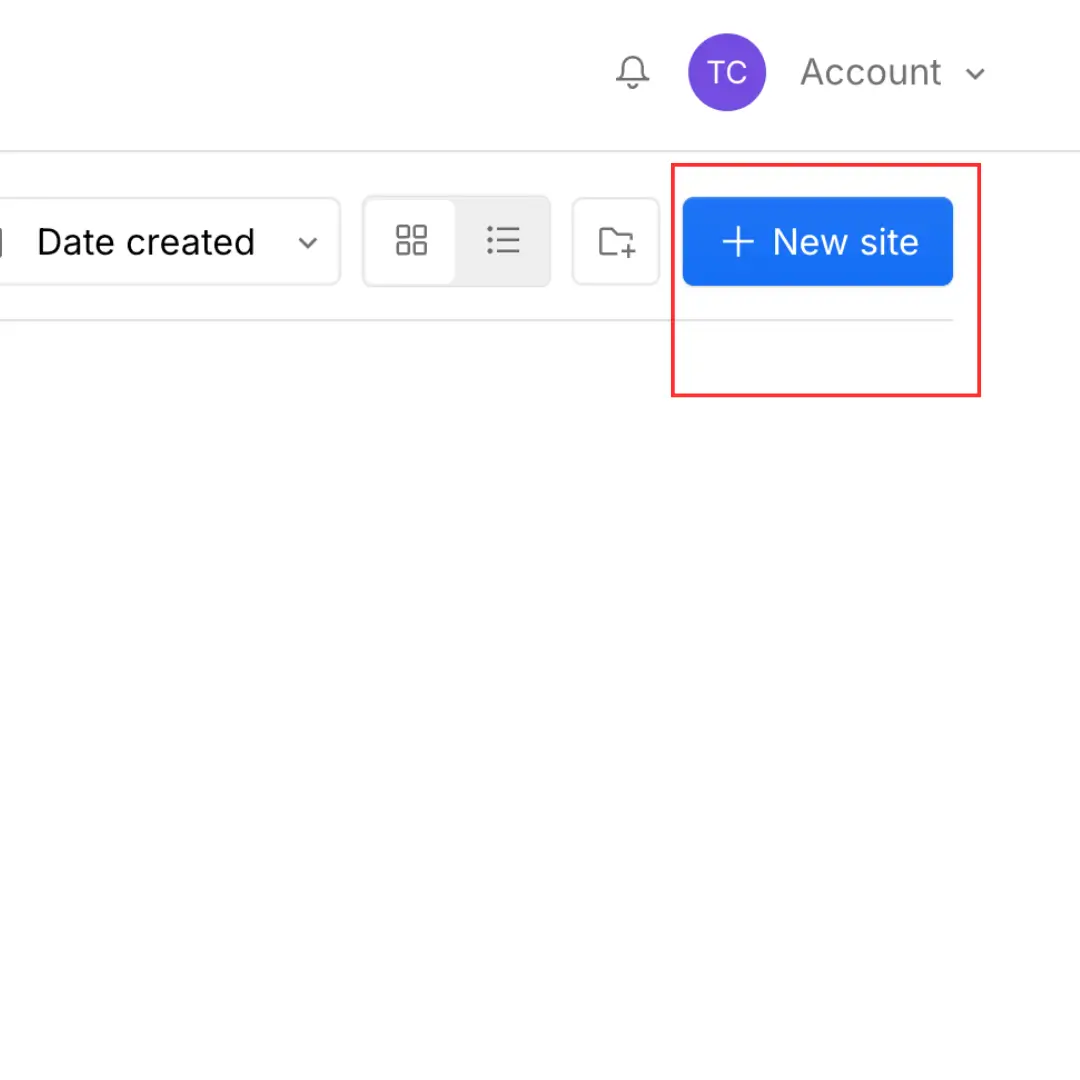
Start by going to Webflow.com and registering a new account. You can use an email or sign in using your Google account. Once you’re signed in, you'll be directed to your new dashboard where you’ll want to click “+ New site”.
Start with a Blank Site
You can either start with a blank site or use a template from the Webflow library. We’ll choose a blank template for now but I encourage you to explore the Webflow templates available when you get a chance.
Create Your Navbar
With your site named, you're now ready to start building on a clean, new page.
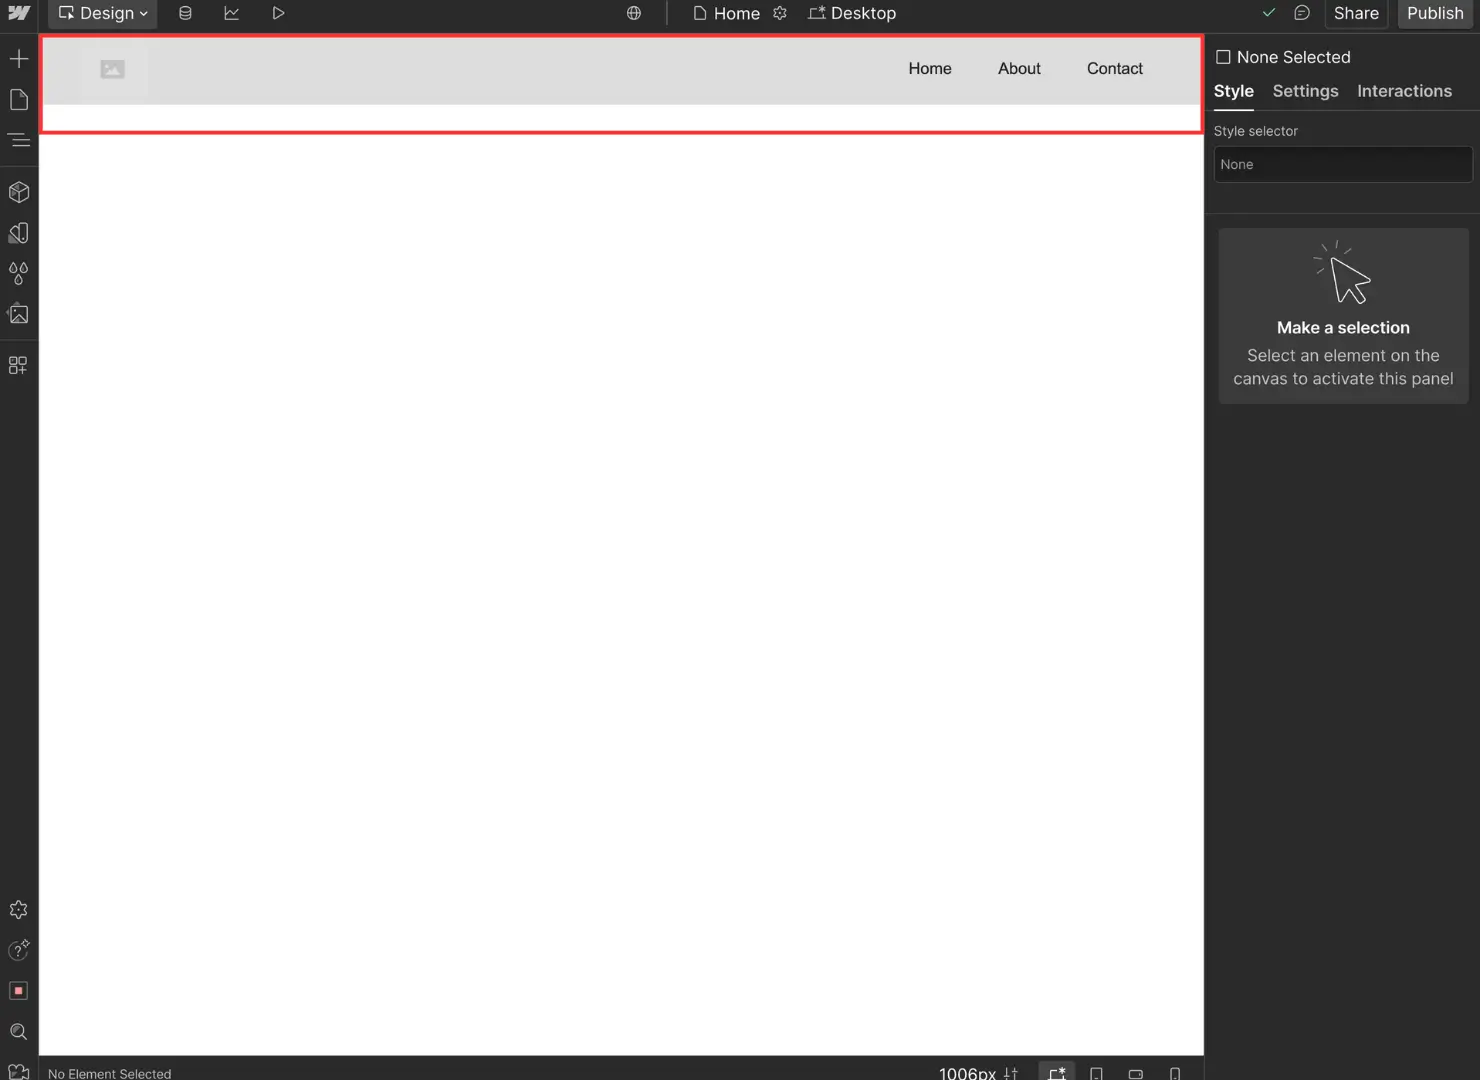
- Click the plus sign on the left side of the editor, search for navbar, and either click or drag to the page
- Next, using the search box, search for image and drag it into the image placeholder area of your navigation bar
- You’ll have to resize it a bit to fit your navbar the way you want it. When you’re done, you should have something like this.
Build Your Hero Section
Next, let’s add a hero section.
- Click the plus button on the left side, search for “div”, add it to the main body
- Rename the div to “main” by using the “Style selector” on the right side
- Click the tab that says Settings (next to Style on the right side) and look for the Tag section. Use the dropdown menu and look for main. This creates an HTML tag which is good for semantic HTML.
- Make sure Main is selected
- Next, click the plus button and click Layouts
- Search for hero and pick the one you like
- I’m going to rename “Hero Heading Left” to section so it matches the HTML tag

Add Client Logos
Next I want to add a logos section where I can showcase the companies that use and trust my product.
- Click the plus button on the left side
- Search for Section and click it
- Next, click the plus button, click Layouts, and search for logos
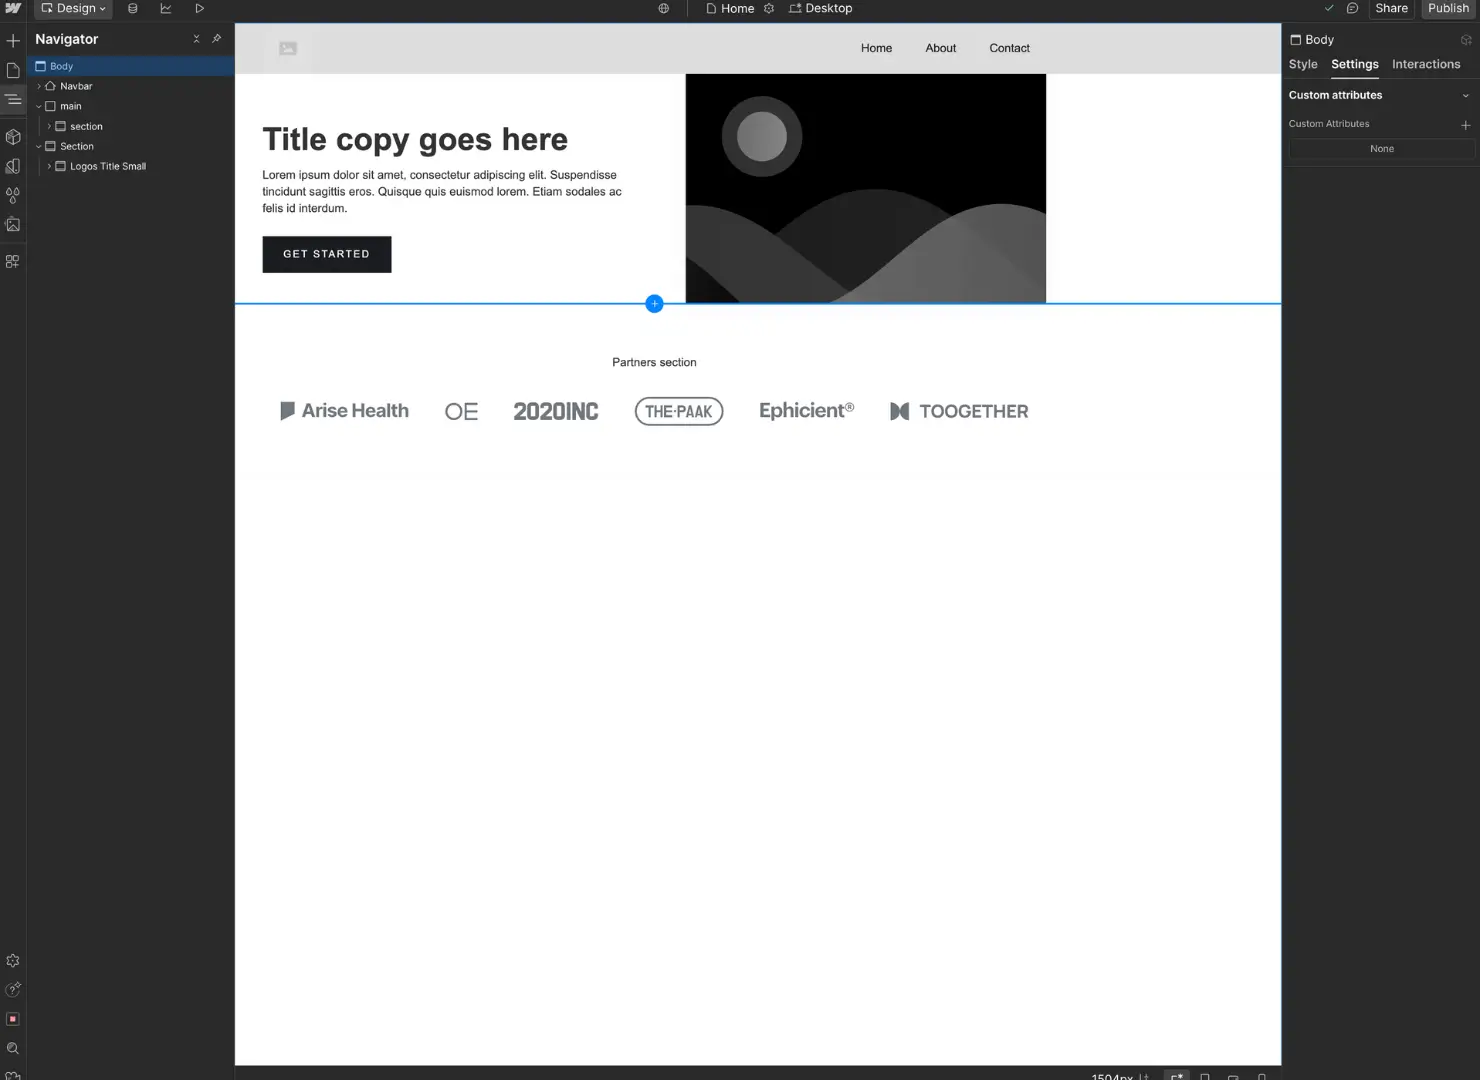
- I’m choosing the Logos Title Small layout
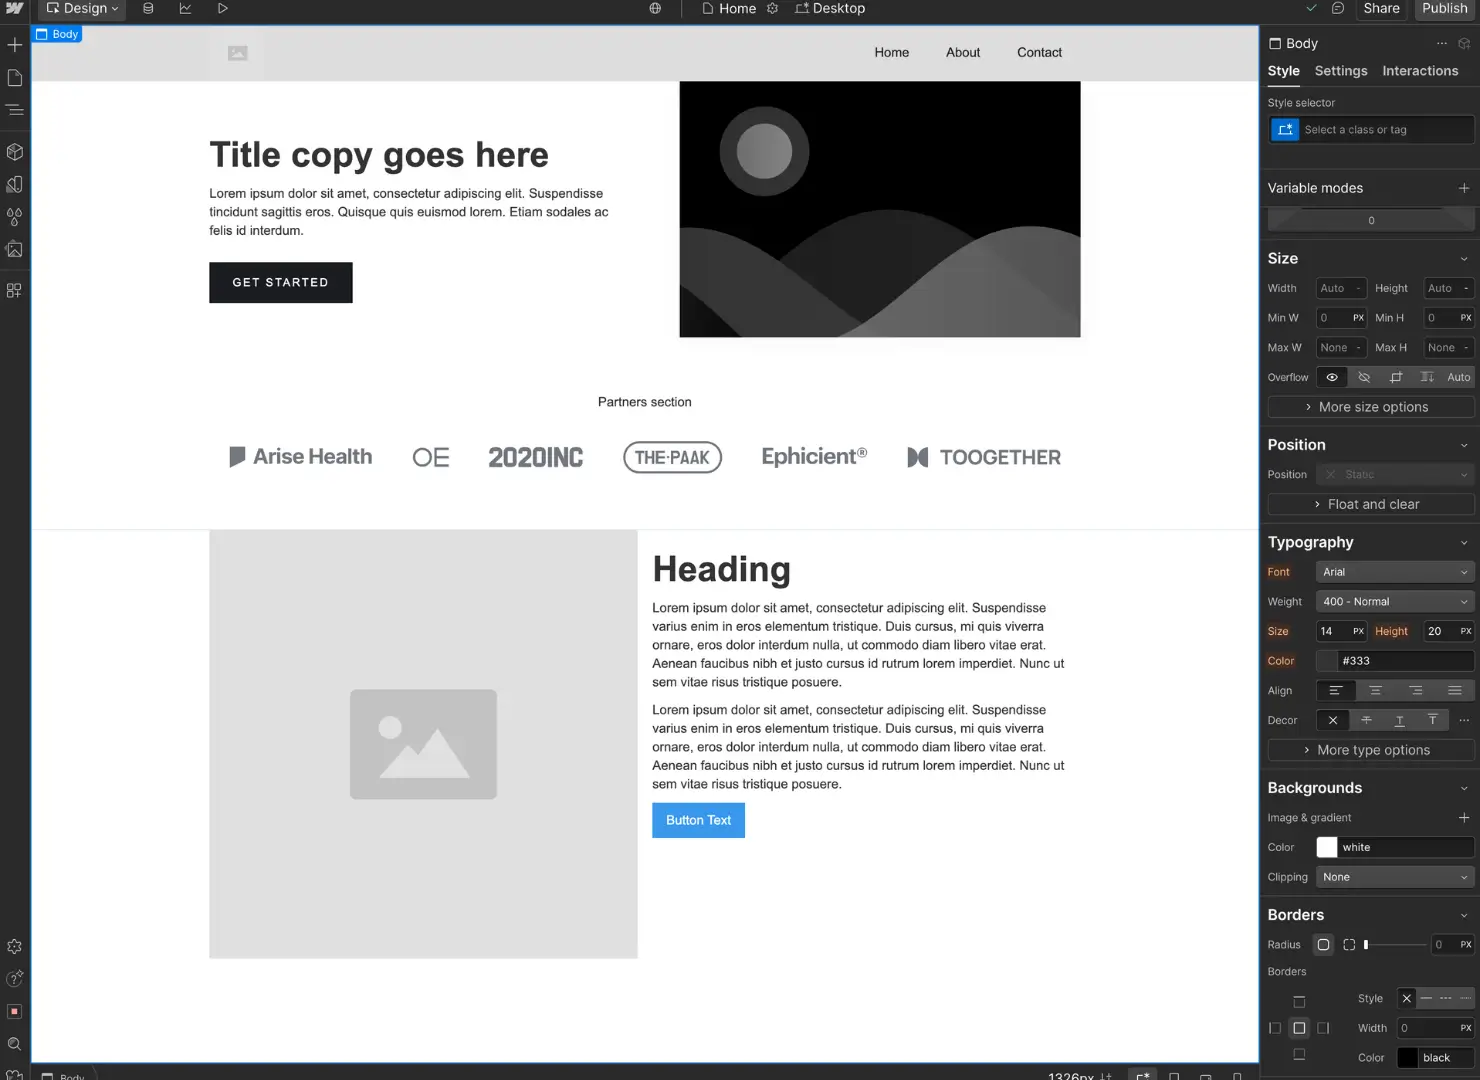
- Below is what the landing page should look like so far
Next, I’ll add an image and text section.
- Add a new section under the logos
- Click the plus button on the left side. Within elements search for container and click it or drag.
- Inside the container add grid
- I labeled it 2-col-grid-content. You can do the same by clicking in the Style selector box and renaming it.
- I removed the second row but you can add as many as you’d like.
- Next, add a div to both sides
- On the right side make sure div is selected and add an H1
- Make sure the div is selected and add a paragraph element. I did this twice but you can add as many or few as you’d like.
- Below the paragraph text, make sure the div is selected, then add a button element.
Create The Body Content
Great job! We've established a strong starting point for this section. Now, you can experiment with spacing and arrangements to get a better understanding of what’s possible. Now let’s add an image to the left side.
- Select the left div
- Click the plus button on the left side and search for image then click
- It’s up to you and your design but for now I just put a width of 100% on the image
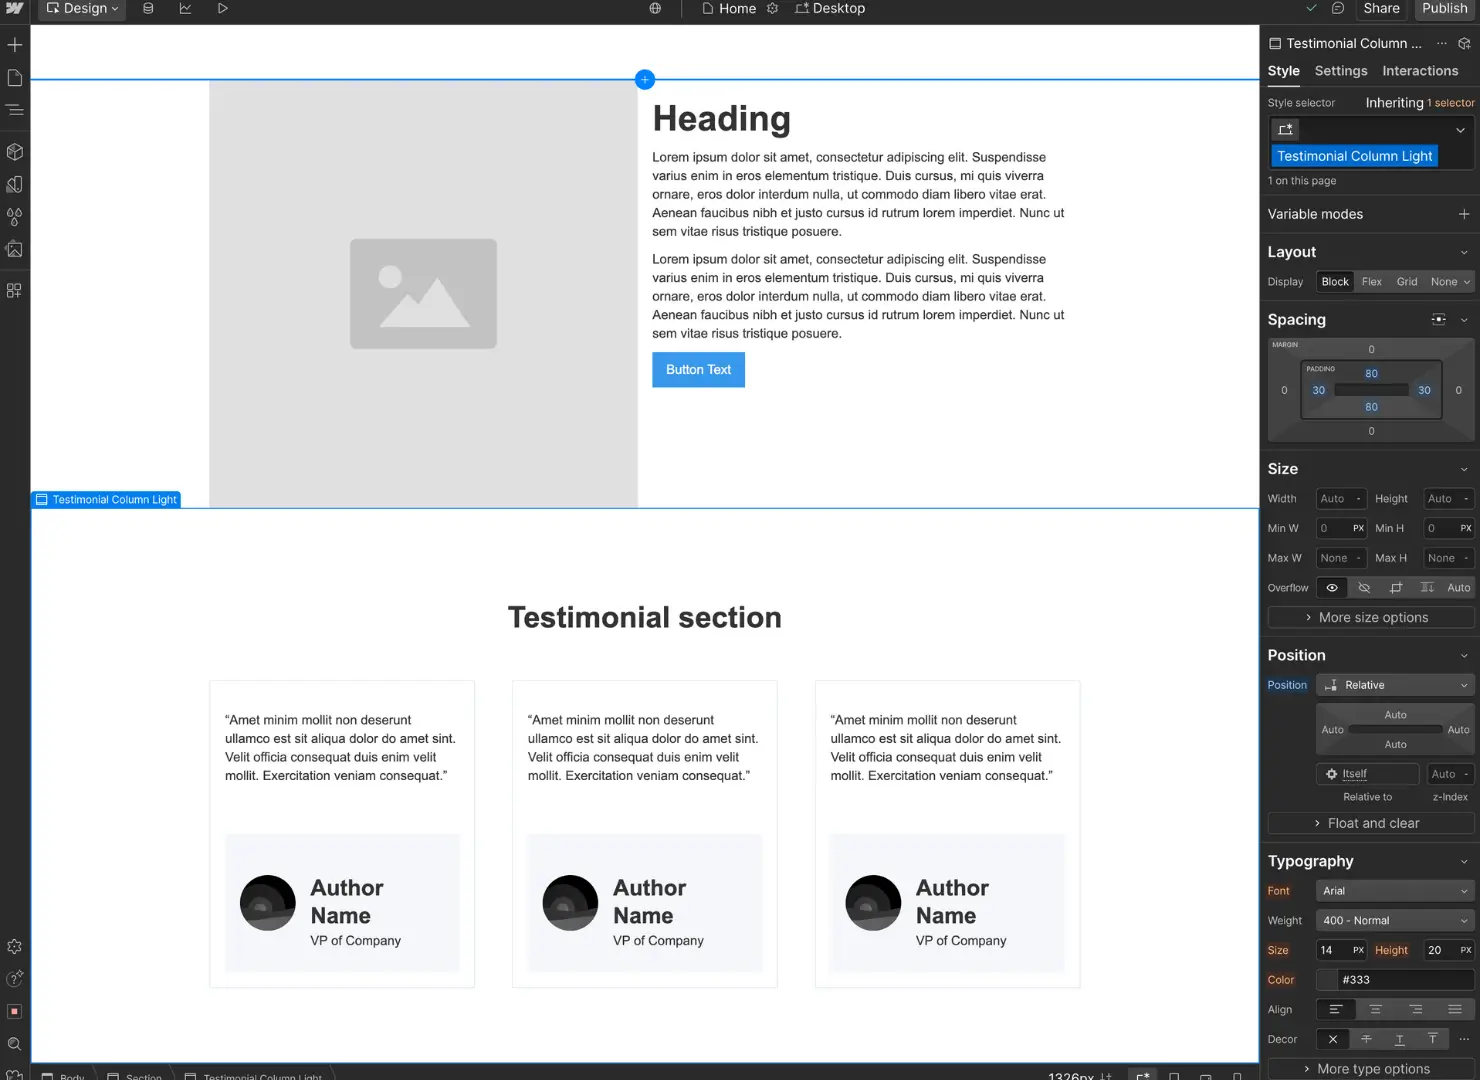
Include A Testimonials Section
I’m going to quickly add a testimonials section just so we can see what it looks like.
- Add a new section under the last one
- Click the plus button, click Layouts, and search for testimonial
- I chose the Testimonial Column Light
Add A Footer Section
Finally, let’s add a footer to our landing page.
- Click the plus button on the left side, go to Layouts, and search for Footer. I chose the Footer Light version.
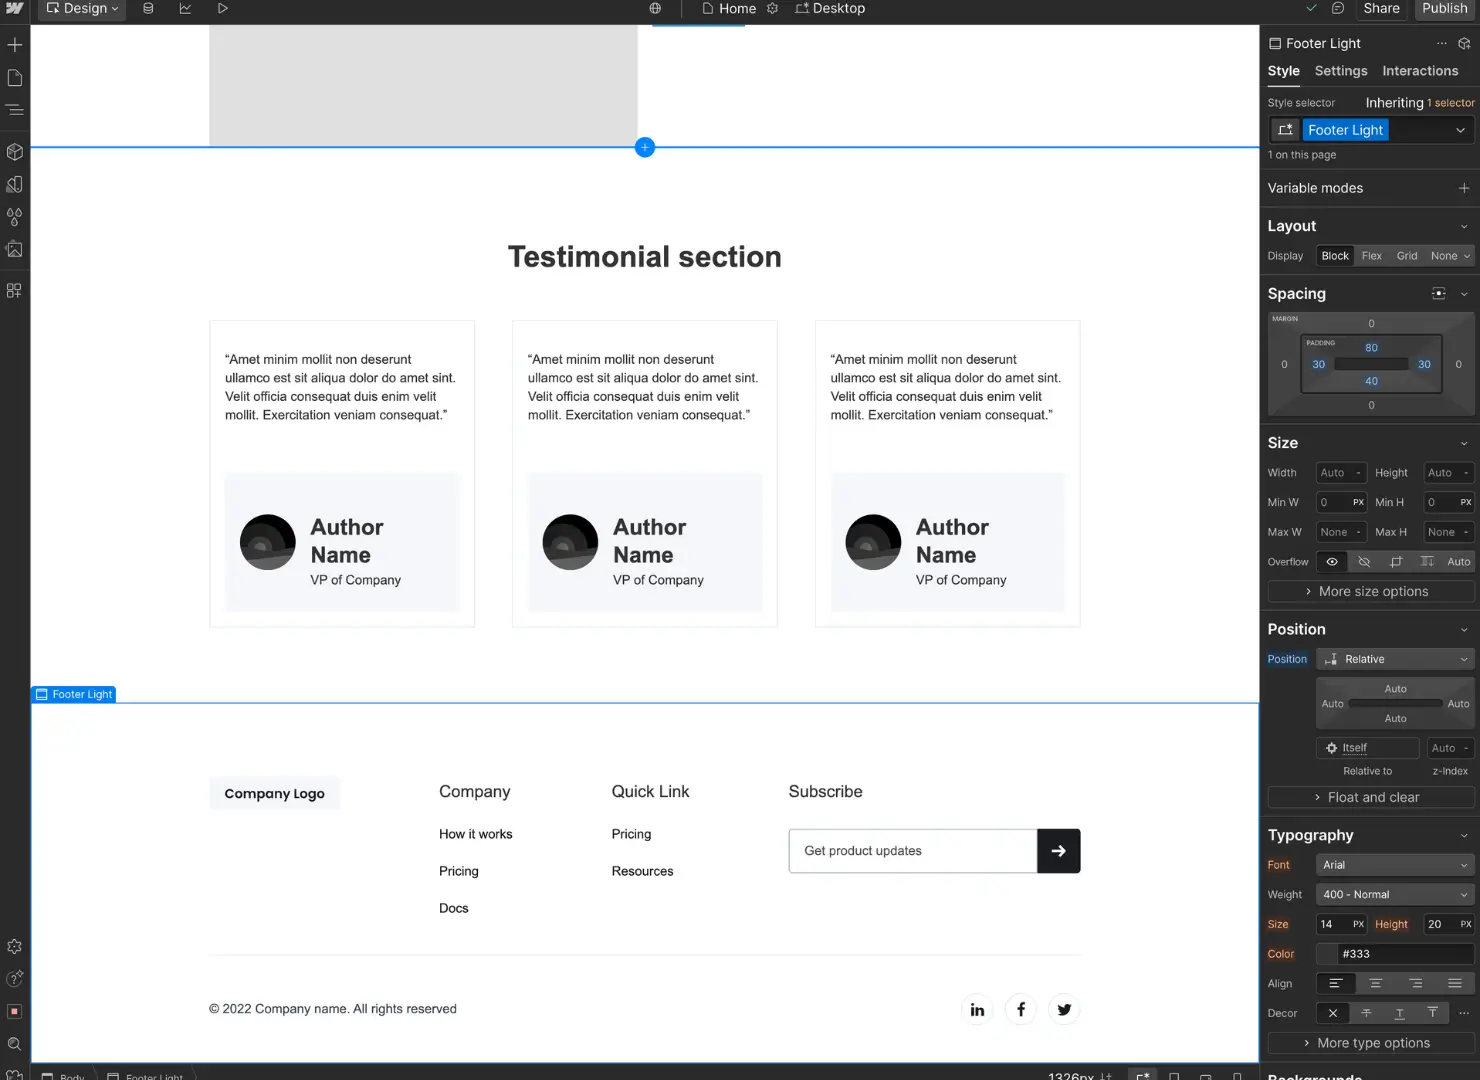
That’s it! You've now implemented key sections of a typical landing page. With countless design and development approaches available, I encourage you to design and develop your own unique style.
Hopefully this helped you to get setup and on your way to starting your next project. There are tons of great resources to help you if you get stuck. Webflow University has a library of helpful resources such as docs, interactive learning, videos, courses, and more. You can also find Webflow tutorials on the HTML All The Things website.
Conclusion
Webflow is a great option if you’re looking for a low/no code option and want a platform that puts web design first. If you’re a freelance web developer or freelance web designer, this is a good option to consider as you’re reaching out to clients to provide services. However, I recommend that you consider the pros and cons of the Webflow pricing structure. Remember, having some familiarity with HTML and CSS will help you get up and running faster than if you don’t have any previous knowledge.
