What is syntax highlighting for code blocks?
Syntax highlighting is commonly seen on code editing tools like Notepad++, Visual Studio Code, and other IDEs. It formats your code with different colors and font styles to make it easier to read. In the context of a website or blog, you may want to display some code snippets as content, meaning that the code is not executed, but rather displayed for users to see and read. These code snippets are often referred to as code blocks, and they benefit from the same readability boost that syntax highlighting provides in code editors. To show the benefits of syntax highlighting in code blocks, we've prepared the following example...
Example of syntax highlighting on a code block in Webflow
Here's an example of a code block in a Webflow blog post that has no syntax highlighting applied:
And here's the same example with syntax highlighting applied on the code block:
As you can see, the syntax highlighting helps with the readability of the code and also compliments the flow of the blog post by making it clear which parts are text and which are code blocks.
How to add syntax highlighting to your Webflow site
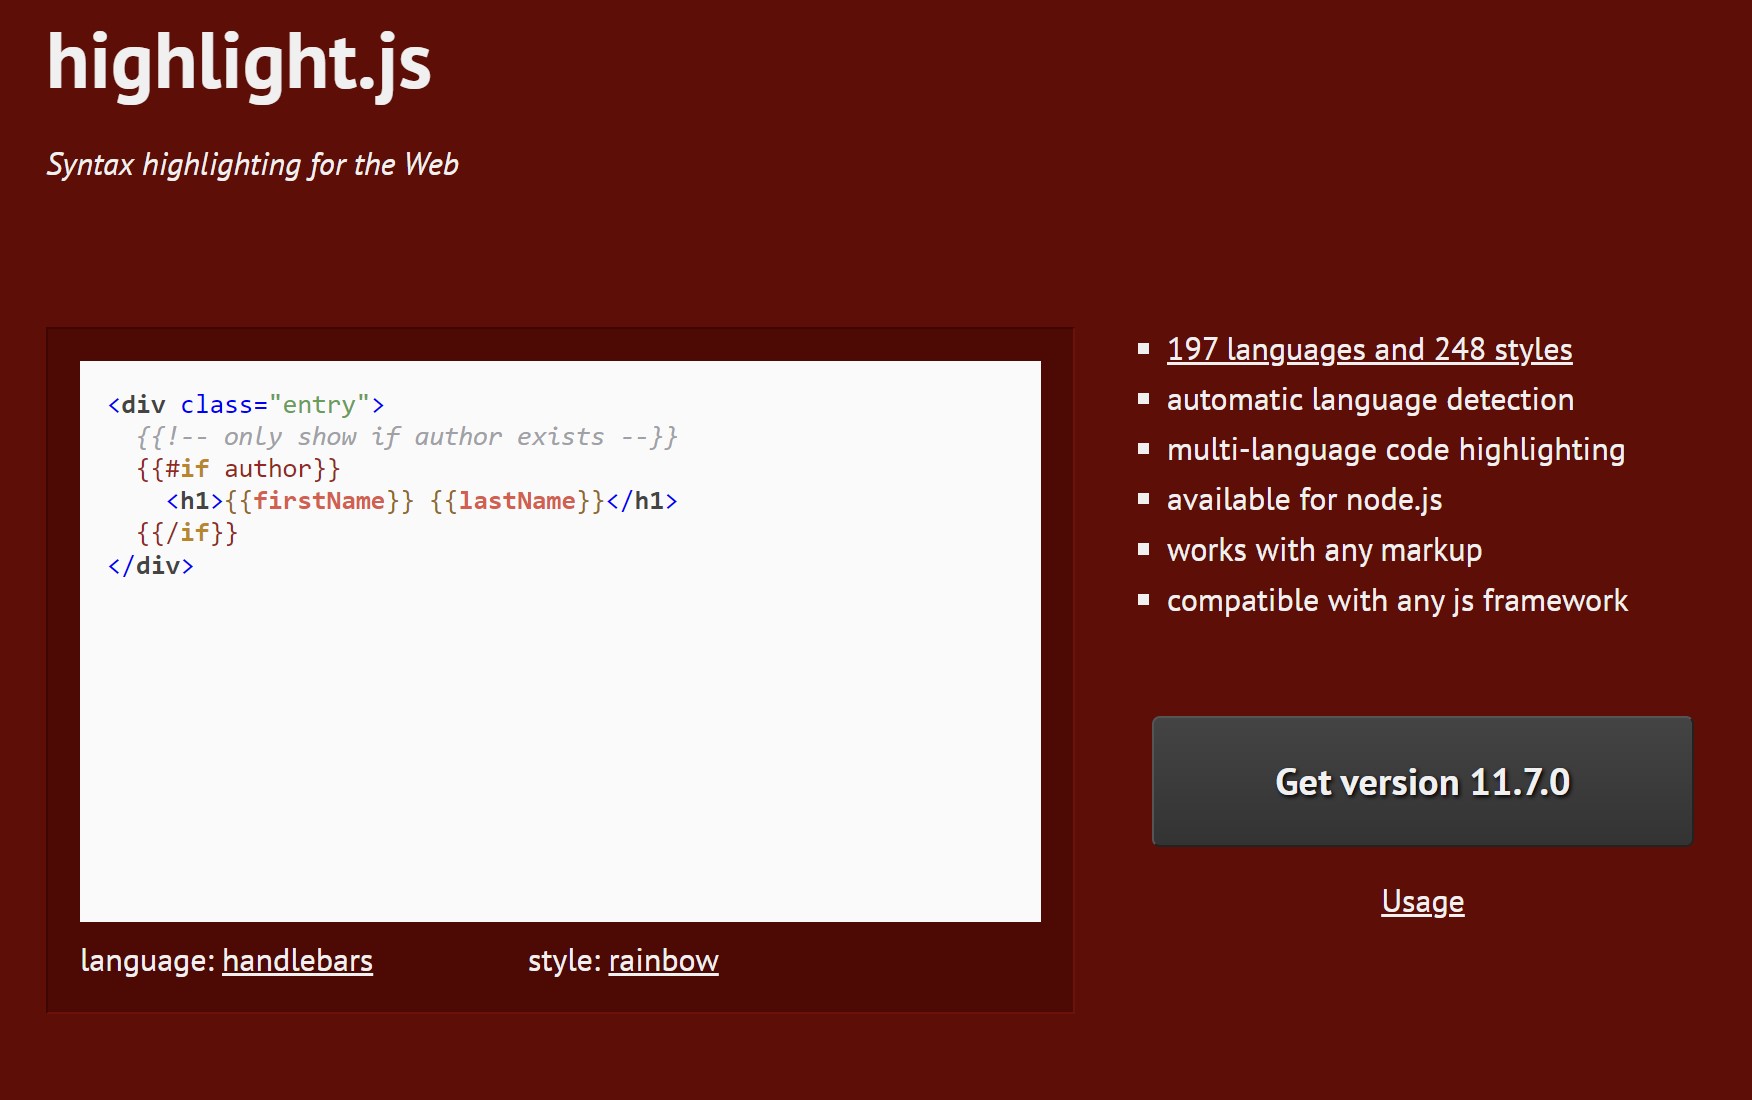
In order to achieve syntax highlighting, we're going to be using highlight.js, a syntax highlighter that was written in JavaScript. As of writing, it can highlight 197 languages with 248 styles to choose from.
To get highlight.js to work in its most basic form we need to:
- choose a theme (CSS stylesheet)
- load the main highlight.js script (highlight.min.js)
- call the highlightAll() function
Using highlight.js with Webflow
If you're already familiar with Webflow you may have noticed that this basic setup presents some challenges for Webflow, namely uploading and then later calling upon CSS stylesheets and JavaScript files. This is easily solved by uploading these files onto a external server that we have access to, or by using a CDN. There is a guide by alexarias.io that showcases how to do this using the Cloudflare CDN.
For the purposes of this guide, however, I wanted to get highlight.js working "locally" on Webflow itself, without relying on an external server or service. You can find the step-by-step guide for this method below.
Step-by-step guide: installing highlight.js on Webflow
Step 1: Download highlight.js
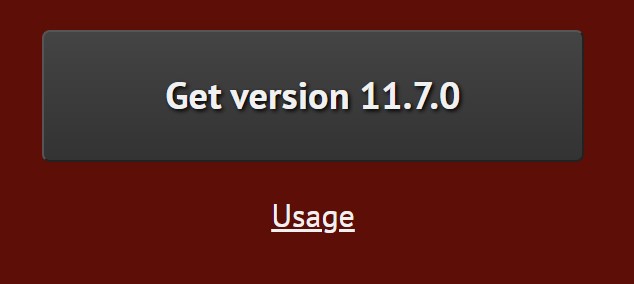
- Go to the highlight.js website
- Click on the "Get version" button
- Scroll down and select which languages you'd like to highlight from the "Custom Packages" list. We've left the default selections in the screenshot below
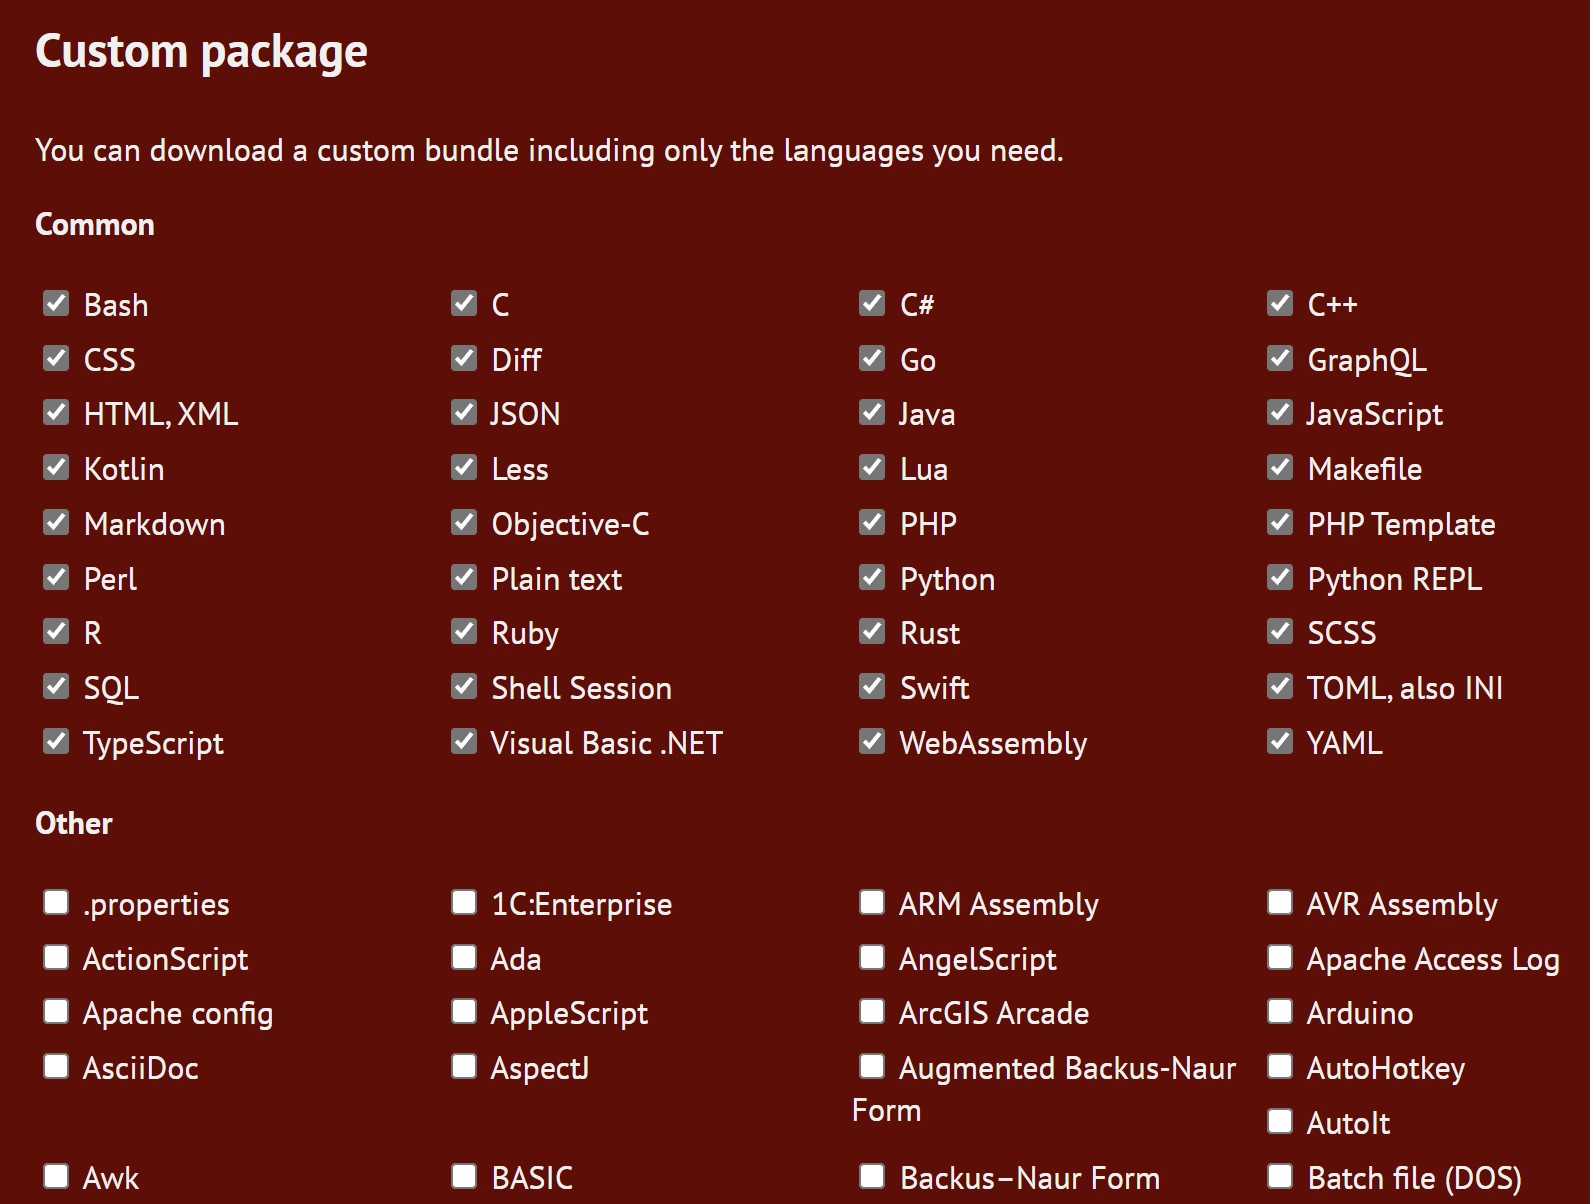
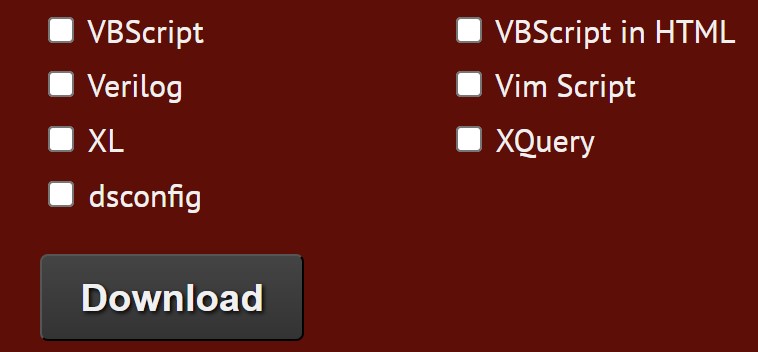
- Scroll down to the end of the language list and click on the "Download" button
Step 2: Prepare your main script file
- Extract the "highlight.zip" file and open it up
- Find the file named "highlight.min.js"
- Convert this file into a text file, with extension txt
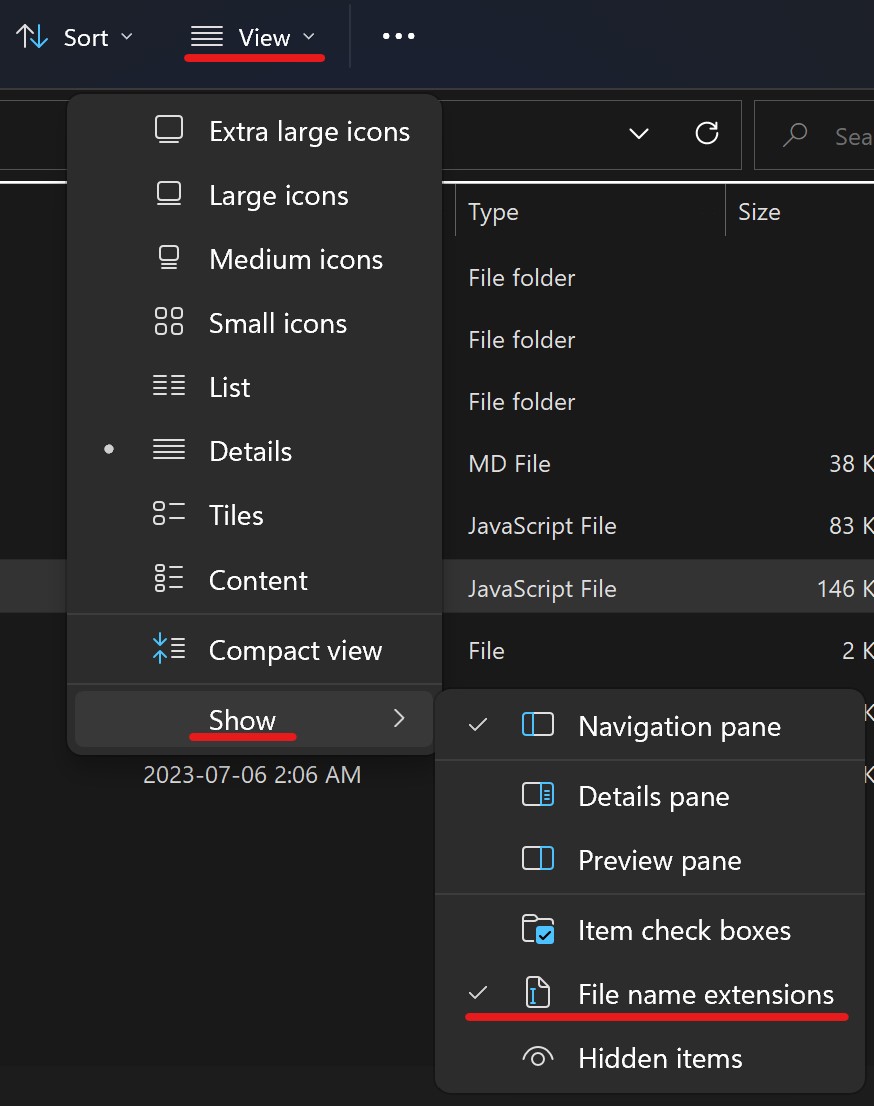
- To convert the file type on Windows 11
- From the file explorer, click on View, Show, then File Name Extensions (ensure File Name Extensions has a checkmark beside it)
- Rename the file by adding a .txt to the end of the file name (the name of our file is highlight.min.js.txt, you can rename the file as you'd like, but it must still be a txt file)
Step 3: Upload your main script file
- Go to your Webflow project's Assets panel
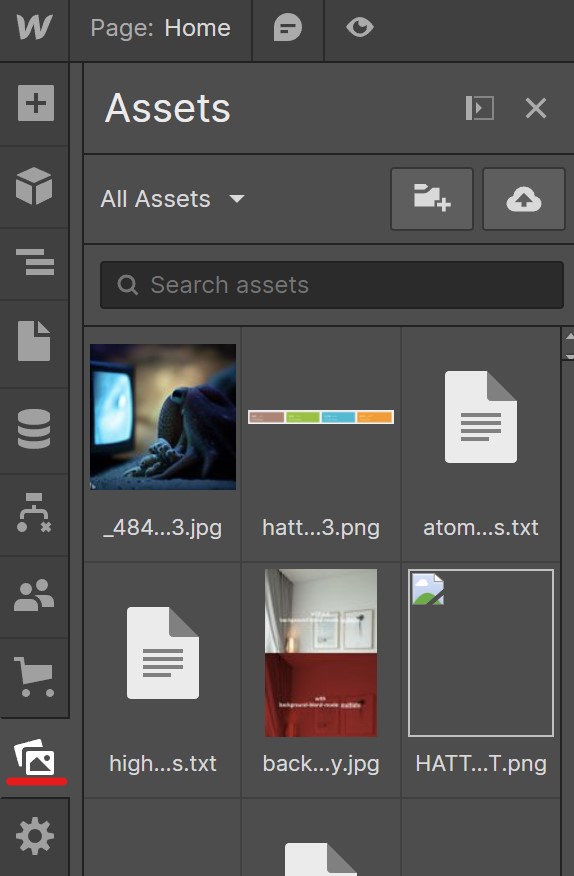
- To help organize our assets, we'll add a folder for our JavaScript files
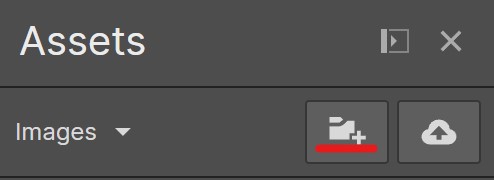
- Click on the Add folder button
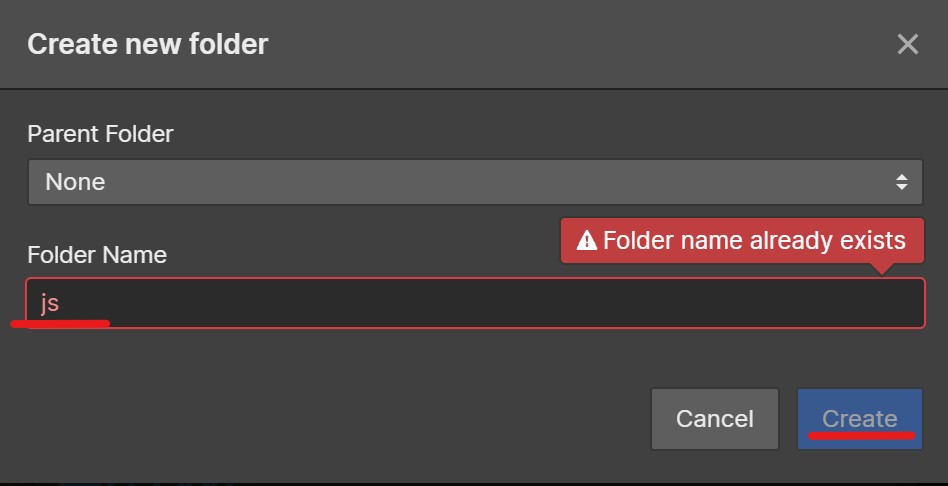
- Fill in a folder name, we'll use js for ours
- Select your new folder from the dropdown, then upload your txt file using the button with a cloud icon

Step 4: Get and use the link to the txt file
- Find your uploaded file in the Assets panel
- Hover over the file and select the cog icon
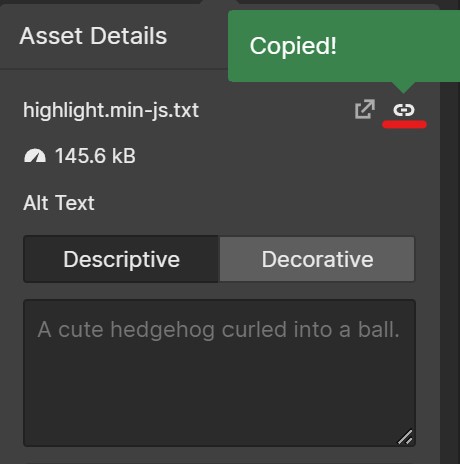
- Click on the chain icon to copy the URL of the file
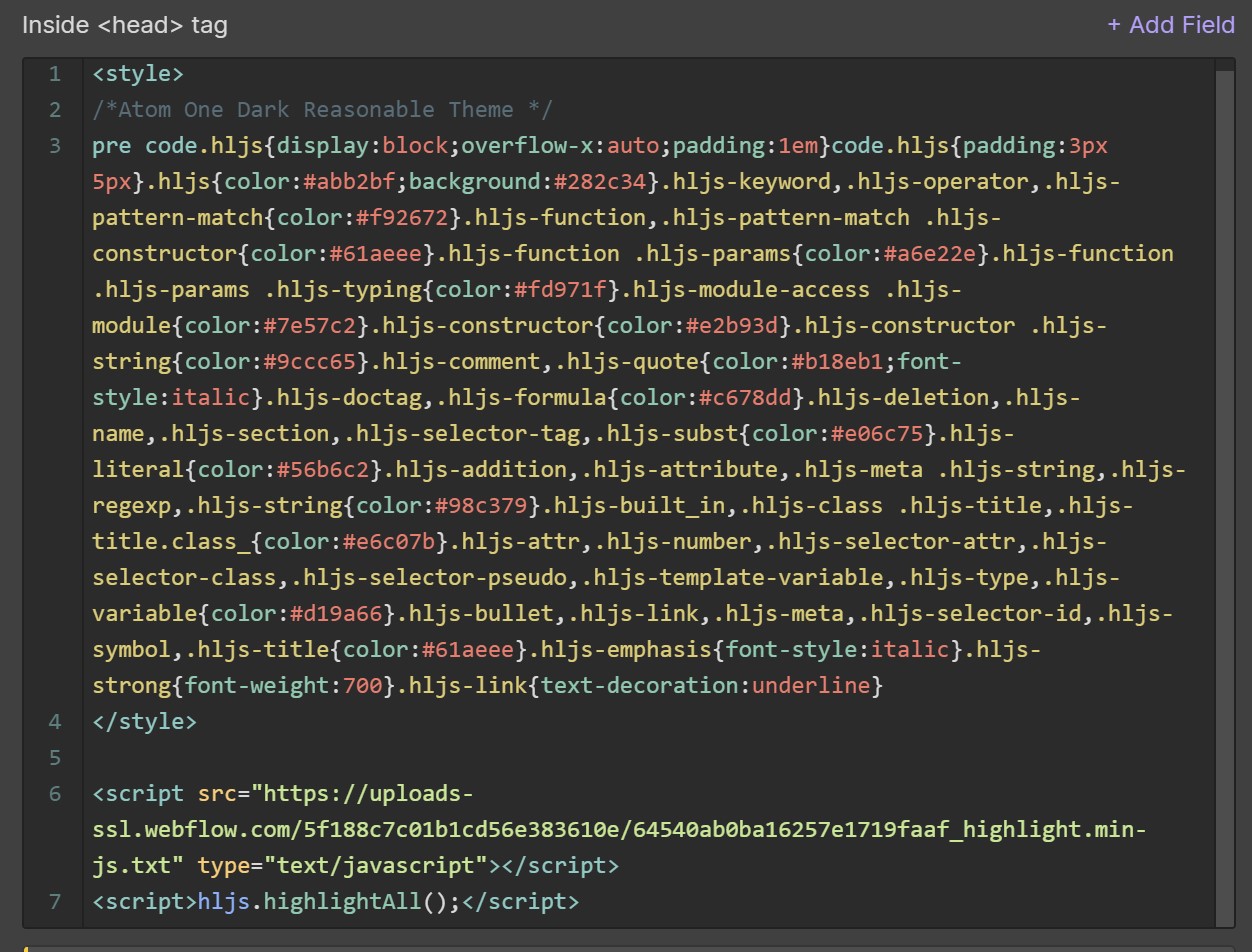
- Add the following scripts to the pages that you need syntax highlighting on. The scripts should be in the page(s)' head section. For example, you may want to add these scripts to your Blog CMS collection page so that any blog post can have syntax highlighting as needed
- Ensure you use your link that you copied to replace the USE YOUR URL HERE
- Note the type="text/javascript" that allows us to interpret our txt file as JavaScript
- Now you have the required scripts setup, all that is left is the CSS styling
Step 5: Select and install a theme
- Select a theme that you'd like your syntax highlighting to use
- You can see the themes in action on the highlight.js website by clicking here
- Once you've selected a theme from the list, return to your unzipped highlight folder and enter the "styles" folder
- Find the theme you selected in the list of CSS stylesheets and open it with a text or code editor like VS Code or Notepad++
- Even just notepad will work if you're on Windows - Copy the contents of the file and paste them in your page(s)' head section, above the scripts from Step 4, surround your pasted content with opening and closing style tags. You can see what ours looks like in the screenshot below.
- And that's it! Save your changes and publish your site so that you can start using your newly installed highlight.js
Using highlight.js on Webflow
Now that you've installed your highlight.js, it's time to start using it on your pages. We do this by using embed elements on our page, added by the Designer, or via the CMS in a Rich Text Element. Inside our embed elements we'll be using pre and code elements, with specific classes on the code elements depending on the language you'd like to highlight. Below we've prepared some of the common languages that you may want to highlight, but there are many more that we'll touch on using in the "Other language" section below.
In order to get my syntax highlighting looking the way I wanted, I made a few small CSS changes that you can find in the code block below. Feel free to optionally test these out.
Note: Because we're using custom code inside an embed element, we cannot preview our syntax highlighting in the Designer.
HTML | Webflow Syntax Highlighting
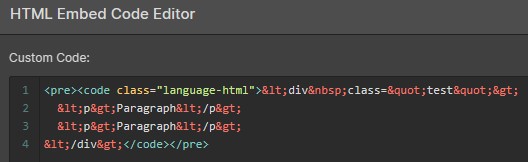
Add the class "language-html" to your <code> element. Unfortunately, the browser will continue to interpret it as HTML, so we'll need to encode it to prevent this from happening. To accomplish this I use an encoder web app by W3Docs.
This is what our embed element looks like...
...and this is what our syntax highlighting looks like in action.
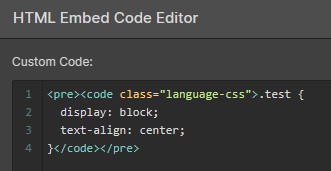
CSS | Webflow Syntax Highlighting
Add the class "language-css" to your <code> element. Fortunately, unlike HTML, you won't need to encode it - you can type out your CSS styles between the opening and closing code tags.
This is what our embed element looks like...
...and this is what our syntax highlighting looks like in action.
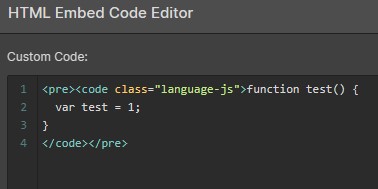
JS (JavaScript) | Webflow Syntax Highlighting
Add the class "language-js" to your <code> element. No encoding is required.
This is what our embed element looks like...
...and this is what our syntax highlighting looks like in action.
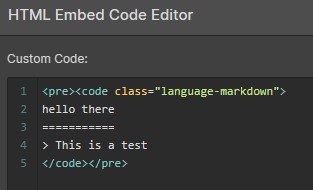
Markup-Markdown | Webflow Syntax Highlighting
Add the class "language-markdown" to your <code> element. No encoding is required.
This is what our embed element looks like...
...and this is what our syntax highlighting looks like in action.
Other language | Webflow Syntax Highlighting
As you've probably picked up by now, you can select the language you're using by setting the class on the <code> element. The naming scheme is "language-HIGHLIGHT" where HIGHLIGHT is replaced by the language you're trying to highlight. For a list of languages, I find it helpful to check out this page on the highlight.js main site.
Conclusion
Syntax highlighting enhances a website's portrayal of code snippets by making them more readable and separating them from the rest of the blog post's text. There are a lot of different ways to add syntax highlighting to websites and Webflow alike. The method we used here aimed to keep everything on Webflow itself, removing the need for loading a script from an outside source (ie an external CDN) in order to remove dependencies on programs and services outside Webflow.
If you'd like to learn more about highlight.js you can check out their official documentation here.